Table of Contents
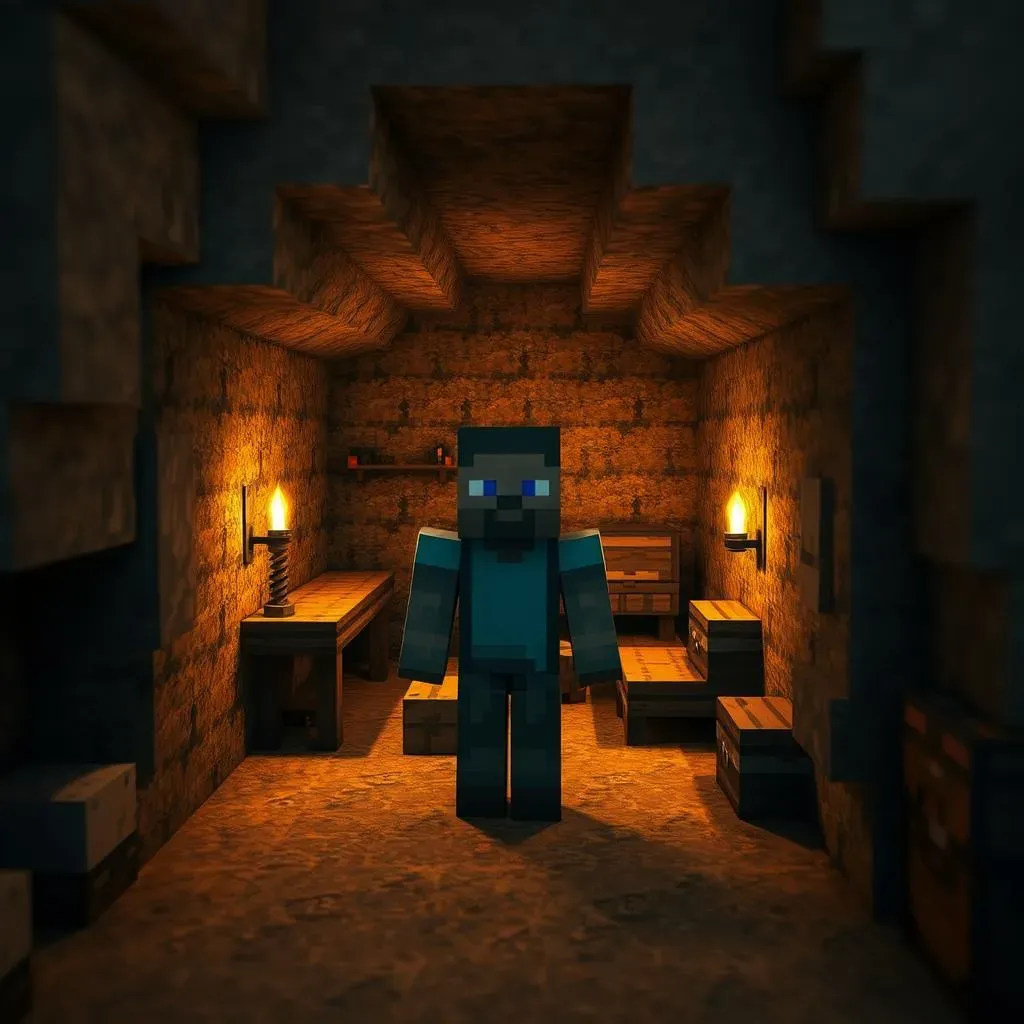
Tired of creepers blowing up your above-ground Minecraft mansion? Wish you had a base that was both cool and resourceful without breaking the bank (or your block budget)? Then it's time to go subterranean! Building a cheap underground Minecraft house is not only a fantastic way to protect yourself from mobs and the elements, but it's also surprisingly stylish and practical. Forget sprawling castles that eat up all your resources; we're diving deep into the world of affordable and awesome underground living. In this guide, we'll unearth the secrets to creating incredible cheap underground Minecraft house designs, perfect for beginners and seasoned players alike. We'll explore essential materials that won't drain your coffers, easy-to-build starter designs, and even some more advanced concepts for when you're ready to expand your subterranean empire. Plus, we'll share pro tips and tricks to make your cheap underground Minecraft house the envy of the server. Ready to dig in?
Why Go Underground? The Benefits of a Cheap Underground Minecraft House
Why Go Underground? The Benefits of a Cheap Underground Minecraft House
Safety First (and Second, and Third!)
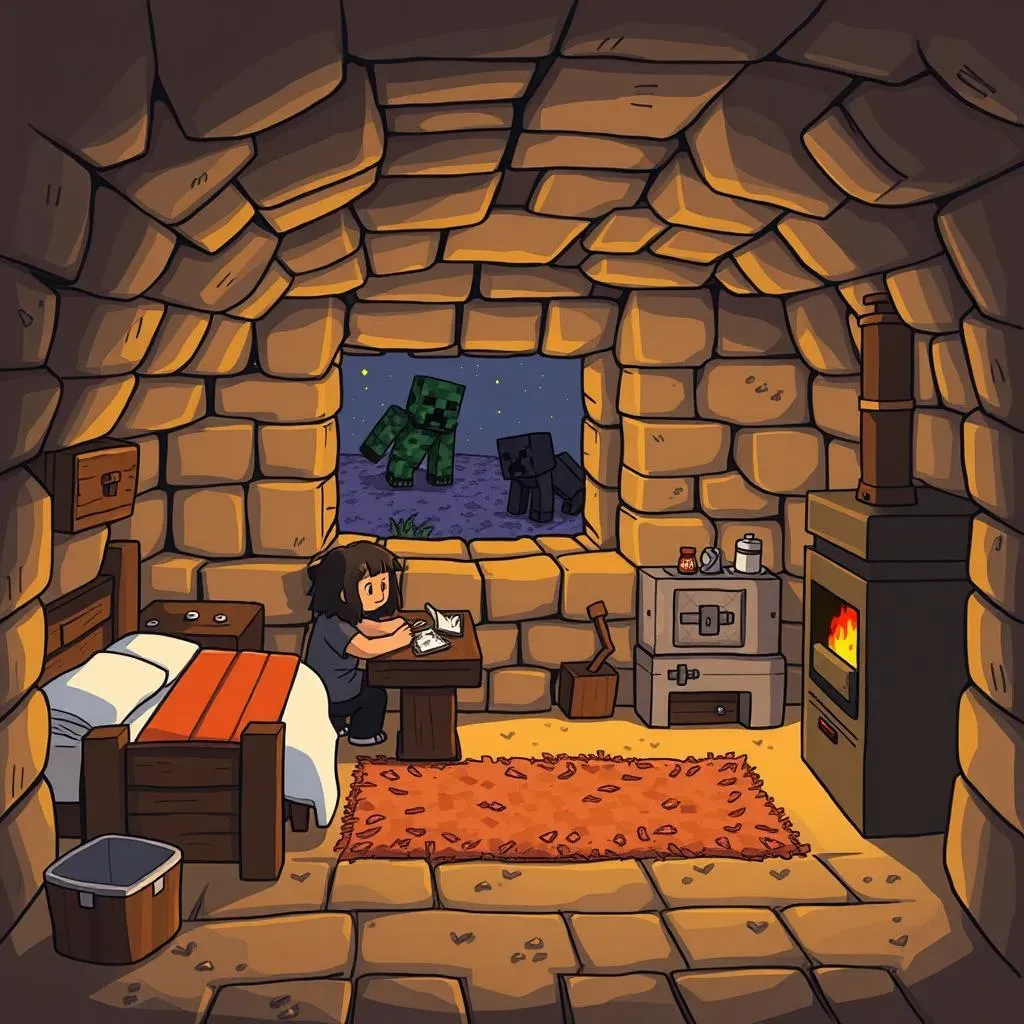
Let's be real, the surface world in Minecraft is basically a monster buffet. Creepers think your front door is a suggestion box for explosions, zombies are constantly RSVPing to your housewarming party (uninvited, of course), and skeletons? Don't even get me started on those bony archers with their impeccable aim. But guess what mobs have a tough time with? Dirt roofs! Going underground is like hitting the "easy mode" button for survival. Suddenly, nighttime isn't a terrifying sprint to your poorly lit shack; it's just...nighttime. You can chill, craft, and plan your next adventure without constantly looking over your shoulder for something that wants to eat your face. And for those of us who are less "Minecraft pro" and more "Minecraft panic merchant," that peace of mind is priceless.
Plus, think about it – natural disaster proof! Rain? Who cares, you're underground. Lightning? Nice try, Zeus, my base is rock solid. maybe not *totally* disaster-proof – you still gotta watch out for cave-ins if you're mining recklessly – but compared to a wooden shack that's one stray lightning bolt away from becoming a pile of charcoal, an underground house is practically Fort Knox. And did I mention creepers? Seriously, those guys are the worst landlords. Evict them permanently by simply existing beneath their explosive radar.
- Mob Proofing: Say goodbye to surprise visits from creepers, zombies, and skeletons.
- Weather Resistance: Rain or shine, your underground abode stays cozy and dry.
- Natural Camouflage: Blend seamlessly into the landscape, making your base harder for griefers to find (in multiplayer).
- Resource Efficiency: Digging out space is often cheaper than gathering tons of wood and stone for surface builds.
- Temperature Control: Underground is naturally insulated, staying cooler in hot biomes and warmer in cold ones.
Essential Materials for Your Cheap Underground Minecraft House Designs
Essential Materials for Your Cheap Underground Minecraft House Designs
Gearing Up: Your Mining Essentials
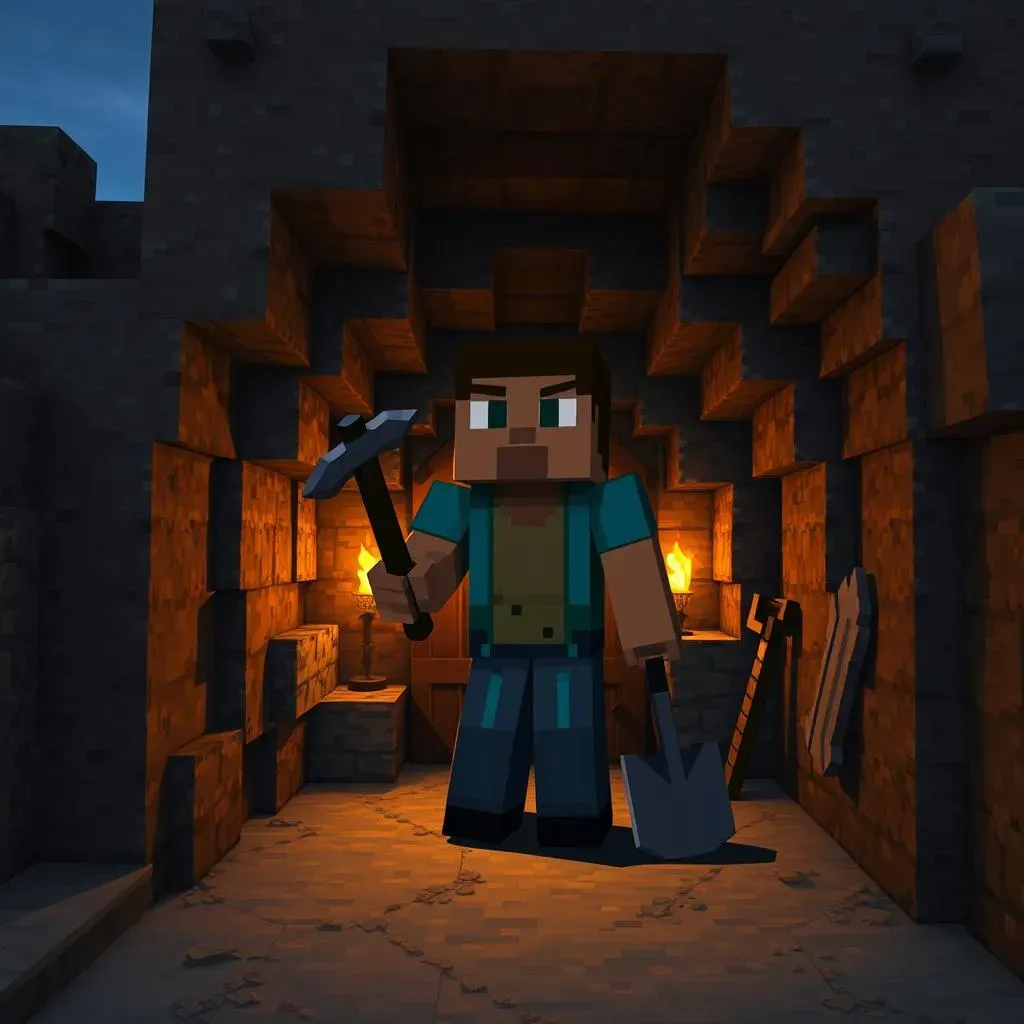
Alright, so you're ready to get your hands dirty (or blocky, in this case) and start digging your dream cheap underground Minecraft house. First things first, you gotta have the right tools! Now, we're going for "cheap" here, remember? So, diamonds are lovely, but let's keep it real. A sturdy iron pickaxe is your absolute best friend for this project. It's durable, mines stone efficiently, and isn't *too* hard to craft early on. Wood and stone pickaxes will get you started, sure, but trust me, the iron pickaxe is where efficiency and affordability meet in perfect harmony. Don't forget a shovel either! Dirt and gravel are gonna be your main excavation materials, and a shovel speeds things up immensely. And torches? Oh man, torches are not just essential, they are LIFE. You do NOT want to be digging around in the dark, getting spooked by every bat squeak and wondering if a creeper is about to photobomb your progress. Torches are cheap to make from coal and sticks, so craft a stack – no, craft TWO stacks. You can never have too many torches, especially when you're starting out.
And while we're on the topic of light, consider crafting some lanterns later on. They look way cooler than torches and give off a warmer, more inviting glow to your underground pad. But for the initial digging and basic lighting, torches are the undisputed champions of cheap and effective illumination. Think of your pickaxe, shovel, and torches as your starter pack for underground living. Get these sorted, and you're already halfway to having your own cozy subterranean hideaway. Seriously, with these basics, you can carve out a decent starter base in no time. Then you can start thinking about the fancy stuff, but for now, let's get digging!
Material | Why You Need It | "Cheap" Factor |
|---|---|---|
Iron Pickaxe | Efficiently mines stone and other essential blocks. | Relatively easy to craft early-mid game. |
Shovel | Quickly clears dirt and gravel, the main materials you'll be excavating. | Cheap to make (iron or even stone). |
Torches | Essential for lighting up your underground space and preventing mob spawns. | Super cheap! Coal and sticks are abundant. |
Stone/Cobblestone | Basic building block, easily obtained from mining. | Essentially free as a byproduct of digging your base. |
Block Basics: Affordable Building Materials
tools sorted, let's talk blocks. For a cheap underground Minecraft house, you want to focus on materials that are readily available when you're digging out your space. Cobblestone is your absolute MVP here. You're gonna get tons of it just from excavating, and it's surprisingly versatile. It’s strong, looks decent enough, and is basically free. Dirt is another obvious choice, since you’ll be swimming in it. While maybe not the prettiest, dirt walls are definitely cheap and functional, especially for temporary structures or filling in gaps. Wood is also fairly accessible early game. A bit more effort to gather than stone, but wood planks can add some much-needed visual variety to your underground base and are great for crafting doors, trapdoors, and other essential items. Plus, different wood types can give your base a unique look without costing you anything extra in terms of resources – just explore different biomes!
Don't underestimate the power of simple materials! Stone, dirt, and wood might not sound glamorous, but when used creatively, they can form the foundation of a surprisingly cozy and functional underground home. Think of it like this: you're not building a palace (yet!), you're building a solid, dependable base to get you started. And the best part? You'll likely gather most of these materials just by creating the space for your house in the first place. Talk about efficient! Once you've got the basics down, you can always upgrade and refine your design later, but for now, embrace the humble block and start building!
Simple and Cheap Underground Minecraft House Designs for Beginners
Simple and Cheap Underground Minecraft House Designs for Beginners
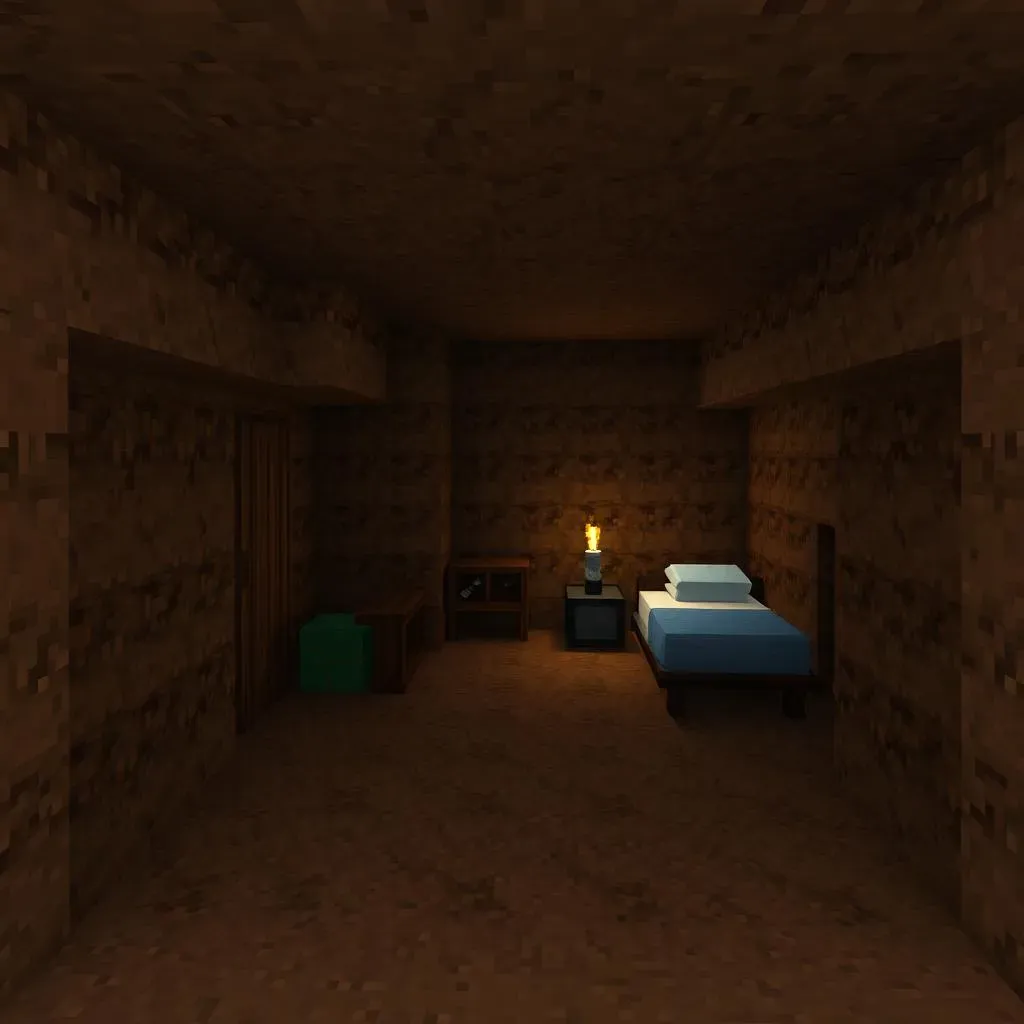
so you've got your pickaxe, your shovel, and a mountain of torches – awesome! Now comes the fun part: actually designing your simple and cheap underground Minecraft house. For beginners, the key is to keep it, well, simple! Don't try to carve out a massive multi-level bunker right away. Start small and expand as you get more comfortable. Think of your first underground home as a cozy starter apartment, not a sprawling mansion. A super easy design is the "hole-in-the-ground-with-a-roof" classic. Seriously, just dig down a decent-sized square or rectangle – maybe 5x5 or 7x7 blocks – and make it a few blocks deep. Ramp or stair your way down for easy access. Then, roof it over with dirt, wood, or cobblestone. Boom! Instant underground shelter. It’s not fancy, but it’s safe, functional, and gets you out of the rain and away from those pesky creepers. From there, you can customize! Add a wooden door to keep out unwanted guests (both pixelated and real-life siblings), throw down some torches for light, and craft a bed, crafting table, and furnace. Suddenly, that hole in the ground is starting to feel like home.
Level Up: More Complex Cheap Underground Minecraft House Ideas
Level Up: More Complex Cheap Underground Minecraft House Ideas
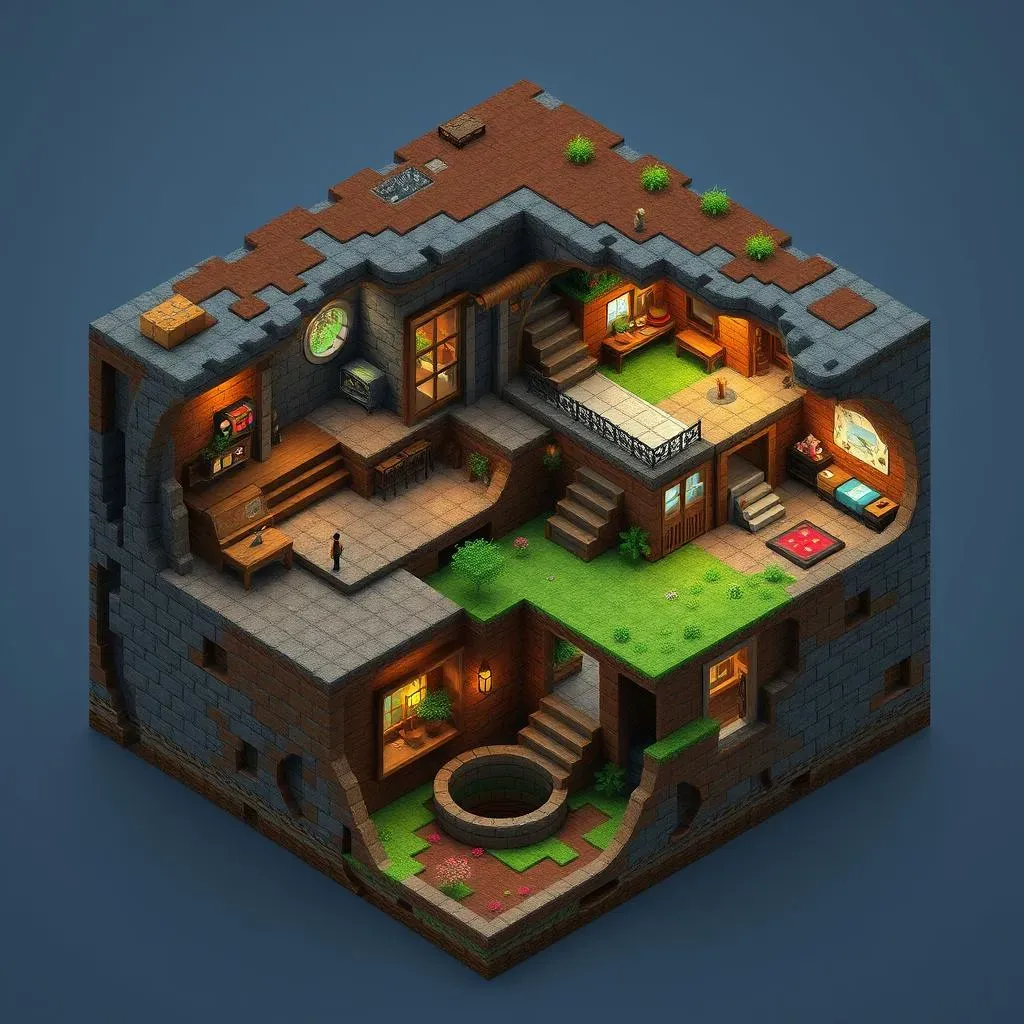
so the dirt-roofed box is functional, but let's be honest, it's not exactly winning any design awards. Ready to take your cheap underground Minecraft house designs to the next level? It's time to think beyond the basic hole and start incorporating some actual architectural flair – without spending a fortune on rare materials, of course. One super simple upgrade is expanding into multiple rooms. Instead of just one big square, branch out! Dig hallways to connect different chambers for storage, crafting, sleeping, maybe even a dedicated enchanting room. Think of it like carving out a little ant farm, but for humans (and without the ants, hopefully). Use different levels too! Dig downwards to create a basement level for farms or storage, or build upwards to incorporate a hidden entrance that blends seamlessly into the surface. Speaking of hidden entrances, ever thought about a secret staircase disguised as a well? Or a trapdoor hidden under a rug in a seemingly innocent-looking patch of grass? Suddenly your cheap underground Minecraft house is not just a shelter, it's a secret lair! And who doesn't want a secret lair?
Feature | Complexity Level | "Cheap" Factor |
|---|---|---|
Multi-Room Layout | Easy | Uses existing excavated space, minimal extra materials |
Multiple Levels (Basement/Upper Level) | Medium | Requires more digging, but still uses readily available materials |
Hidden Entrance (Well, Trapdoor) | Medium | Requires some redstone (for trapdoors) or clever landscaping, but generally cheap |
Natural Cave Integration | Variable | Can be very cheap if you find a suitable cave, just requires adapting to existing terrain |
Another awesome and cheap way to level up your underground abode is to embrace the natural terrain. Don't just flatten everything into perfect squares! If you dig into a hillside, use the natural slope to create multi-level rooms cascading down the slope. Found a cool natural cave while mining? Don't ignore it – incorporate it into your base! A cave can become an epic natural foyer, a hidden garden, or even a bat-infested (okay, maybe not bat-infested) storage area. The beauty of underground building is that you can really let the landscape dictate your design. Work *with* the existing caves and tunnels, rather than fighting against them. It's not only cheaper (less digging!), but it often leads to far more interesting and unique base designs. Plus, think of the bragging rights: "Yeah, this awesome cavernous hall? Totally natural, I just built my base *around* it." Instant Minecraft street cred.
Tips and Tricks for Building the Ultimate Cheap Underground Minecraft Base
Tips and Tricks for Building the Ultimate Cheap Underground Minecraft Base
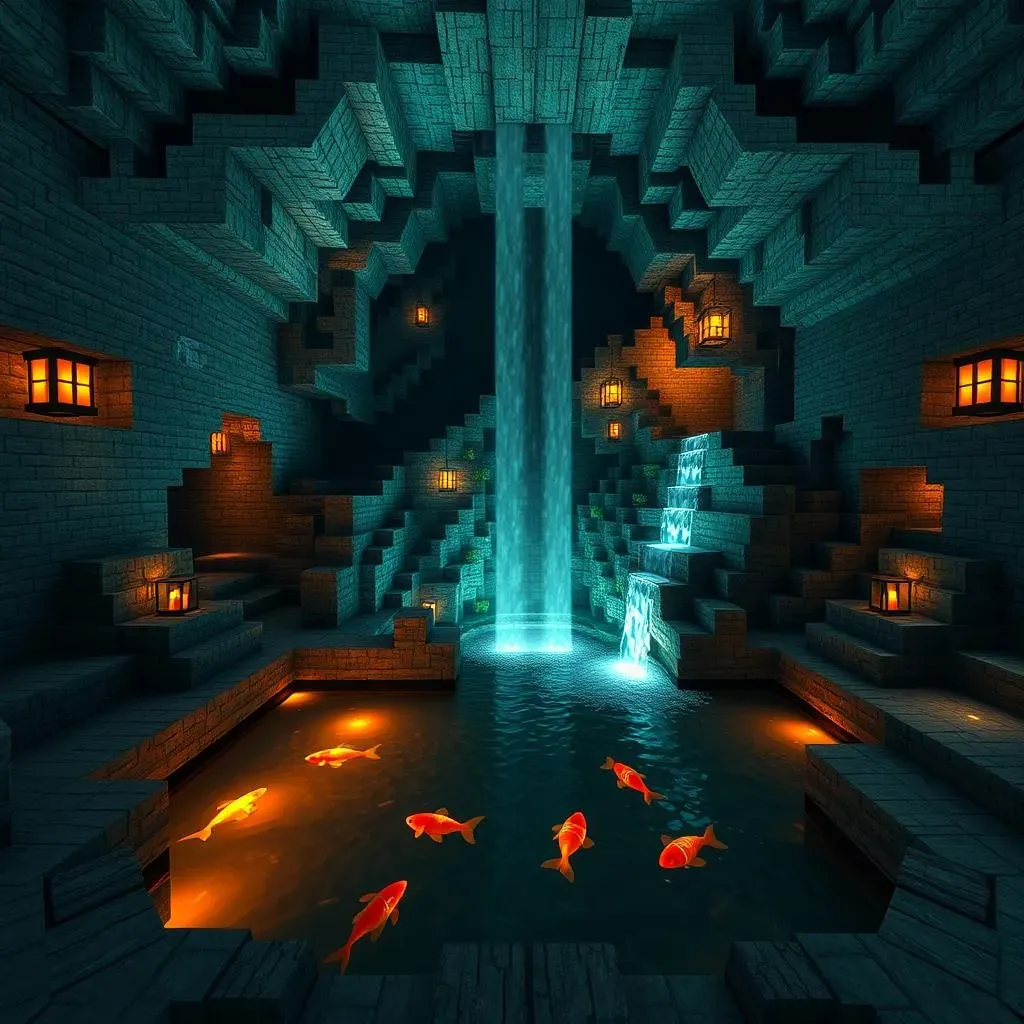
Alright, you're practically a mole person at this point, digging and building like a pro. But even the most experienced underground architects can use a few extra tricks up their sleeves to build the ultimate cheap underground Minecraft base! First up: lighting is your friend, but smart lighting is your BEST friend. Don't just spam torches everywhere and call it a day. Think about efficient placement. Torches in corners illuminate walls better, and strategically placed lanterns or even glowstone (if you're feeling a *little* bit fancy) can create a much more polished and less cluttered look. Water features are another surprisingly cheap way to add some serious wow factor. A simple indoor waterfall cascading down a wall of stone bricks? Classy! An underground pond with some glowy fish? Zen vibes achieved! Water is plentiful, easy to work with, and can transform a bland stone box into something truly special. And speaking of stone, mix up your textures! Cobblestone is great, but throw in some stone bricks, andesite, or even gravel in different areas to break up the monotony and add visual interest. Experiment with patterns, borders, and accent walls. It's all about making your cheap underground Minecraft base feel less like a bunker and more like a home.
Tip | Description | "Ultimate Base" Benefit |
|---|---|---|
Smart Lighting | Strategic torch/lantern placement, consider glowstone accents | Improved aesthetics, efficient mob prevention, polished look |
Water Features | Indoor waterfalls, ponds, fountains using readily available water | Adds visual interest, calming atmosphere, unique design element |
Texture Mixing | Combine cobblestone, stone bricks, andesite, gravel for walls and floors | Breaks up monotony, adds depth and visual appeal, more sophisticated style |
Digging Out: Your Dream Cheap Underground Minecraft House Awaits
So, there you have it! Building a cheap underground Minecraft house doesn't have to be a daunting task. From cozy starter bunkers to sprawling subterranean complexes, the possibilities are as limitless as your imagination (and your block supply!). Embrace the benefits of underground living: safety, resourcefulness, and a unique building challenge that sets you apart. Now, grab your pickaxe, gather your materials, and get ready to carve out your own incredible cheap underground Minecraft house. Happy building!
