Table of Contents
Ready to ditch that dirt shack and build something amazing in your Minecraft world? This easy Minecraft starter house tutorial is your ultimate guide to crafting the perfect first home. Forget struggling through complicated designs and endless resource hunts; we'll walk you through a simple, efficient build that's perfect for beginners. This isn't just about slapping together four walls – we'll cover everything from gathering the essential materials to adding clever upgrades that will make your base both functional and stylish. We'll break down the process into easy-to-follow steps, complete with helpful images and tips to avoid common pitfalls. By the end of this "easy minecraft starter house tutorial", you'll have a cozy, secure home, ready to defend against creepers and store your hard-earned loot. Get ready to transform your Minecraft experience from survival struggle to comfortable homesteading! Let's get started and build your dream starter house!
Gathering Resources for Your Easy Minecraft Starter House

Gathering Resources for Your Easy Minecraft Starter House
Wood: The Foundation of Your First Home
Your Minecraft journey begins with wood! It's the backbone of any early-game structure. Punch trees until your inventory is full of logs. Don't be shy; those trees aren't going to punch back! Convert those logs into planks – you'll need them for everything from walls to crafting tables. Aim for at least 30-40 planks to start. Remember, you can always get more later, but starting with a good supply makes things much smoother.
Once you've got a decent pile of wood, it's time to make some essential tools. A crafting table is your first priority. This lets you create more advanced tools and items. Next, make a wooden pickaxe – you'll need this to mine stone, which is crucial for more durable building materials.
Item | Quantity Needed (Estimate) | Use |
|---|---|---|
Logs | 30+ | Crafting planks and sticks |
Planks | 30+ | Building walls, floors, crafting tables |
Sticks | 10+ | Tool crafting |
Stone: Upgrading Your Construction
Now that you have a basic wooden pickaxe, it's time to find some stone. Stone is a much tougher material than wood, making your house more resistant to those pesky creepers. Head underground or find exposed stone near the surface. Mine enough stone to create a stone pickaxe – this will be a huge upgrade, allowing you to mine even more efficiently! You’ll want a good 3 stacks of cobblestone at minimum.
Think of stone as your upgrade path. A stone pickaxe is faster and more durable, letting you gather materials more quickly. This allows you to build a stronger, more resilient home, faster! It’s a worthwhile investment of time, even if mining feels a little tedious at first. Plus, stone looks far more impressive than wood!
- Mine cobblestone for a stronger pickaxe.
- Cobblestone is also great for basic walls and floors.
- Remember to save some stone for future projects!
Essential Crafting: Tools and More
Before you even think about building walls, you'll need a few more things. A furnace is essential for smelting materials like iron ore into usable iron ingots. Iron tools are the next step up from stone, offering even greater durability and speed. Remember to make a chest to store your growing collection of resources. Organization is key to efficient base building!
Once you have a furnace, start smelting any iron ore you've found. Iron tools (pickaxe, axe, shovel) are a significant upgrade. They'll make your future gathering efforts much more efficient. Don't forget to craft a door for your house – security is important, especially at night!
StepbyStep Guide: Building Your Easy Minecraft Starter House

StepbyStep Guide: Building Your Easy Minecraft Starter House
Laying the Foundation: A Simple Square
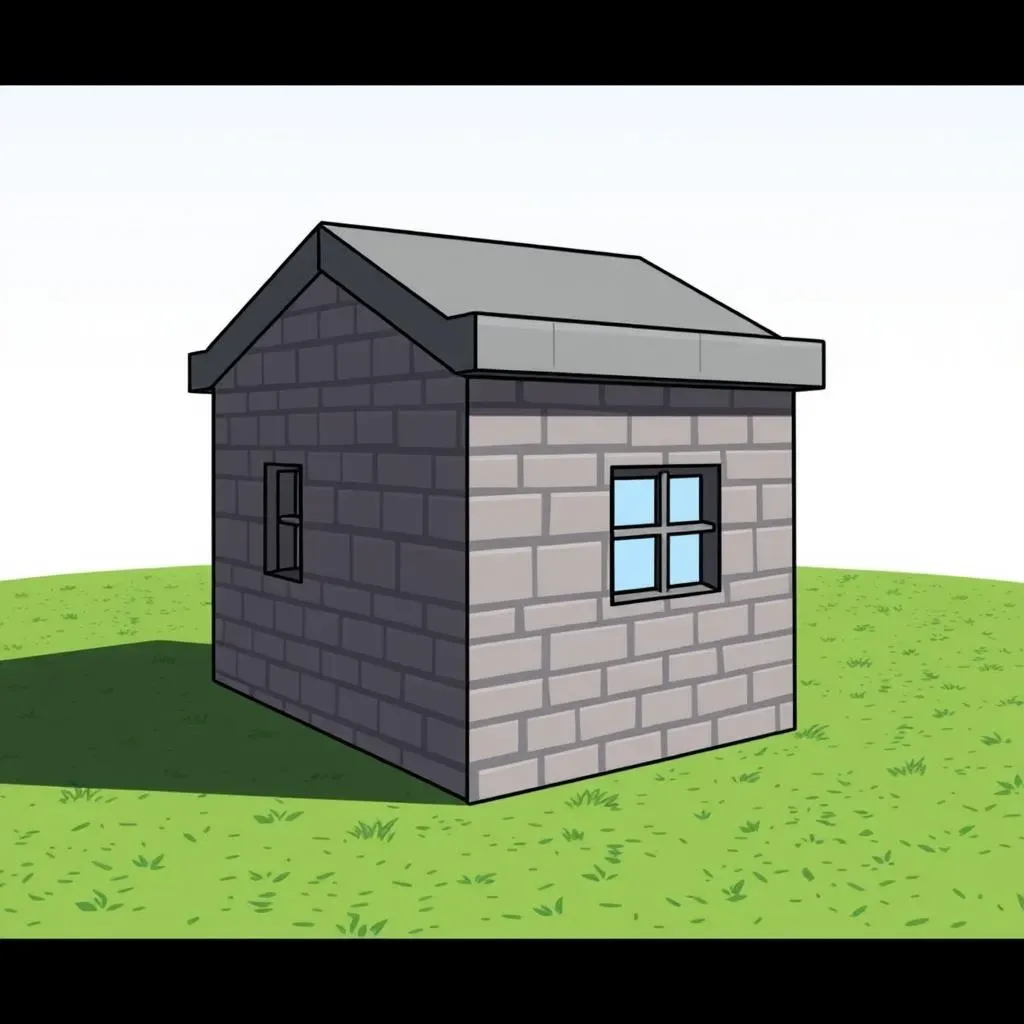
Alright, let's get building! For this easy Minecraft starter house, we're going with a simple, square design. It's easy to understand and expand later. Start by laying down a 5x5 square of cobblestone. This forms the base of your house. Don't worry about making it perfect; we’re aiming for functional, not fancy at this stage. Remember to choose a flat area for your house to avoid any unevenness in the final structure. A slightly elevated spot can offer a bit of protection from unwelcome visitors too!
Once you have your 5x5 base, it’s time to build the walls. Use your cobblestone to create walls that are 3 blocks high. This gives you a nice, simple structure with room for a roof. Don't forget to leave a doorway! A single block opening is all you need for now. You can always add a proper door later, but for now, it's all about getting that basic structure up and running.
- Lay a 5x5 cobblestone base.
- Build 3-block high walls around the base.
- Leave a 1-block doorway opening.
Roofing and Refinements: Adding the Finishing Touches
Now for the roof! This is where your creativity can shine, even with a simple design. The easiest option is a flat roof, using more cobblestone or wood planks. However, you can also get creative with stairs or slabs to create a more interesting look. Remember, this is your first house, so don't stress over perfection – it's all about getting a roof over your head!
Finally, add a door to your single-block doorway. This will keep out unwanted guests (like creepers!). You can also add a simple wooden crafting table inside your house for easy access to crafting. Consider adding a small chest to store your valuables and resources. This simple house is a great starting point, but you can always upgrade and expand it later as you gather more resources and experience!
Building Material | Quantity Needed (Estimate) | Use |
|---|---|---|
Cobblestone | 60+ | Walls, floor, roof |
Wooden Planks | 15+ | Crafting table, door |
Wooden Door | 1 | Security! |
Expanding and Improving Your Easy Minecraft Starter House
Adding More Rooms: Expanding Your Living Space
So, you've got your basic starter house – congrats! But what's next? Expanding, of course! The beauty of this simple design is its expandability. You can easily add rooms to your existing structure. Think about what you need: a storage room for all your loot, a crafting area for your latest projects, or even a dedicated farming space. Start by planning your additions. Consider where you want to place these new rooms and how they'll connect to your existing house. A simple corridor or doorway can work wonders.
Remember to maintain a consistent aesthetic. If you used cobblestone for the initial build, stick with it (or similar materials) for your expansion. Mixing and matching materials can look messy, especially in the early game. And don't forget to reinforce your walls as you expand! Creepers are opportunistic, and a larger house offers them more targets.
Expansion Idea | Materials Needed | Benefits |
|---|---|---|
Storage Room | Chests, cobblestone | Keeps your inventory organized |
Crafting Area | Crafting table, furnace | Centralized crafting station |
Farming Area | Farmland, seeds | Sustainable food source |
Upgrading Materials: From Cobblestone to Something Better
Once you've got a little more experience under your belt and have gathered some more resources, it's time to upgrade your house's materials. Cobblestone is a solid start, but there are much more aesthetically pleasing (and sometimes more protective!) options. Consider using wood, stone bricks, or even more advanced blocks like sandstone or quartz. This upgrade isn't just about looks – it can also improve your house's defense against mobs.
Replacing your cobblestone walls with stone bricks, for example, will give your house a much more robust feel and look. But remember, upgrading takes time and resources. Prioritize the areas that need it most. Focus on the exterior walls first for better protection. You can always upgrade the interior later.
- Stone Bricks: More durable and visually appealing than cobblestone.
- Wood: Offers a warmer, more rustic look.
- Sandstone or Quartz: Adds a unique, polished touch (requires more advanced mining).
Adding Decorations and Functionality: Personalizing Your Home
Finally, it's time to add some personal touches! Don't forget the little things that make a house a home. Add some paintings to your walls, place torches for lighting and ambiance, or even add some flowers or other decorative items. This will make your base feel more welcoming and personalized. You can also add practical elements like a well-lit crafting area or a designated storage space.
Consider adding windows to let in some light and improve the overall aesthetic. Windows also give you a better view of your surroundings, which is useful for spotting potential dangers. As you progress through the game, you'll unlock even more decorating options, from stained glass to intricate patterns. This is your chance to make your house truly unique and reflect your personal style!
