Table of Contents
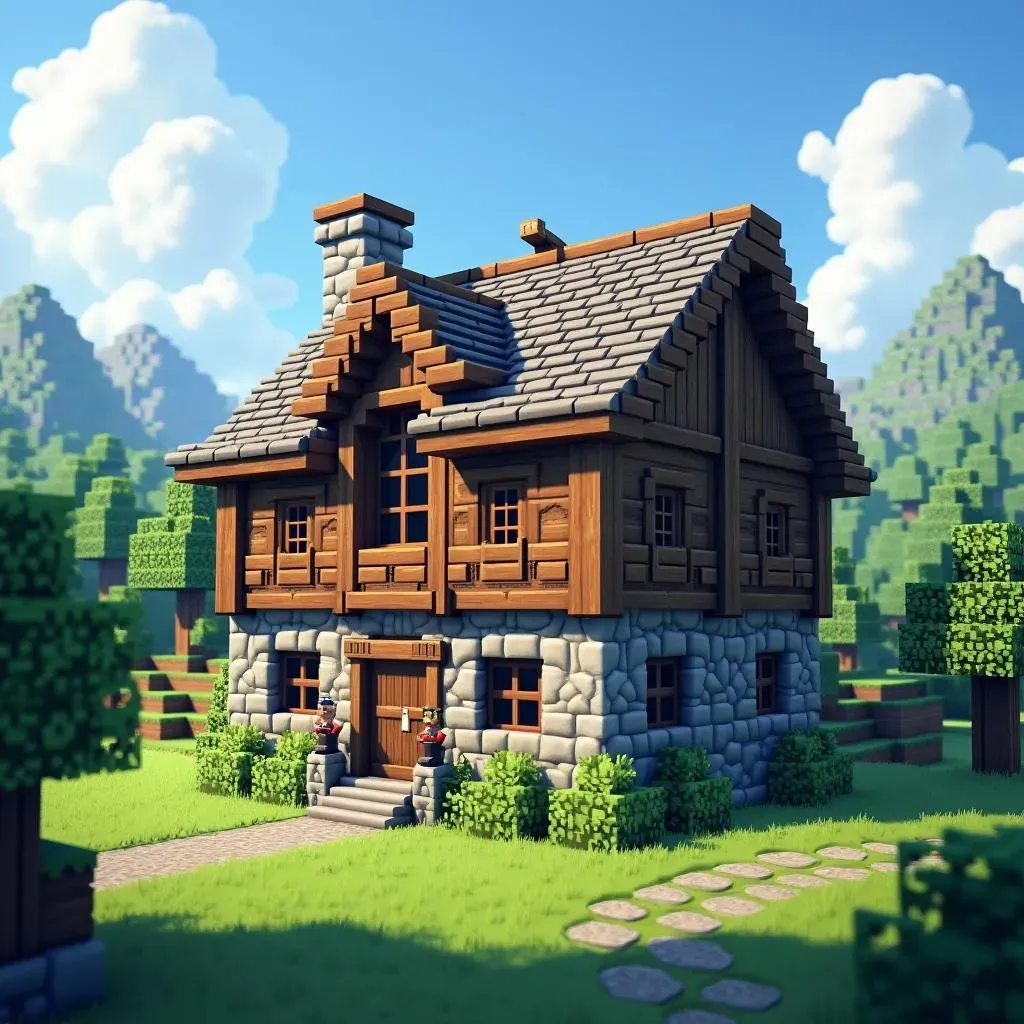
Ever dreamed of building your own majestic medieval castle in Minecraft? Or perhaps a cozy, charming medieval cottage is more your style? Building a medieval Minecraft house can seem daunting, but it's totally achievable with the right approach. This medieval minecraft house building guide is here to walk you through each step, making the process fun and rewarding. Forget those basic square boxes; we're diving into creating a build that looks straight out of the Middle Ages! We'll start with the essential materials you'll need to gather, then move onto laying a strong foundation. From there, we'll tackle crafting the walls and roof, ensuring your medieval house is both sturdy and aesthetically pleasing. Finally, we'll explore adding all those crucial details and decorations that will truly bring your medieval Minecraft house to life. Ready to transform your Minecraft world with an awesome medieval build? Let's get started!
Essential Materials for Your Medieval Minecraft House Building Guide
Essential Materials for Your Medieval Minecraft House Building Guide
Gathering Your Medieval Building Blocks
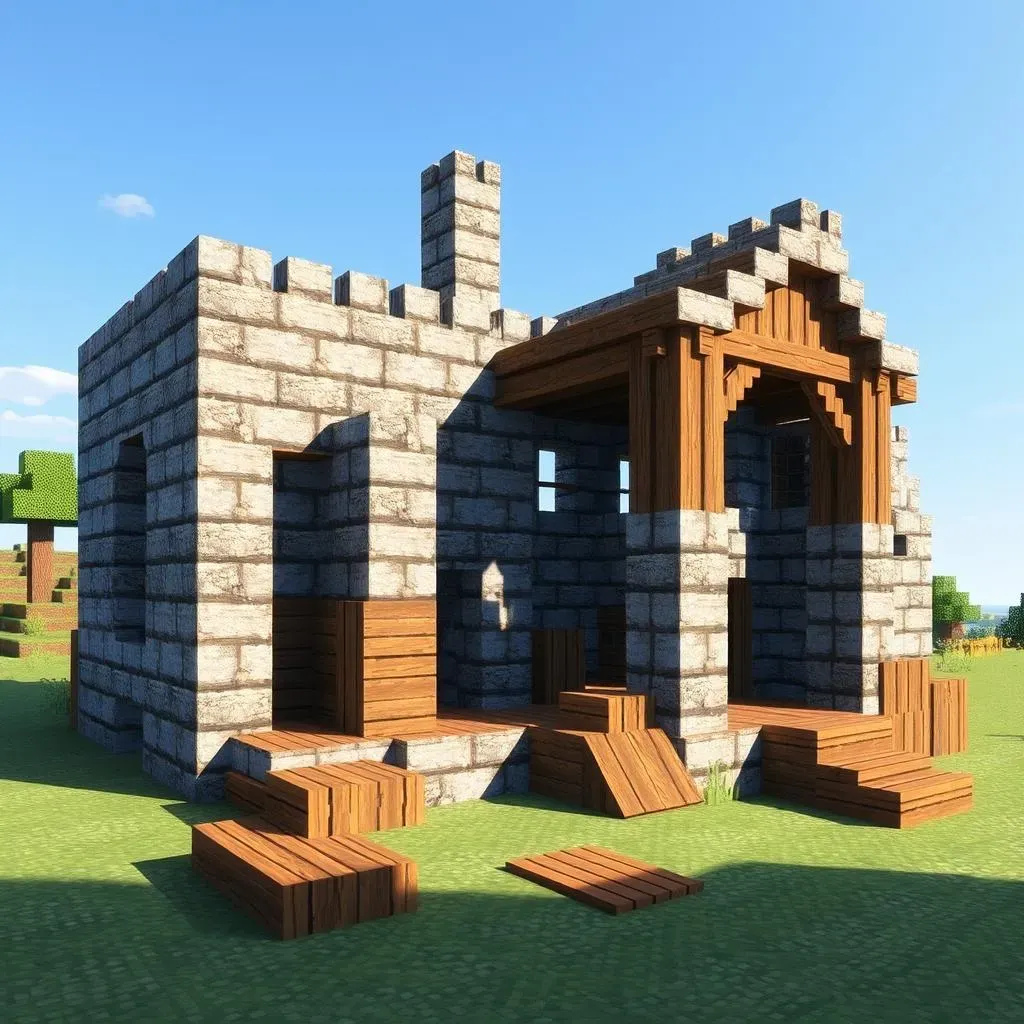
Alright, so you're ready to dive headfirst into crafting your very own medieval masterpiece in Minecraft? Awesome! But before you even think about placing that first block, let's talk shop about the absolute must-have materials for any respectable medieval minecraft house building guide. Forget your flimsy dirt huts; we're aiming for sturdy, stone-and-timber structures that could withstand a dragon attack (or at least a creeper explosion). Think less modern McMansion, more old-world charm. Getting your block palette sorted is the very first step to nailing that authentic medieval vibe.
Stone and Cobblestone: The Heart of Medieval Builds
Seriously, if you're building medieval, you’re gonna need stone. And lots of it. Cobblestone is your best friend here, the rough, textured look screams old-world. Stone bricks are its slightly more refined cousin, perfect for adding a touch of class without losing that rugged feel. Think of cobblestone as the foundation and main walls, the backbone of your build. Stone bricks can then come in to play for detailing, pathways, or maybe even the fancier parts of your walls. Don't underestimate the power of mixing these two up – it adds visual interest and depth like nobody's business.
Block | Medieval Vibe | Best Uses |
|---|---|---|
Cobblestone | Rustic, rugged, classic medieval | Foundations, walls, pathways, chimneys |
Stone Bricks | Refined, sturdy, slightly more formal | Walls, accents, pillars, castle details |
Andesite/Diorite/Granite | Varied stone textures, natural look | Wall variations, texturing, landscaping |
Wood and Planks: Adding Warmth and Structure
Stone alone can make your medieval house look a bit cold and, well, stony. That's where wood comes in! Oak is a solid choice, it's classic and versatile. Dark oak brings a richer, more aged feel, perfect for Tudor-style builds. Spruce has a slightly cooler tone, which can work wonders for roofs or contrasting elements. Planks are your go-to for flooring, roofing supports, and those essential wooden frames that peek out in medieval architecture. Logs, with their bark texture, are fantastic for pillars, exposed beams, and adding a natural, sturdy look to your medieval minecraft house building guide masterpiece. Don't be shy about mixing wood types to create contrast and visual interest; just like with stone, variety is key to a build that pops.
StepbyStep Medieval Minecraft House Building Guide: Laying the Foundation
StepbyStep Medieval Minecraft House Building Guide: Laying the Foundation
Choosing Your Spot and Setting the Size
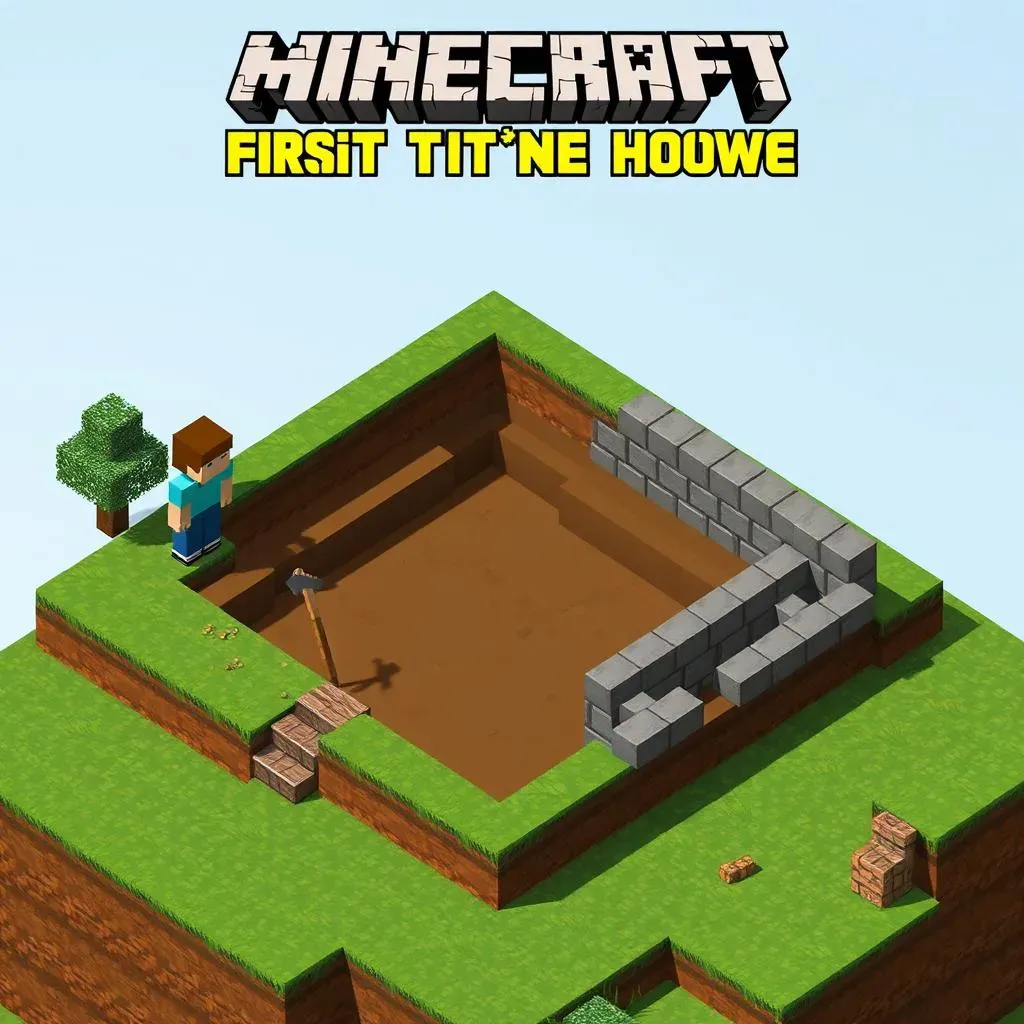
foundation time! First things first, you gotta pick the perfect spot for your medieval masterpiece. Are we talking a sprawling countryside estate? Or a cozy village home nestled amongst other builds? Think about the vibe you're going for. Flat land is easiest, sure, but a slight slope can add character. And definitely consider your surroundings – building near trees or water can look amazing for a medieval theme. Once you've got your location scouted, it's time to decide how big you wanna go. Pro-tip: medieval houses weren't massive. Think functional and cozy rather than modern mansion. Unless you're building a castle, keep it reasonably sized for that authentic feel.
Grab some blocks – dirt works great for temporary markers – and outline the footprint of your house. Seriously, walk around inside your marked area. Is it big enough? Too big? Imagine where your rooms will be. This is way easier to adjust now than when you've already built half the walls! Consider the shape too. Squares and rectangles are fine, but L-shapes or slightly irregular outlines can make it look way more organic and less boxy. Medieval buildings weren't perfectly symmetrical, so embrace a bit of wonkiness! It adds charm, trust me.
Digging Down and Base Materials
Alright, you've got your area marked, now for the less glamorous but super important part: digging the foundation. Medieval houses often had stone foundations, sometimes even cellars or basements. So, dig down at least one block deep inside your marked outline. Two or three blocks deep if you're feeling ambitious and want a basement later on. This little dip makes a big difference in grounding your house and making it look like it's actually sitting on the land, not just plonked on top.
Now, what to fill that hole with? Cobblestone is your go-to foundation block. It’s cheap, it’s cheerful, and it looks authentically medieval. Line the bottom of your dug-out area with cobblestone blocks. This is your base layer. You can keep the foundation at ground level, or raise it up a block or two for a slightly grander feel. Raising it also helps if you're building on uneven terrain. Just make sure it's all level and solid before you start stacking walls on top. A wonky foundation is the enemy of a good medieval build!
Crafting the Walls and Roof: Continuing Your Medieval Minecraft House Building Guide
Crafting the Walls and Roof: Continuing Your Medieval Minecraft House Building Guide
Wall Basics - Height and Materials for Your Medieval Walls
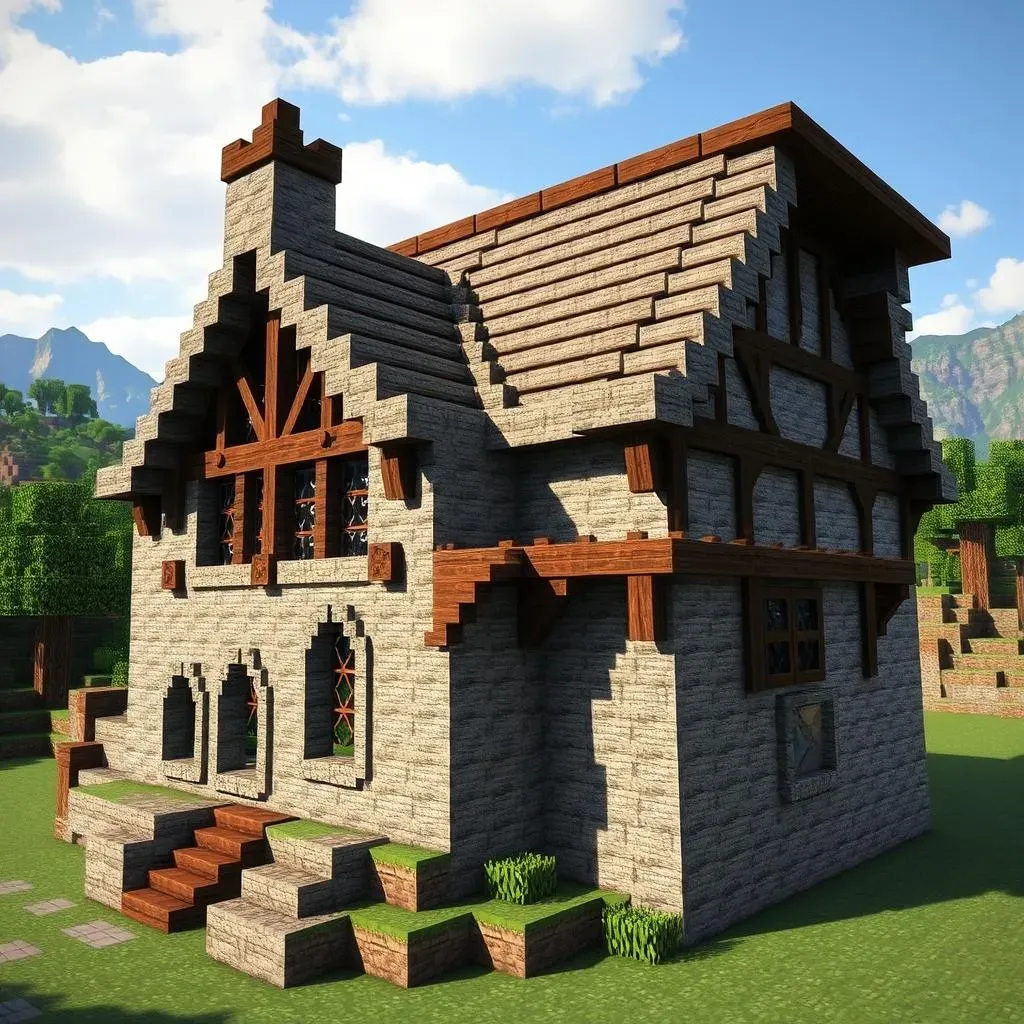
Alright, foundation's set, looking good! Now, let's talk walls because a house without walls is just a fancy hole in the ground, right? For your medieval minecraft house building guide walls, think sturdy and not too towering. Medieval houses weren't skyscrapers. Keep your walls at a reasonable height – maybe 4-6 blocks tall for the ground floor? You can always add a second story later if you're feeling ambitious. Starting too big is a recipe for Minecraft build burnout, trust me.
Material-wise, stick with the medieval classics. Remember all that lovely cobblestone and stone brick we talked about? Yeah, those are your wall staples. Mix 'em up! Don't just build a wall entirely of one block. Use cobblestone as the main wall, then add a layer of stone bricks at the base or as a trim at the top. Variety is the spice of Minecraft life, and it definitely applies to medieval walls. Also, don't forget wood! Exposed wooden beams or frames look fantastic in medieval builds and break up the stone nicely. Think Tudor style – those dark wood frames against lighter walls? Chef's kiss.
Adding Wall Depth and Texture - No Flat Walls Allowed!
Seriously, the biggest mistake I see in beginner medieval builds? Flat, boring walls. Medieval walls weren't smooth and uniform. They had texture, depth, character! So, how do we avoid the dreaded flat wall? Easy peasy. First off, use those different stone types we mentioned – cobblestone, stone brick, andesite, even a touch of granite or diorite mixed in. Randomly place them, don't be too neat about it. Medieval walls were often a bit rough and tumble.
Next up: depth. Push some blocks in, pull others out. Use logs as vertical supports that slightly jut out from the wall face. Create window openings that are a block or two deep, don't just slap glass panes on the surface. Even better, use stairs and slabs around windows to create little window frames that pop out. And don't forget about details! Add small sections of different blocks – a line of cobblestone bricks in a stone brick wall, or vice versa. Little details make a HUGE difference in making your walls look interesting and not just like a giant, flat rectangle.
Roofing - Shape and Materials for a Medieval Look
Wall Detailing Block | Effect | Example Use |
|---|---|---|
Logs (Oak, Dark Oak, Spruce) | Vertical support, frame, texture | Corner pillars, exposed beams |
Stone Stairs & Slabs | Window frames, wall trim, depth | Around windows, wall tops |
Different Stone Types (Andesite, Granite, Diorite) | Texture variation, natural look | Randomly mixed in walls |
walls are taking shape, looking good! Now for the roof – arguably the most visually defining part of your medieval minecraft house building guide. Roof shape is key for nailing that medieval vibe. Think steeply pitched roofs – gabled roofs (the classic A-frame shape) are super common and easy to build. Hipped roofs (sloping on all four sides) are a bit fancier and work great for larger houses. Avoid flat roofs like the plague unless you're building a specific type of medieval structure that actually had one (unlikely for a house).
Material-wise, stairs and slabs are your roofing MVPs. Stone stairs and slabs are classic and durable, perfect for a stone or cobblestone house. Wood stairs and slabs (spruce or dark oak are great) add warmth and contrast, especially for houses with lighter walls. Mix materials for interest! Stone brick stairs for the main roof, with dark oak slabs for overhangs or detailing? Yes, please! Roof overhangs are also crucial – extend your roof out by at least one block beyond the walls. It not only looks more realistic but also protects your walls from rain in-game. And for extra detail? Try adding a layer of upside-down stairs under the roof edge to create a nice, shaped trim. Roofs can seem tricky, but play around, experiment, and don't be afraid to tear down and rebuild until you get it just right. It's Minecraft, after all!
Adding Details and Decor: Completing Your Ultimate Medieval Minecraft House
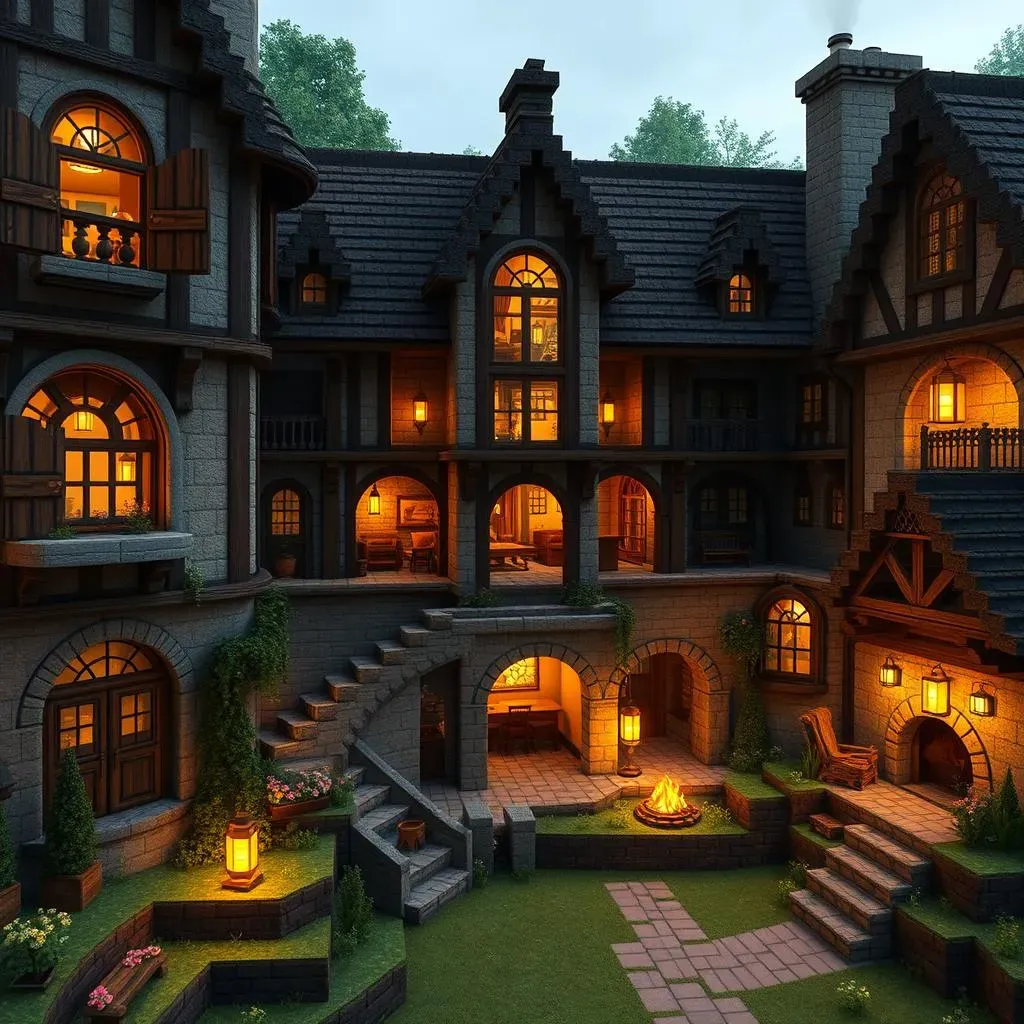
Adding Details and Decor: Completing Your Ultimate Medieval Minecraft House
Bringing Your Medieval Minecraft House to Life with Details
Alright, you've got the bones of your medieval masterpiece built – walls are up, roof is on, looking solid! But let's be real, a house is just a shell without those crucial details that make it feel lived-in and truly medieval. This is where the fun REALLY begins! Adding details and decor is what takes your build from ‘nice structure’ to ‘ultimate medieval Minecraft house’. Think of it like adding the personality and charm – the little touches that tell a story and make your build stand out. Ready to dive into the details? Let's make your medieval house sing!
Windows and Doors: Framing the Entrances and Views
Let's start with windows and doors – the eyes and mouth of your medieval abode! Forget those massive modern glass panels; medieval windows were smaller, often with wooden frames and sometimes even shutters. For windows, think about using glass panes set back one block into the wall to create depth. Surround them with wooden trapdoors or shutters to mimic window frames. Even better, use stairs and slabs around the window openings to create proper, protruding window frames. This adds so much more dimension than just sticking glass on a flat wall. Vary window sizes too! Not every window needs to be the same; smaller windows in some areas, maybe a slightly larger one in a main room. It’s all about that organic, less-perfect feel.
Doors are equally important. A simple wooden door works fine, but why not get fancy? Use dark oak doors for a richer look, or spruce doors for something a bit lighter. Frame your doorways with logs or stone bricks to make them stand out. Adding an archway above the door using stone stairs can also elevate the entrance and give it a grander, more medieval feel. And don't forget details around the door! A couple of lanterns on either side, some flower pots, or even a simple cobblestone pathway leading up to the entrance can make a world of difference.
Window/Door Detail | Minecraft Blocks | Medieval Vibe Enhancement |
|---|---|---|
Set-back Windows | Glass Panes recessed 1 block | Adds depth and realism |
Window Frames | Wooden Trapdoors, Shutters, Stairs, Slabs | Creates visual interest, frames views |
Arched Doorways | Stone Stairs | Grander, more imposing entrance |
Lighting: Torches, Lanterns, and Ambiance
Medieval times weren't exactly known for their bright electric lights, were they? So ditch the glowstone blocks (unless you’re hiding them cleverly) and embrace more medieval-appropriate lighting! Torches are your classic, go-to light source. Place them strategically on walls, corners, and pathways. But don't just spam them everywhere! Think about where light would naturally fall – near doorways, along corridors, and in work areas. Lanterns are another fantastic option. They offer a softer, warmer glow than torches and look incredibly medieval, especially hanging from chains or brackets. You can craft lanterns using iron nuggets and torches.
Campfires are also surprisingly effective for medieval lighting, especially outdoors or in kitchen/hearth areas. They cast a flickering light and add a touch of cozy warmth. And for a slightly more hidden light source, consider using candles. While there aren't actual candle blocks in vanilla Minecraft, you can mimic the look by placing a single torch behind a fence post or using a cleverly placed end rod. The key with medieval lighting is to keep it warm, slightly dim, and atmospheric. Think pools of light in the darkness rather than brightly lit rooms.
Interior Details: Furniture, Fireplaces, and Cozy Touches
Now let’s step inside and deck out the interior! Medieval houses weren't minimalist boxes; they were filled with functional furniture and cozy details. For furniture, keep it simple and sturdy. Crafting tables and chests are your basic storage and work surfaces. Use logs as chunky table legs and slabs for table tops. Benches can be made with slabs or stairs, and barrels make excellent rustic storage containers. Don't forget beds! A simple bed with a wooden headboard (using signs or trapdoors) fits the medieval vibe perfectly.
Fireplaces are a must-have in any medieval home. Build a stone or brick fireplace against a wall, using stairs and slabs to create the hearth and chimney. Campfires placed inside the fireplace opening give a fantastic flickering fire effect. Add details like andirons (using iron bars or fence posts) and maybe even a cauldron hanging over the fire for a cooking area. Other interior details? Flower pots with flowers or saplings add life. Item frames with maps, tools, or even just some wool blocks as tapestries can decorate walls. Barrels and crates scattered around create a sense of lived-in clutter. Remember, it’s the small touches that transform a build from empty rooms to a cozy medieval home.
- Furniture Ideas: Tables (logs & slabs), Benches (slabs/stairs), Chairs (stairs), Beds (with wooden headboards), Barrels, Chests, Crafting Tables, Anvils, Grindstones
- Fireplace Details: Stone/Brick construction, Campfire for fire effect, Andirons (iron bars/fences), Cauldron, Chimney
- Cozy Touches: Flower pots, Item frames (maps, tapestries), Barrels & Crates (clutter), Carpets (wool blocks), Bookshelves
Exterior Flourishes: Gardens, Pathways, and Landscaping
Don't neglect the outside of your medieval minecraft house building guide! The exterior is just as important as the interior for creating that complete medieval feel. Start with landscaping. Don't leave the area around your house flat and barren. Add some gentle slopes, maybe a small hill or a dip in the terrain. Plant trees and bushes around the house to integrate it into the environment. Flowers and grass tufts add splashes of color and life.
Pathways are essential for connecting different parts of your build and making it feel more intentional. Use cobblestone, gravel, or even coarse dirt to create winding paths around your house and garden. Fences and walls define boundaries and add to the medieval aesthetic. Wooden fences, cobblestone walls, or even hedges (using leaf blocks) can create charming borders. Gardens are another great addition. A small herb garden near the kitchen, a flower garden by the entrance, or even a vegetable patch can make your medieval house feel more self-sufficient and lived-in. And for final touches? A well (using a stone brick ring and a water source), a stable for horses, or even a small chicken coop can really complete your medieval homestead.
Exterior Detail | Minecraft Blocks & Techniques | Purpose & Medieval Vibe |
|---|---|---|
Landscaping | Terraforming, Trees, Bushes, Flowers, Grass Tufts | Integrates house into environment, adds natural beauty |
Pathways | Cobblestone, Gravel, Coarse Dirt | Defines routes, adds to realism |
Fences & Walls | Wooden Fences, Cobblestone Walls, Leaf Blocks (Hedges) | Defines boundaries, adds structure |
Gardens | Farmland, Flowers, Herbs, Vegetables | Adds life, suggests self-sufficiency |
Roof Decorations: Chimneys and Dormers for the Final Touch
Even the roof can get some love! A chimney is a classic medieval roof detail – essential for those cozy fireplaces we built. Extend your fireplace chimney up through the roof, using stone bricks or cobblestone to create a sturdy chimney stack. Add some smoke using campfires placed cleverly at the chimney top (hidden beneath trapdoors or grates). Dormers are another way to add visual interest to your roof. These are basically little windowed projections that stick out from the roof slope. They can break up a large roof surface and add extra light and space to attic areas. Dormers can be a bit trickier to build, but they add a ton of character to your medieval minecraft house building guide.
Beyond chimneys and dormers, think about adding subtle details to the roof itself. Mixing different types of stairs and slabs can create texture and pattern. Adding a layer of upside-down stairs along the roof edge creates a nice trim. And for larger roofs, consider adding small towers or turrets at corners or along the ridge. These don't need to be huge, even small decorative towers can make your roofline more dynamic and interesting. Roof details are often the last thing people think about, but they can really elevate your medieval house from good to amazing!
Conclusion: Your Medieval Minecraft House Building Guide Journey Complete
Congratulations, you've reached the end of your medieval Minecraft house building guide journey! From gathering resources to placing the final decorative touches, you now have the knowledge to construct your own impressive medieval dwelling. Remember, building in Minecraft is all about creativity and having fun. Don't be afraid to experiment with different blocks, designs, and decorations to make your medieval Minecraft house truly unique. So go forth, builder, and create the medieval masterpiece of your dreams!
