
Table of Contents
Ever dreamed of a Minecraft castle so epic, it practically runs itself? Forget endless manual farming – it's time to build a truly majestic fortress complete with a "minecraft castle automatic farm"! This guide will show you how to transform your castle from a simple stone structure into a self-sufficient powerhouse. We'll explore the best locations for your farms, the most efficient layouts, and the essential resources you'll need. Get ready to master redstone contraptions, optimize hopper networks, and harness the power of water to automate your crop, animal, and even mob farming! We'll cover everything from basic setups to advanced techniques, ensuring you can troubleshoot any problems that arise along the way. Whether you're a seasoned builder or just starting out, you'll find practical tips and tricks to create the ultimate minecraft castle automatic farm, boosting your resource gathering and freeing up your time for epic adventures. Prepare to be amazed by the efficiency and sheer awesomeness of your automated castle!
Designing Your Dream Farm: Location, Layout, and Resources
Designing Your Dream Farm: Location, Layout, and Resources
Choosing the Perfect Spot
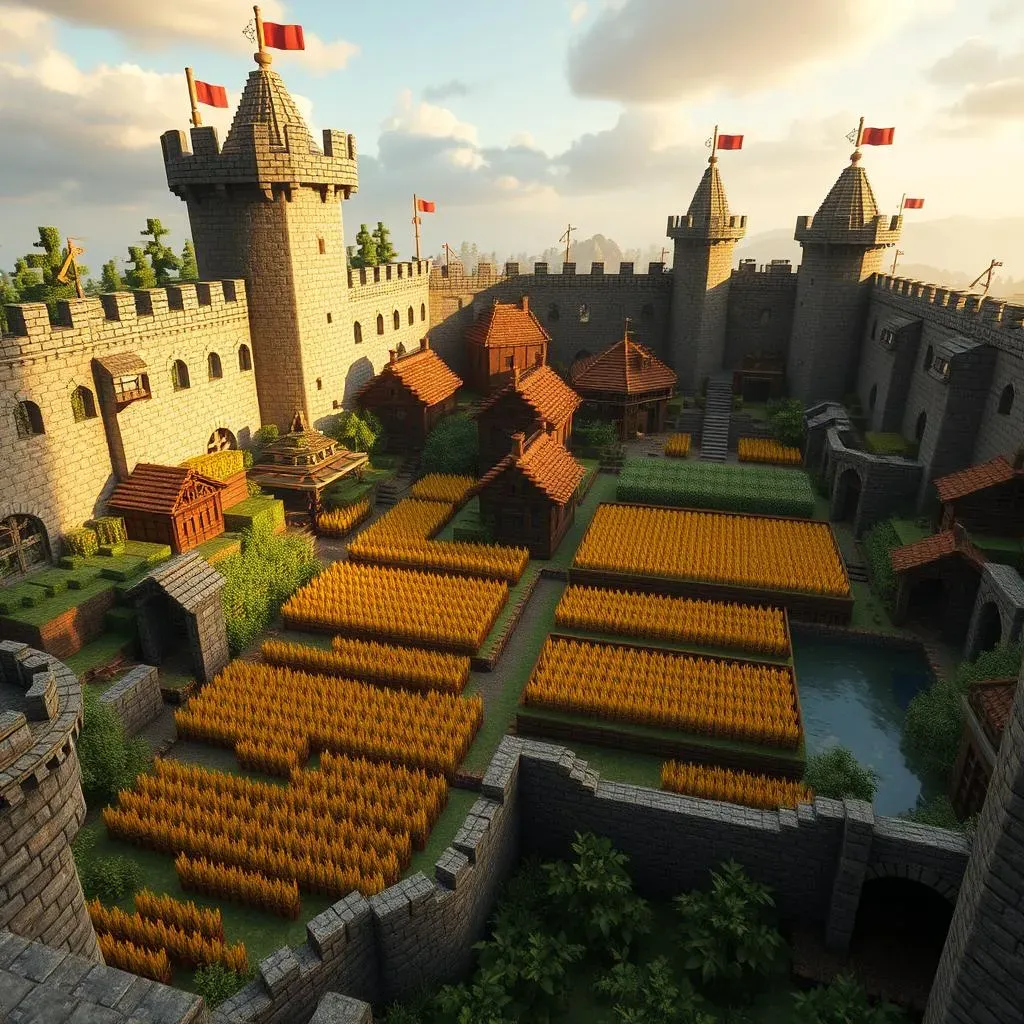
First things first: where's your farm gonna go? Think about your castle's design. A sprawling wheat farm might look silly crammed into a tiny tower, right? For a truly integrated design, consider building your farms *within* your castle walls. This can create a really cool, functional aesthetic. You could even make it part of your castle's defenses! Imagine a moat-side sugarcane farm, providing cover while you grow sweet, sweet resources. Check out some castle defense strategies for inspiration.
Alternatively, you could build an underground farm, freeing up valuable space above ground. Think hidden dungeons that are actually super efficient farms! A well-designed underground farm can be surprisingly spacious, and it's a great way to keep your farming operations separate from your living quarters. For ideas on how to integrate your farm into a larger design, check out these castle designs with hidden dungeons.
Location | Pros | Cons |
|---|---|---|
Inside Castle Walls | Easy access, protected | Limited space, potential for clutter |
Underground | Spacious, hidden | Requires digging, less natural light |
Outside Castle Walls | Plenty of space, natural light | Vulnerable to raids, requires more travel |
Layout and Design for Efficiency
Once you've picked a spot, think about the layout. Efficiency is key with automatic farms! You want to minimize wasted space and maximize resource output. For example, with a wheat farm, you'll need a compact arrangement of farmland, water sources for efficient growth, and hoppers to collect the harvest. It's like a tiny, highly organized agricultural factory! For more inspiration on how to make your castle feel like home, check out these castle furniture ideas.
Consider using different levels to stack your farms. This allows you to fit more farms into a smaller space. Think vertical farming, Minecraft style! You could have a top level for sun-loving crops, a middle level for something else and a bottom level for those plants that don't need much light. For help with overall castle design, check out these large castle blueprints.
- Plan your farm's dimensions carefully.
- Use compact designs to maximize space.
- Consider vertical farming for increased capacity.
Essential Farm Types for Your Castle: Crops, Animals, and More
Essential Farm Types for Your Castle: Crops, Animals, and More
Crop Farms: The Foundation of Your Food Supply
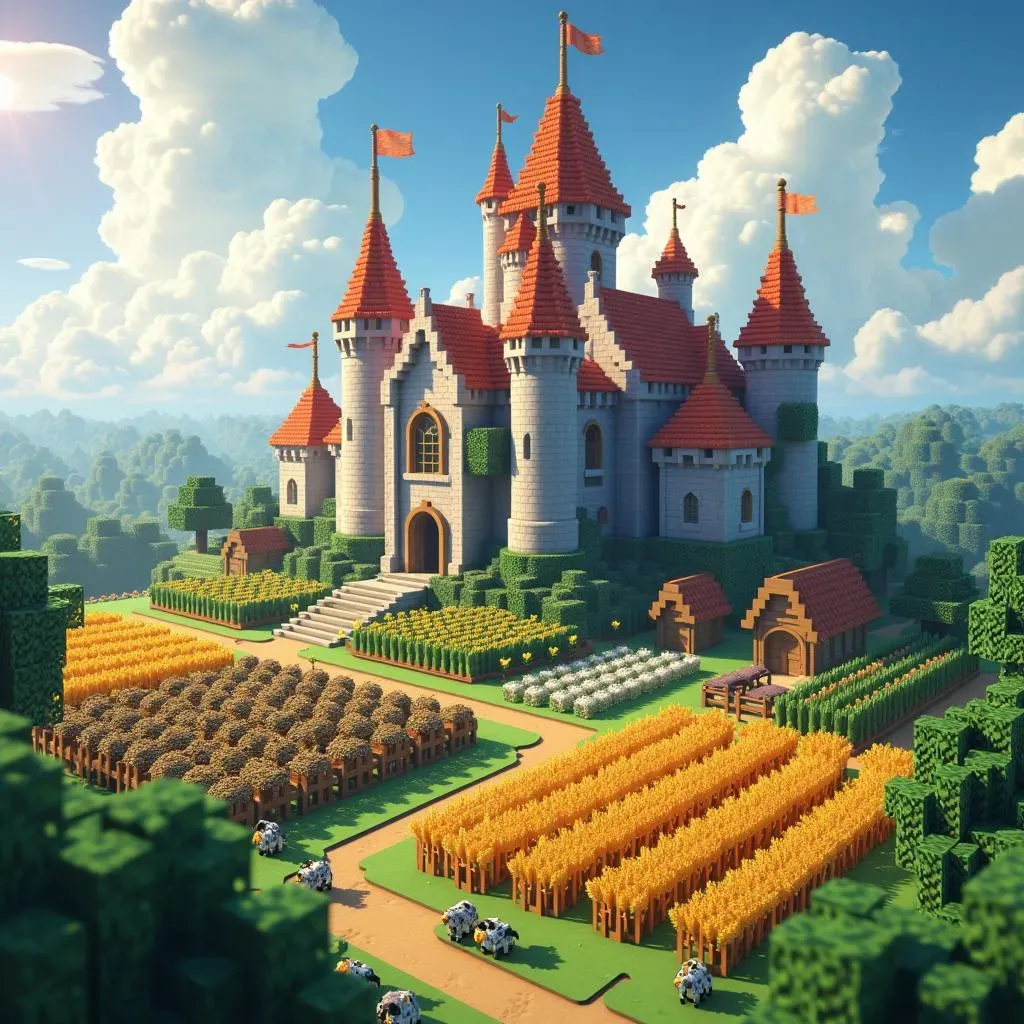
Let's start with the basics: crop farms! Wheat, carrots, potatoes – these are essential for bread, stew, and keeping your villagers happy. A well-designed auto-wheat farm is like the heart of your castle's economy. Think about it – you'll need bread for villagers, and maybe even for yourself! Efficient wheat farms save you tons of time, allowing you to focus on other aspects of your castle. For more ideas on how to design the inside of your castle, check out these medieval castle interior design ideas.
Beyond wheat, consider other crops like sugarcane (for paper and sugar), pumpkins (for pies and jack-o'-lanterns – because who doesn't love a good jack-o'-lantern?), and melons (for...well, melons!). Each crop has its own optimal farming setup, so do some research and find what works best for you. Building a castle can be a daunting task, so why not check out this step-by-step castle tutorial to get you started.
- Wheat: Bread, villager trading
- Carrots & Potatoes: Food, villager trading
- Sugarcane: Paper, sugar
- Pumpkins & Melons: Food, decoration
Animal Farms: Meat, Eggs, and More!
Next up: animal farms! Chickens are a great starting point – easy to breed and provide endless eggs (for cakes and XP!). They're also a reliable source of cooked chicken, perfect for keeping your hunger bar topped up. However, don't limit yourself to chickens. Cows provide leather and beef, sheep offer wool (for beds and other crafting), and pigs give you pork chops. Plus, breeding them is a good way to get XP! If you're looking for a good survival build, check out these castle survival builds.
Once you have a handle on basic animal farms, you can move on to more advanced setups. Think about automating the collection of resources – wool, leather, etc. Automating these processes is key to efficient castle management. Adding a little automation can go a long way! For example, you could easily integrate your animal farm into your castle's overall design and theme. If you are looking for a good custom texture pack, check out these custom texture packs.
Animal | Products | Farming Notes |
|---|---|---|
Chicken | Eggs, Cooked Chicken | Easy to breed, efficient egg production |
Cow | Leather, Beef | Requires more space, slower breeding |
Sheep | Wool | Different colored wool for variety |
Pig | Porkchops | Can be tricky to keep contained |
Building Your Automatic Systems: Redstone, Hoppers, and Water
Building Your Automatic Systems: Redstone, Hoppers, and Water
Redstone: The Brains of Your Operation
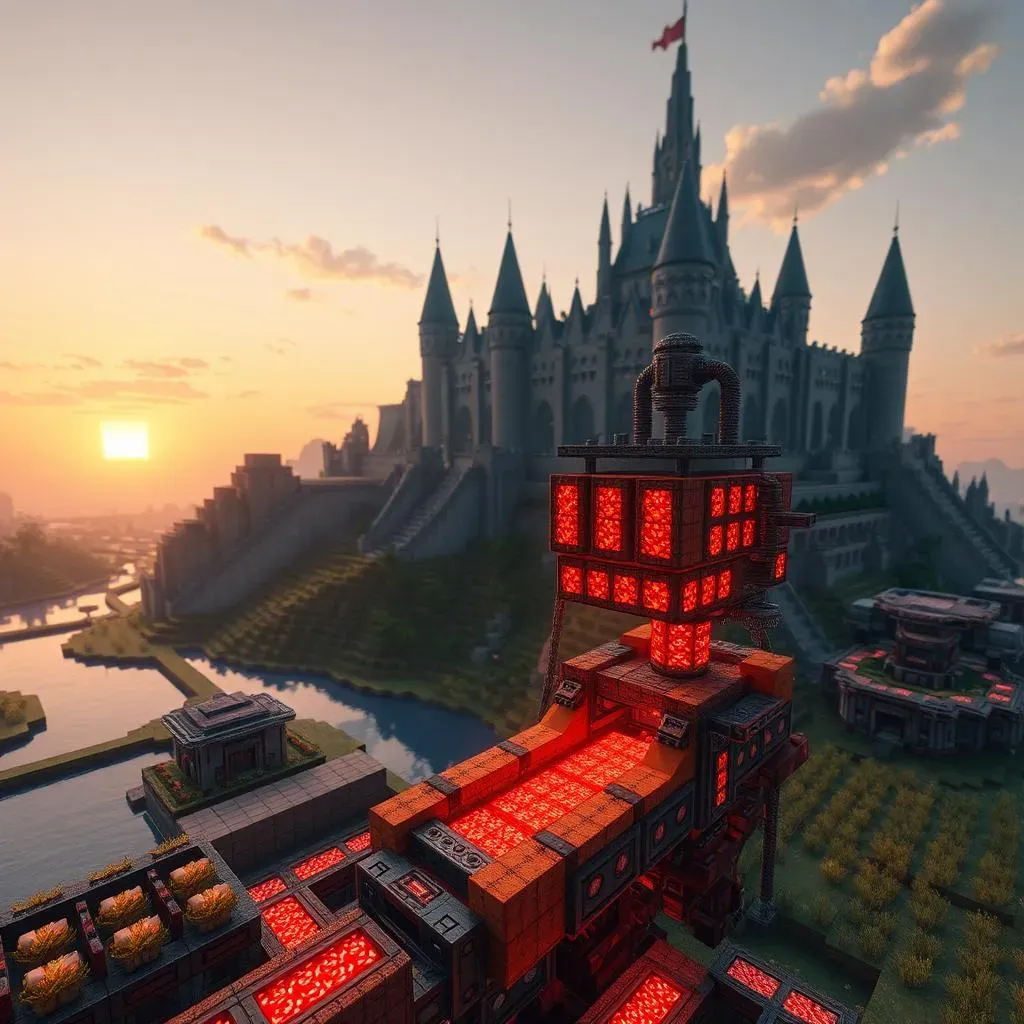
Okay, so you've got your amazing farm *design*. Now, let's make it actually *work*! This is where redstone comes in – it's the magical ingredient that brings your farm to life. Think of redstone as the nervous system of your Minecraft castle. It's what makes everything tick! Redstone dust, repeaters, comparators—these are your tools for creating automated systems. You can use redstone signals to trigger hoppers, activate pistons, and control water flow, all working together to collect your harvest without lifting a finger (well, almost!). For a head start on your castle building adventure, check out these step-by-step castle tutorials.
Don't worry if you're new to redstone; it's easier than you think! Start with simple circuits, gradually increasing complexity as you gain confidence. There are tons of online resources and tutorials available to help you learn. Remember, practice makes perfect! And if you're looking for some extra inspiration, check out these best Minecraft castle mods—some mods can even simplify redstone circuitry.
- Redstone Dust: The basic signal carrier
- Repeaters: Control signal speed and distance
- Comparators: Compare signal strength
- Hoppers: Automatically transfer items
- Piston: Move blocks and create mechanisms
Hoppers: The Item Collectors
Hoppers are your best friends when it comes to automatic farming. These little funnel-shaped contraptions suck up items from chests, furnaces, and even directly from your farmland. They're incredibly versatile and can be used to create complex item transport systems throughout your castle. Imagine items flowing smoothly from your farm to your storage, all thanks to a network of perfectly placed hoppers. It's like magic, but with less wizardry and more redstone engineering. For some inspiration on castle exteriors, check out these castle wall designs.
To make your hopper network truly efficient, plan carefully where you place them. Consider using multiple hoppers to transfer items between different storage areas. You can create a chain reaction of items moving from one location to another, keeping your resources organized and easily accessible. For a more complete castle experience, check out these castle designs with moats and drawbridges.
Item | Source | Destination |
|---|---|---|
Wheat | Farmland | Chest |
Eggs | Chicken Coop | Storage Room |
Leather | Cow Pasture | Crafting Area |
Advanced Techniques and Troubleshooting: Efficiency and Optimization
Advanced Techniques and Troubleshooting: Efficiency and Optimization
Efficiency Boosters: Taking Your Farms to the Next Level
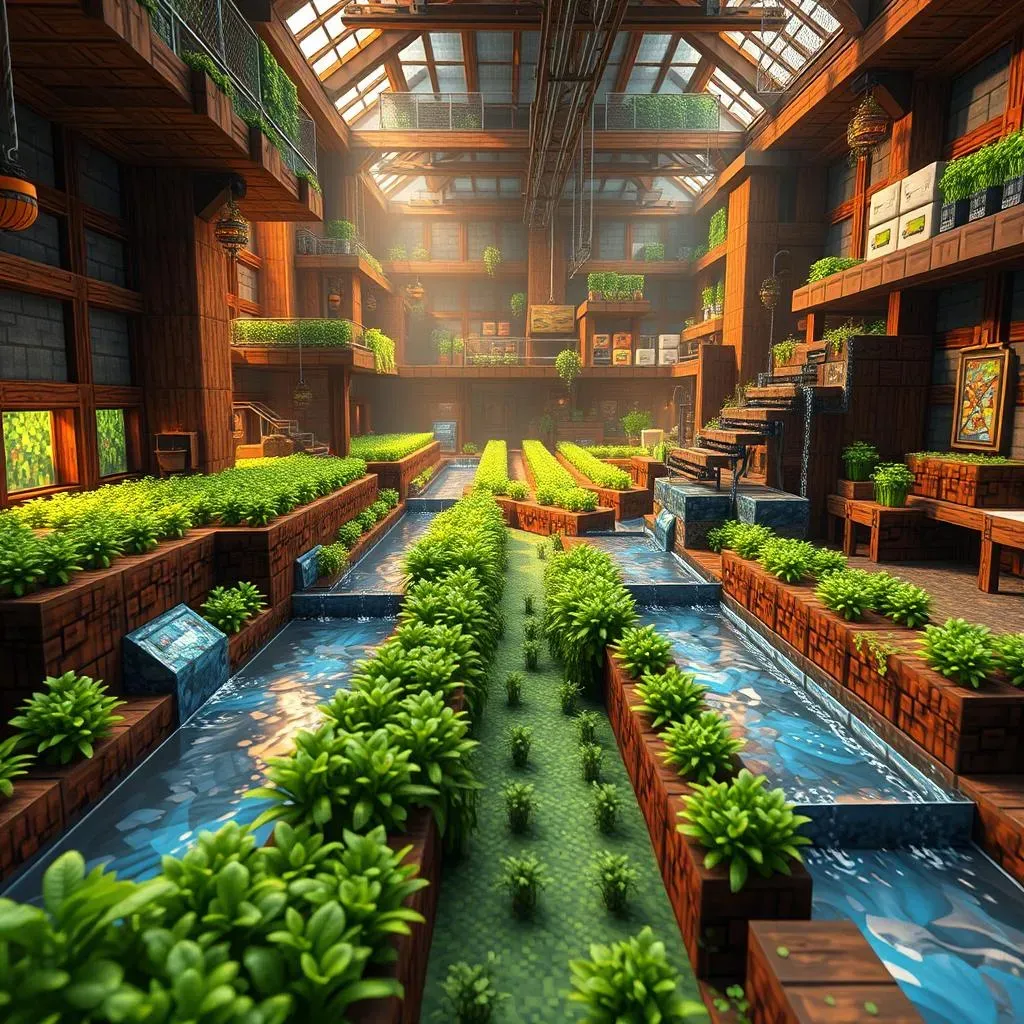
So you've built some basic automatic farms. Awesome! But let's talk about making them *even better*. Think "optimization." One simple trick is to use water streams to efficiently move crops to your collection point. A well-placed current can gently guide your harvested goods straight into those hungry hoppers. It's like a tiny, automated river of deliciousness! For more ideas on making your castle look amazing, check out these epic castle designs.
Another key to optimization is efficient space management. Remember those vertical farms we talked about? Stacking them cleverly can dramatically increase your output in a limited area. Plus, it looks really cool! A multi-level farm is a testament to your engineering prowess—a true marvel of Minecraft architecture. If you're building on a server, you might also want to check out these tips on building a castle on a server.
- Optimize water flow for efficient crop transport.
- Maximize vertical space with multi-level farms.
- Use compact designs to minimize wasted space.
Troubleshooting: When Things Go Wrong
Even the best-designed farms can run into problems. Maybe your hoppers are jammed, or your redstone circuit is glitching. Don't panic! Systematic troubleshooting is key. Start by checking for simple issues like blocked hoppers or misplaced redstone dust. Sometimes, a tiny mistake can cause a major malfunction. If you are looking for some pre-built schematics, check out these downloadable castle schematics.
If you can't find the problem, try breaking down your system into smaller sections. Test each part individually to isolate the faulty component. This methodical approach will help you pinpoint the problem and get your farm back up and running in no time. For a truly epic build, consider creating a mountain fortress castle—the perfect backdrop for your automated farms!
Problem | Possible Cause | Solution |
|---|---|---|
Hoppers jammed | Items blocking flow | Clear blockage |
Redstone malfunction | Incorrect wiring | Check wiring, use repeaters |
Slow crop growth | Insufficient water | Add more water sources |