Table of Contents
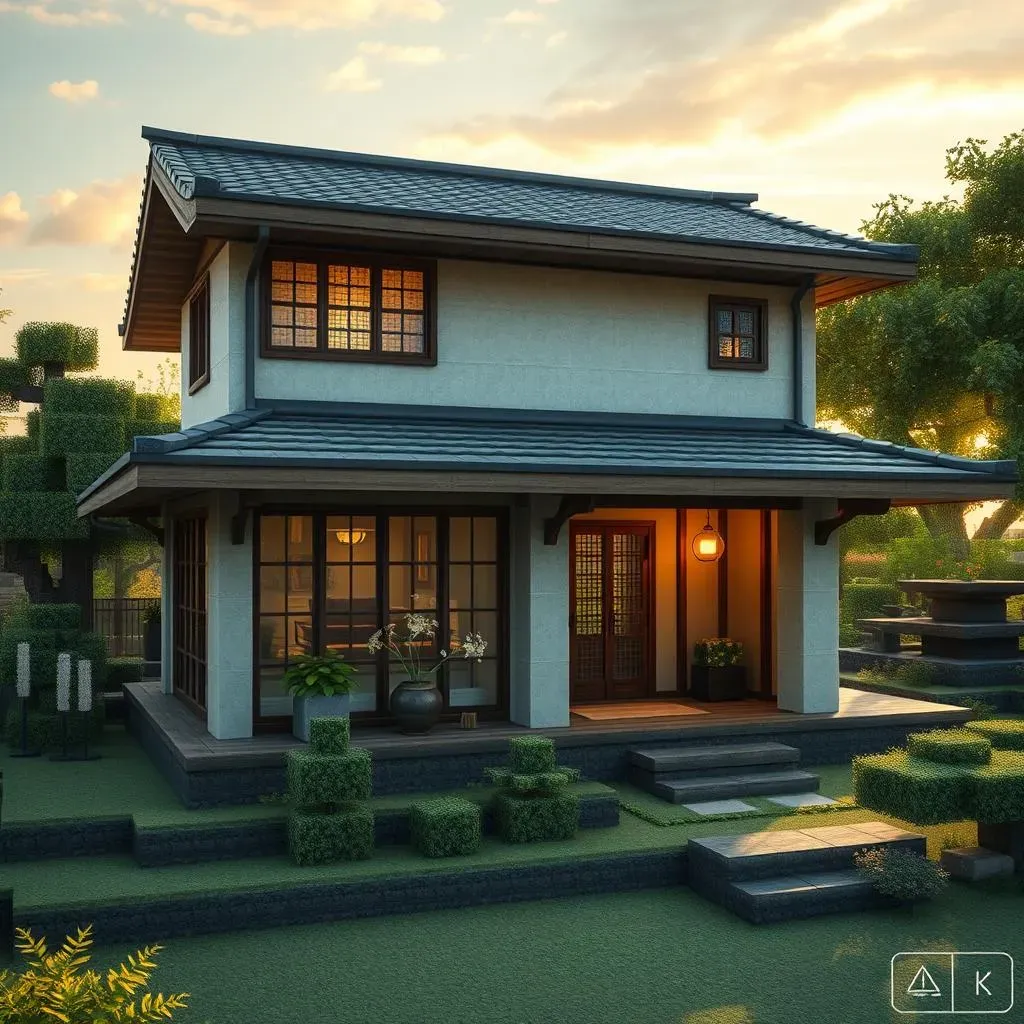
Ever dreamed of building your own peaceful retreat in Minecraft? A place that's both functional and beautiful? Well, let's get building! We're diving into creating a fantastic minecraft japanese house starter house, and it's easier than you think. Forget those boring square boxes; we’re going for something with real charm. This guide will walk you through every step, from gathering the right blocks to placing the last decorative touch. We’ll start with the basic structure, move to the roof, and then add those little Japanese-inspired details that make it special. Think clean lines, natural materials, and a touch of elegance. By the end, you’ll have a cozy and stylish starter home that’s perfect for any Minecraft adventure. So, grab your pickaxe and let's start building!
Gathering Your Materials for a Minecraft Japanese Starter House
Gathering Your Materials for a Minecraft Japanese Starter House
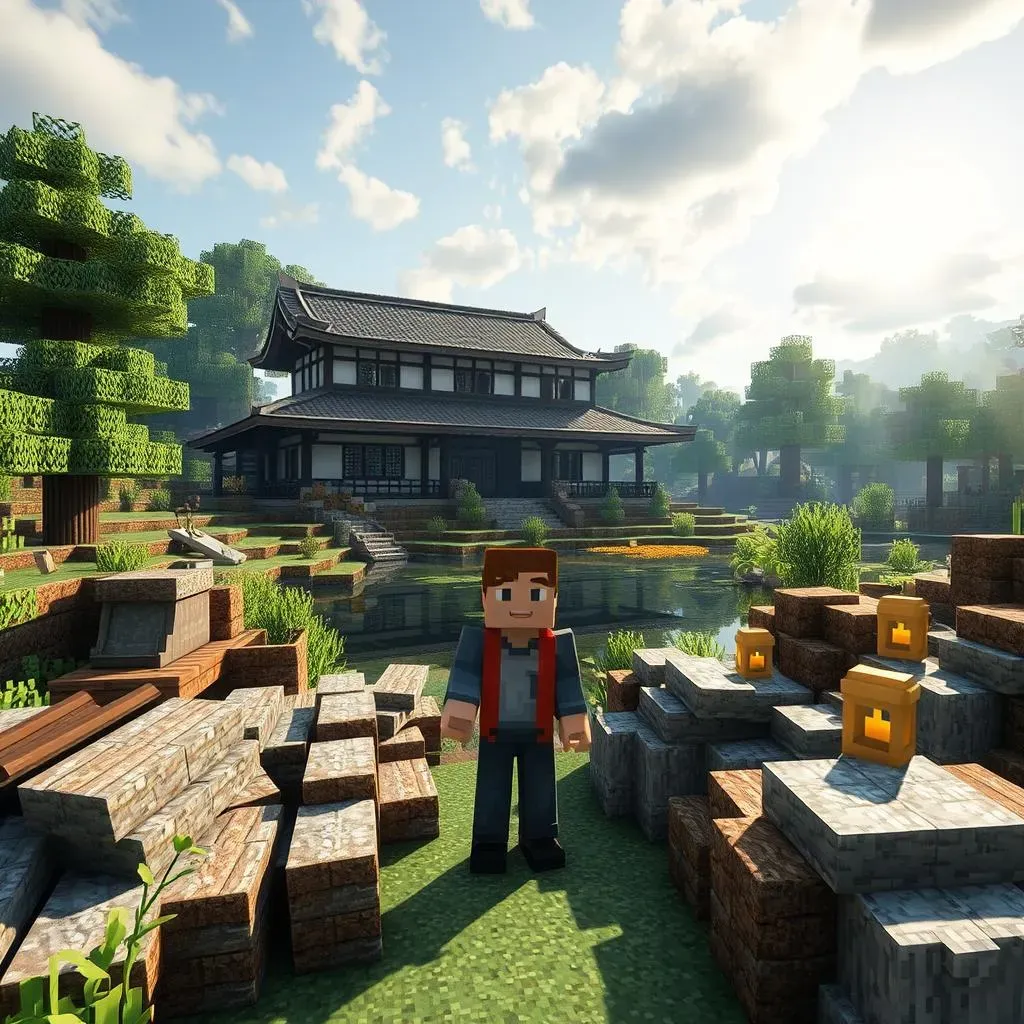
Okay, so you're itching to start building your minecraft japanese house starter house, right? Awesome! But before you go wild with your pickaxe, let's talk materials. Think of it like gathering ingredients for a recipe; you wouldn't try baking a cake without flour, would you? For our Japanese-style house, we want to keep it natural and elegant. We're not going for a cobblestone monstrosity, trust me. We need stuff that screams "peaceful zen garden," not "dungeon." This means lots of wood, some stone, and maybe a splash of color for accents. Don't worry, I'll give you the lowdown on exactly what you need, and you probably have most of it already. We want this to be a cozy starter pad, not a resource-draining project.
Material | Why we need it | Approximate Amount |
|---|---|---|
Spruce Planks | Main building material for walls and floors | 2 stacks |
Spruce Logs | For support beams and decorative elements | 1 stack |
Stone Bricks | Foundation and base structure | 1.5 stacks |
Dark Oak Slabs | Roofing and trim | 1 stack |
White Concrete | Walls and accents | 0.5 stack |
Glass Panes | Windows | 20 |
Lanterns or Torches | Lighting | 10 |
Building the Foundation and Walls of your Minecraft Japanese House
Building the Foundation and Walls of your Minecraft Japanese House
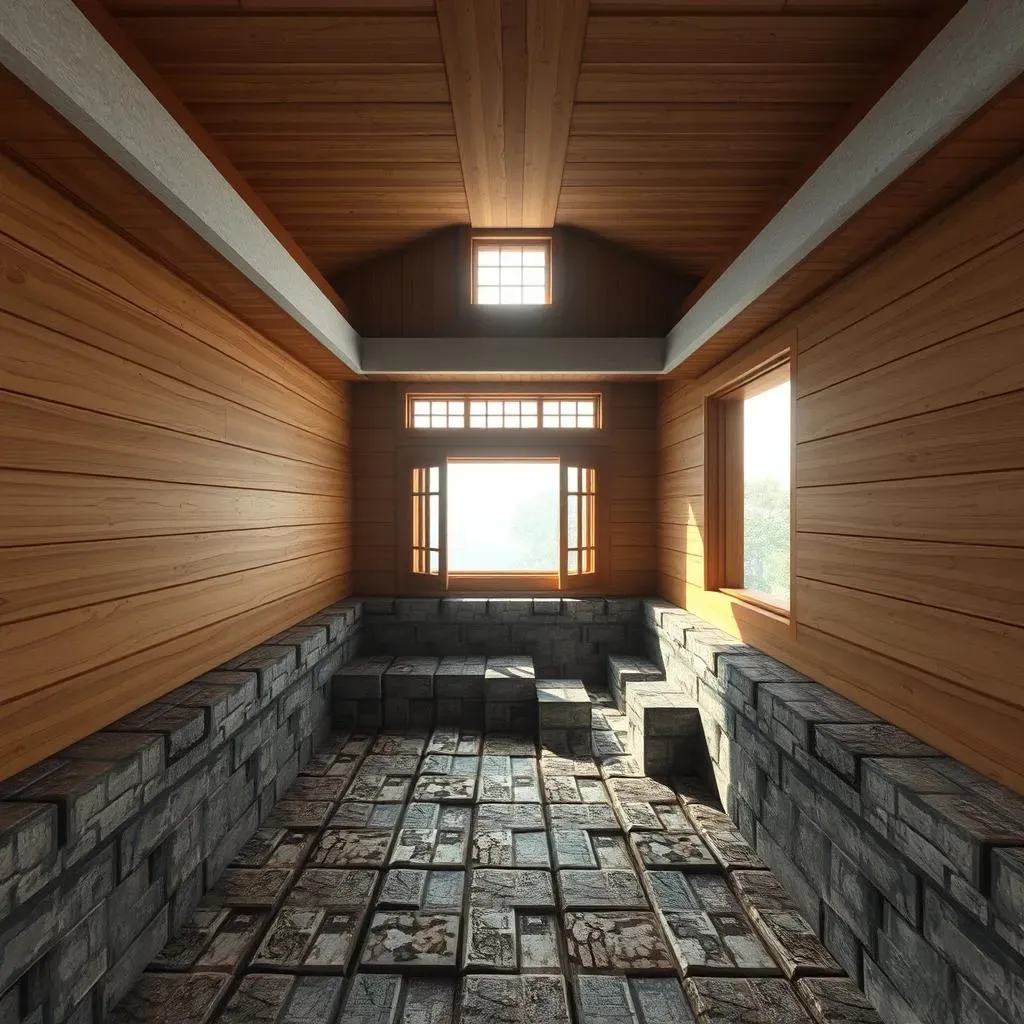
Alright, now that we've got our materials, it's time to get our hands dirty, or rather, our pixels dusty. We're starting with the foundation, because let's be real, a wobbly house is no good for anyone, especially not your Minecraft character. Think of the foundation as the backbone of your minecraft japanese house starter house. We're going to use stone bricks because they're sturdy and they give a nice, grounded feel to the build. Lay out a rectangle, maybe about 7 blocks wide and 9 blocks long – this gives us enough space without making it too big. Once the outline is done, raise it up by one block, this gives you a good base to work on.
Next up, the walls! Now, this is where the magic starts to happen. We’re using spruce planks for the main structure. Start by building up from the stone brick foundation, making sure to leave spaces for windows. Don't just slap the planks on like you're building a fort, though. Think about the flow of the house, imagine how the light will come in through the windows. We want a clean, simple look, so keep the walls smooth and even. Add a layer of white concrete on the top of the wall to add a bit of detail. This adds a subtle contrast and gives it a more modern Japanese feel. We're not building a castle here, we're crafting a peaceful starter home, remember?
Step | Action | Why it matters |
|---|---|---|
1 | Lay stone brick rectangle (7x9) | Provides a stable base |
2 | Raise foundation by one block | Elevates the house slightly |
3 | Build spruce plank walls | Forms the main structure |
4 | Leave spaces for windows | Allows natural light |
5 | Add a white concrete layer on top of the wall | Adds a bit of detail and contrast |
Crafting the Roof and Adding Details to Your Japanese Minecraft House
Crafting the Roof and Adding Details to Your Japanese Minecraft House
Building a Sloped Roof
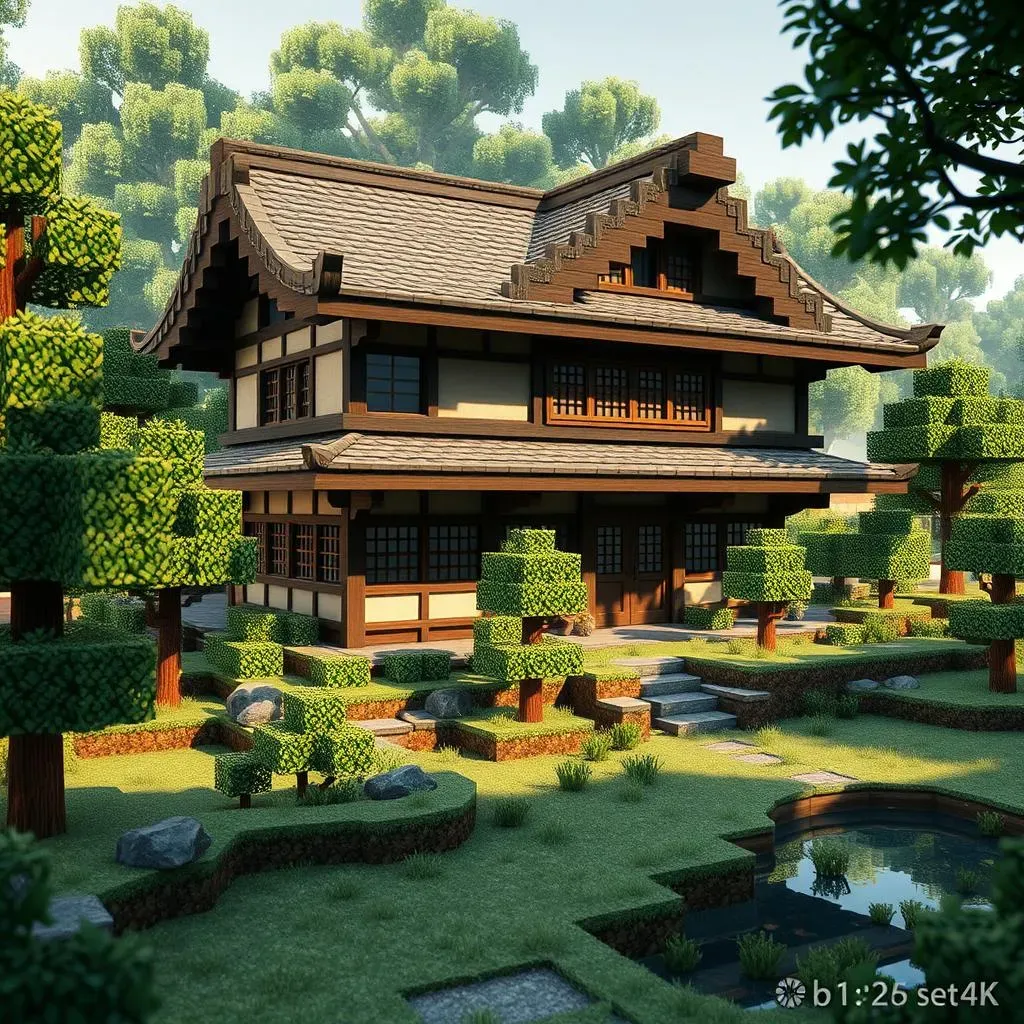
Okay, so we've got our walls up, and it's looking pretty good, right? But a house without a roof is just, well, a box. Now, we're going to tackle the roof, and this is where it really starts to feel like a minecraft japanese house starter house. Forget those flat, boring roofs; we're going for a classic sloped design. This isn't just for looks, it also helps with keeping those pesky creepers from camping out on your roof. We're using dark oak slabs for this because they give a nice, contrasting color and a traditional feel. Start by placing the slabs on the top edge of the walls, each row overlapping the last, creating a gentle slope. It's like building a staircase, but sideways and on the top of the house. Don't worry if it seems a bit tricky at first; just take it slow and you'll get the hang of it.
The key here is consistency. Make sure each slab is placed properly to avoid any weird gaps or bumps. Imagine you're laying shingles on a real roof, each one carefully placed. Once you've finished the main slope, you can add a little overhang using the same slabs. This is a classic Japanese architectural feature and it really adds a touch of elegance. It's a small detail but it makes a big difference in making the build look refined and finished. It’s like adding the perfect hat to an outfit, it just pulls everything together. This roof will not only look great but also provide shelter, which is the whole point of a house in Minecraft, right?
Step | Action | Why it matters |
|---|---|---|
1 | Place dark oak slabs on the top edge of the walls | Starts the sloped roof |
2 | Overlap each row of slabs | Creates the slope |
3 | Add an overhang with the same slabs | Adds a classic Japanese touch |
Adding the Japanese Touches
Now that we have a roof over our heads, it's time to add those little details that make this a true minecraft japanese house starter house. Think of this as the seasoning in our build recipe. We're going to add some glass panes for windows, because who wants to live in a dark cave? Place them strategically to let in the most light and give you a great view of your surroundings. Next, we're going to add some lanterns or torches for lighting. These aren't just functional; they also add a warm, cozy feel to the house. Imagine the soft glow of lanterns on a peaceful evening. We can also use some spruce logs as support beams on the corners of the house to add a bit of structural flair. These logs act as both support and decorative elements, adding to the overall Japanese aesthetic.
Finally, let’s add some landscaping around the house. A few carefully placed trees or bushes can make a world of difference. This is where you can really personalize your build and make it your own. Maybe add a small pond or a zen garden with some carefully placed stones. Remember, the goal is to create a space that's both functional and beautiful. It’s not just about building a house, but creating a home. These small details will really make your starter house stand out, and make you feel like you’ve built something truly special. It’s these little touches that turn a simple structure into a cozy haven.
- Add glass panes for windows
- Place lanterns or torches for lighting
- Use spruce logs as support beams
- Add landscaping around the house
Final Touches: Interior Design and Landscaping Your Minecraft Japanese Starter House
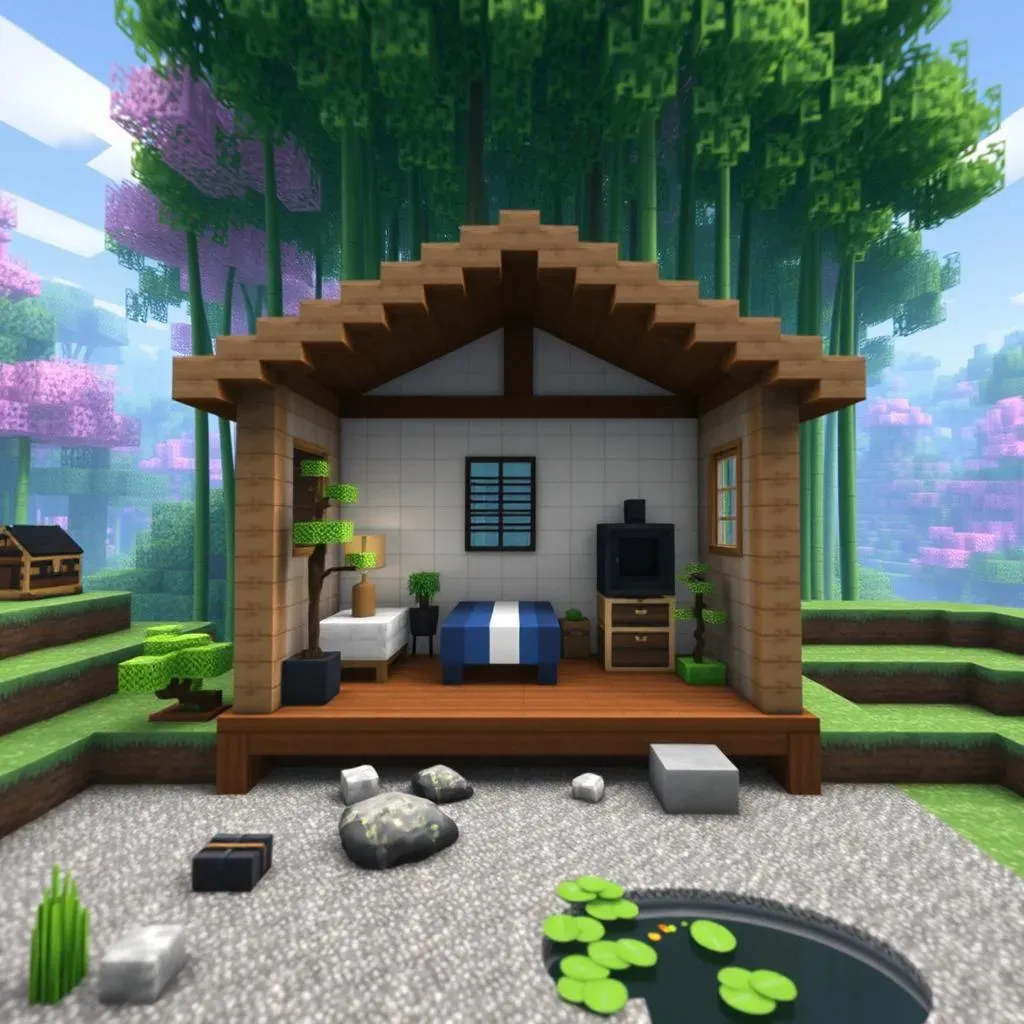
Final Touches: Interior Design and Landscaping Your Minecraft Japanese Starter House
Interior Design: Keeping it Simple
Alright, so the exterior of your minecraft japanese house starter house is looking sharp, but what about the inside? Let's be honest, a beautiful shell is no good if the inside is a mess. When it comes to interior design, the key here is simplicity. We're not trying to cram a ton of stuff into this small space. Think minimalist, think functional, think zen. We want a space that feels calm and uncluttered, a place where you can relax after a long day of mining and crafting. So, let's start with the basics. A bed, a crafting table, a furnace, and a chest are essential. Place them strategically, ensuring they're easily accessible but not in the way. You don't want to be tripping over your crafting table every time you walk in.
Next, think about storage. Chests are your best friend, but don't just leave them scattered around the room. Try to create a small storage area, maybe tucked away in a corner. You can use some bookshelves for decoration and to add a bit of height to the room. Remember, we're going for a clean, uncluttered look, so avoid placing too many items. A few well-placed potted plants can add a touch of nature and make the space feel more inviting. We can use some bamboo or even some small bonsai trees to keep up with the Japanese theme. The goal is to make the interior feel like an extension of the exterior, a peaceful haven where you can recharge and get ready for the next adventure.
Item | Purpose | Placement Tip |
|---|---|---|
Bed | For sleeping and setting spawn point | Place near a wall for a cozy feel |
Crafting Table | For crafting items | Keep it accessible but not in the way |
Furnace | For smelting ores | Place near the crafting table for easy access |
Chest | For storing items | Create a small storage area |
Potted Plants | Decoration and adds nature | Use bamboo or bonsai for Japanese theme |
Landscaping: Bringing the Outside In
Now, let's talk about landscaping. This is where you can really make your minecraft japanese house starter house feel like it belongs in its surroundings. Think of landscaping as the frame for your masterpiece. We're not just slapping down some random flowers; we're creating a harmonious environment that complements the house. Start by thinking about the overall feel you want to achieve. Do you want a lush, overgrown garden or a minimalist, zen-like space? For a Japanese theme, a zen garden with some carefully placed stones and gravel can be a great addition. You can even create a small pond with some lily pads. These elements bring a sense of tranquility and peace, which is what we're all about.
Trees are your best friend when it comes to landscaping. A few carefully placed trees can add a lot of depth and texture to your build. Try using different types of trees to create a more varied landscape. Bamboo is a great option for a Japanese theme, and you can even use some cherry blossom trees if you're feeling fancy. Don't be afraid to experiment with different plants and flowers, but keep it somewhat organized. We want a natural-looking landscape, but not a chaotic one. Remember, the goal is to create a space that feels like a natural extension of the house, a place where you can relax and enjoy the beauty of the Minecraft world.
"The details are not the details. They make the design." - Charles Eames
Personalizing Your Space
Finally, don't be afraid to personalize your minecraft japanese house starter house. This is *your* home, so make it your own. Add those little touches that make you happy. Maybe hang a few paintings or banners on the walls, or create a small library with some bookshelves. You can even add some custom decorations using item frames. The possibilities are endless. The goal is to create a space that reflects your personality and makes you feel comfortable and at home. Don't worry about making it perfect. The beauty of Minecraft is that you can always change things up and experiment. So, have fun with it, and most importantly, enjoy your new Japanese-style starter home! Remember, this house is a starting point, your base for all your future Minecraft adventures.
