Table of Contents
Stepping into the vast, unpredictable world of Minecraft can feel overwhelming. The sun sets fast, and those first few nights can be terrifying without a safe haven. That's where a well-designed minecraft starter house survival shelter comes in. This isn't just about a flimsy dirt hut; it's about building a foundation for success in your survival journey. This comprehensive guide will take you from novice builder to seasoned shelter architect. We'll explore essential designs for your minecraft starter house survival shelter, perfect for beginners. Then, we'll walk you through the step-by-step process of construction using readily available resources. You'll learn how to create a functional and aesthetically pleasing home, including crafting areas, storage, and even defenses against those pesky nighttime mobs. We'll also explore ways to expand and upgrade your minecraft starter house survival shelter as you progress, adding advanced features to enhance your gameplay. Get ready to transform your initial survival struggle into a comfortable and strategic base of operations! Let's build something amazing!
Essential Minecraft Starter House Survival Shelter Designs
Essential Minecraft Starter House Survival Shelter Designs
The Classic Dirt Hut: A Beginner's Sanctuary
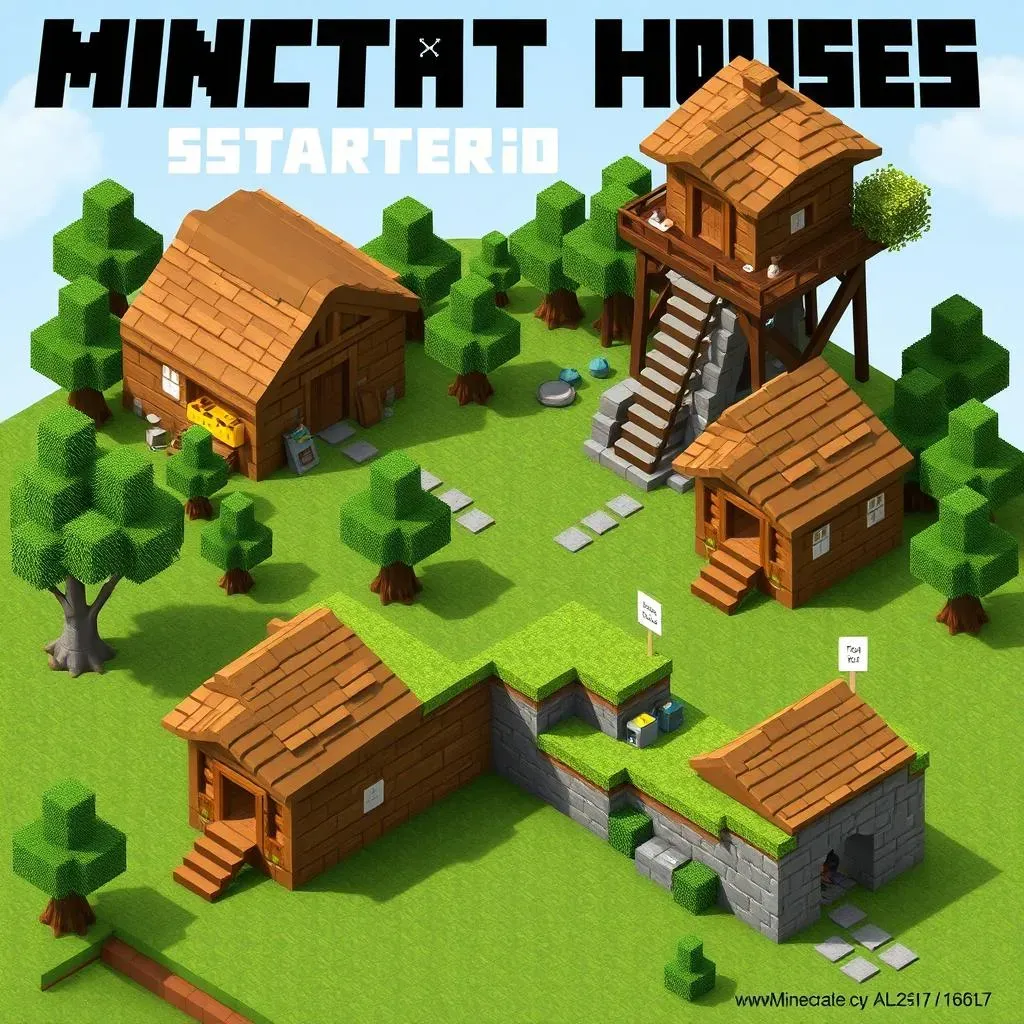
Let's start with the absolute basics: the dirt hut. It's the quintessential first-night shelter, requiring minimal resources and construction time. Simply dig a small hole, cover it with dirt blocks, and you've got a basic roof over your head. It’s not pretty, but it'll keep the creepers at bay until morning. Remember to bring a crafting table and furnace for those early-game essentials. Want to make it a little more advanced? Check out our guide on affordable starter house ideas for some inspiration!
While functional, the dirt hut lacks style. Upgrading to wood is a significant improvement. Wood is readily available and offers a slightly more robust structure. A simple wooden box-style shelter, even a small one, provides a more comfortable and secure space. You can even add a small window for light and a door for extra security. Need some quick ideas? We've got a quick build guide to get you started!
Shelter Type | Materials | Pros | Cons |
|---|---|---|---|
Dirt Hut | Dirt, Cobblestone | Fast, Easy | Unattractive, Weak |
Wooden Hut | Wood Planks, Logs | Improved Durability, More Appealing | Requires More Resources |
Elevated Starter Homes: Avoiding Ground-Level Threats
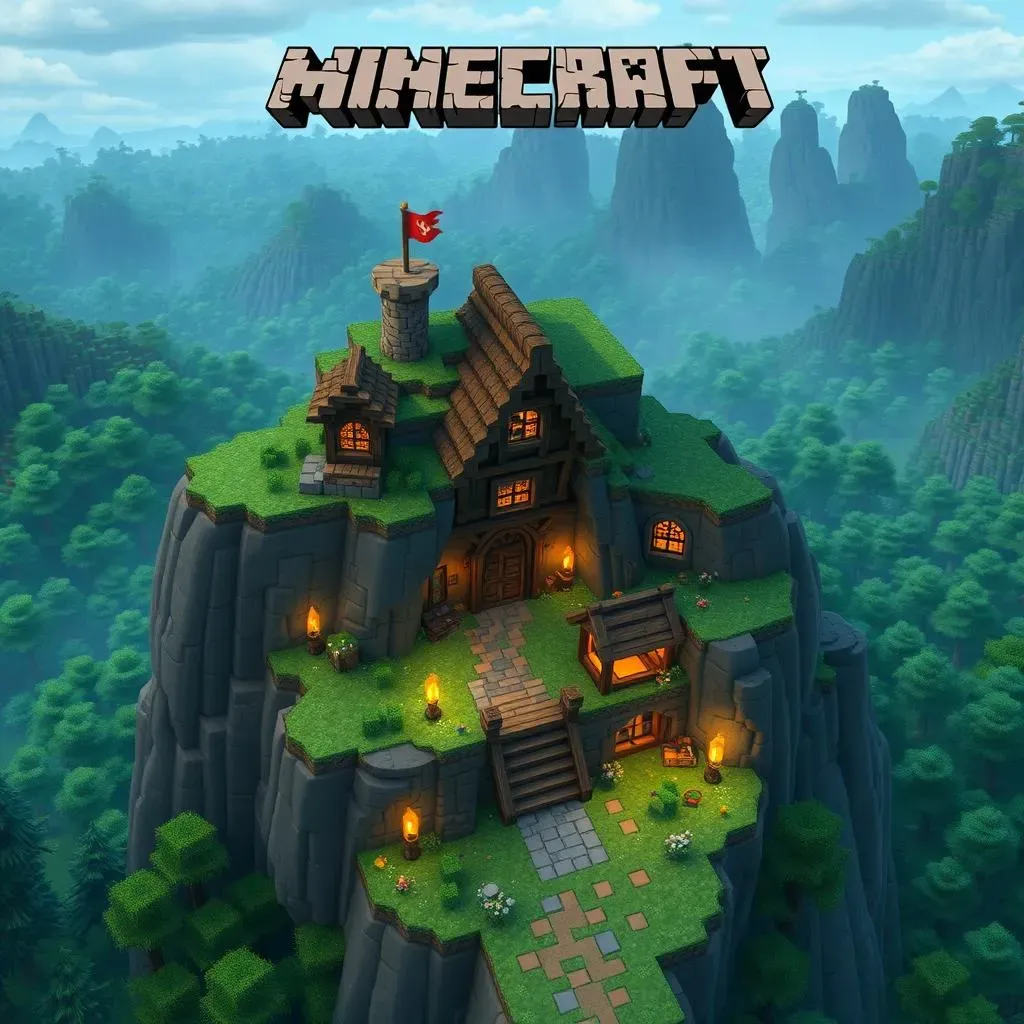
Ground-level shelters are vulnerable to creeper explosions. Building your minecraft starter house survival shelter slightly above ground offers a strategic advantage. Think of a simple platform supported by pillars, providing a safe space above the reach of many mobs. This design allows you to easily gather resources below and retreat to safety at night. For a more detailed plan, check out our tutorial on building a mountain base starter house – it’s surprisingly adaptable!
Treetop havens are another excellent option. Find a large tree and build a platform amongst the leaves. This offers excellent protection from many mobs, but be mindful of spiders. A simple wooden structure with a roof is all you need to create a safe and surprisingly stylish sanctuary. Want to add a touch of magic? Consider a forest setting for your treehouse!
- Elevated Platforms: Increased safety from ground-level mobs.
- Treetop Shelters: Excellent protection, but watch out for spiders!
- Cliffside Dwellings: Unique aesthetic, requires careful planning.
Cave Systems: Utilizing Natural Resources
Don't overlook the potential of natural caves. A well-chosen cave system can provide a pre-built foundation for your minecraft starter house survival shelter. You can expand and reinforce a suitable area, adding walls, doors, and lighting to create a secure and spacious home. This approach saves resources and time, but requires careful exploration to find a safe and suitable location. If you're feeling adventurous, why not try a hidden location for your cave home?
Remember, your first shelter is temporary. As you progress, you'll want to expand and improve your design. However, a solid starting point is crucial for survival. These early-game shelters provide a safe place to craft, store resources, and plan your next adventure. For a deeper dive into design, check out our article on Minecraft starter house interior design.
Building Your Minecraft Starter House Survival Shelter: A StepbyStep Guide
Building Your Minecraft Starter House Survival Shelter: A StepbyStep Guide
Gathering Resources: The Foundation of Your Shelter
Before you even think about laying a block, you need resources! Start by punching trees for wood. Wood is your friend in the early game – it’s versatile and readily available. Use your wood to craft a crafting table (essential!), a pickaxe (for mining stone), and a few torches (crucial for safety and preventing mob spawns). Next, mine cobblestone. Cobblestone is tougher than dirt and provides a more durable base for your shelter. Don't forget to grab some dirt blocks for filling in gaps. A basic inventory management system is helpful here; you want to keep your inventory organized to avoid wasting time later.
Once you have a good supply of wood and cobblestone, it's time to start thinking about your design. Consider your chosen location and the surrounding terrain. A flat area is easiest to work with, but don’t shy away from more challenging locations! A simple, compact design is ideal for your first shelter. Need a hand with design ideas? Check out our post on cheap starter house designs for some budget-friendly inspiration!
Resource | Quantity | Use |
|---|---|---|
Wood Logs | At least 1 stack (64) | Crafting table, tools, torches |
Cobblestone | 1-2 stacks | Shelter walls, floor |
Dirt | A few blocks | Roofing, filling gaps |
Constructing the Basic Structure: Walls, Floor, and Roof
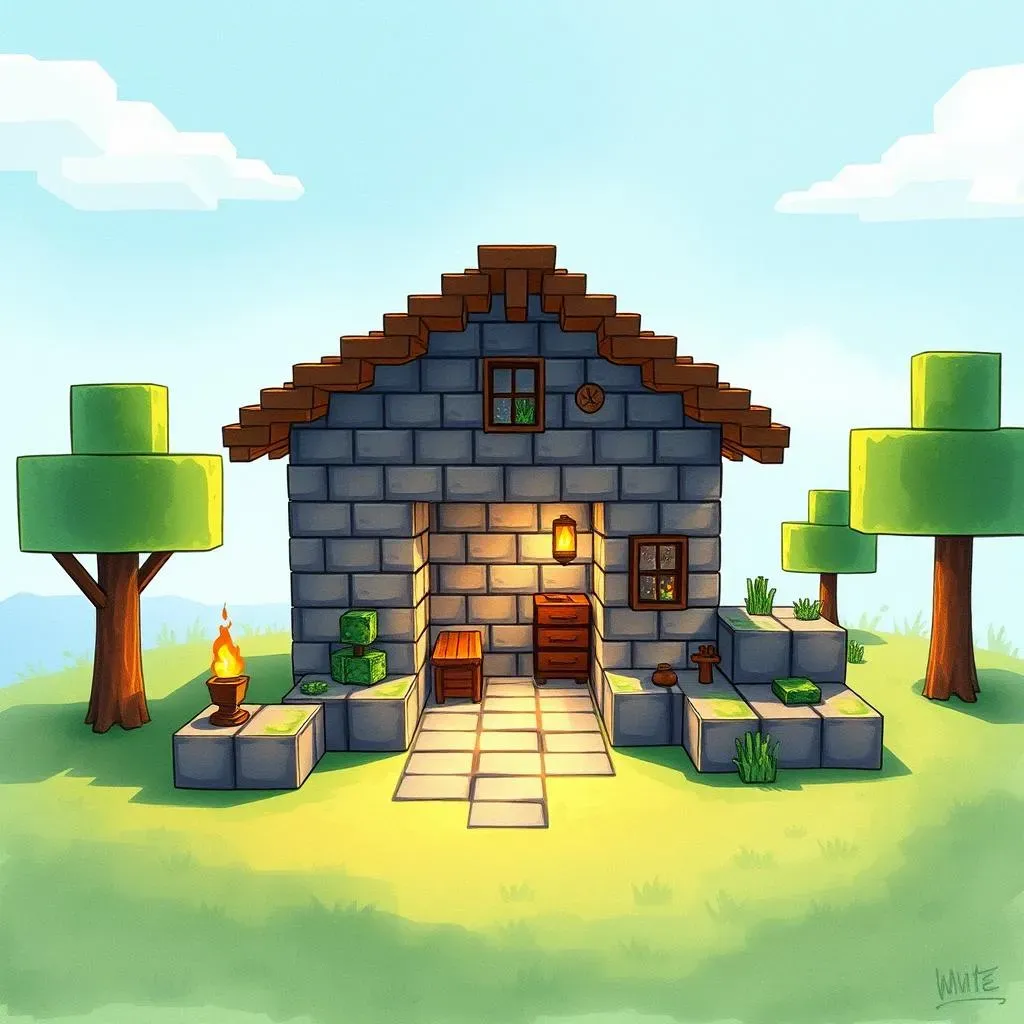
Now for the fun part – building! Start by creating the floor of your shelter. A simple square or rectangle is easiest. Remember, your first shelter doesn't need to be huge; even a 5x5 area is enough to survive the night. Next, build the walls. Make them at least 3 blocks high to keep out most mobs. Use your cobblestone for the bulk of the construction and save some wood for the door. Add torches inside to prevent hostile mob spawns. Don't forget to leave a doorway! A simple single-block opening is enough to get in and out.
Finally, add a roof. The simplest approach is to just cover the top of your shelter with dirt or cobblestone blocks. This is a solid, if somewhat drab, solution. If you have enough wood, you can create a more aesthetically pleasing roof by using wood planks and stairs to create a sloped design. A sloped roof adds a touch of charm, but the flat roof is perfectly functional. Remember, this is your first shelter; function should take precedence over form at this stage. Looking for a time-saving approach? Our speed build tutorial has you covered!
- Lay a cobblestone floor (5x5 or larger).
- Build 3-block-high walls around the floor.
- Add a simple roof (dirt, cobblestone, or wood).
- Create a doorway and add torches inside.
Adding Essential Features: Crafting, Smelting, and Sleeping
With the basic structure complete, it's time to add some essential features. Place a crafting table inside your shelter. This will allow you to craft tools, weapons, and other necessary items. You’ll also need a furnace for smelting ores and cooking food. Position this strategically near your crafting table for easy access to materials. And don't forget a bed! A bed sets your spawn point, making it crucial for survival. Place it in a safe, easily accessible corner of your shelter.
Consider adding some basic storage. A chest or two will allow you to keep your inventory organized and prevent valuable resources from getting lost. You can also add more torches for extra safety. Remember, well-lit areas prevent hostile mob spawns. For a more stylish approach, check out our article on interior design for some ideas. Once you've got these essentials in place, you've created a functional and safe haven for your early-game adventures. Congratulations, you’ve built your first Minecraft starter house survival shelter!
Advanced Minecraft Starter House Survival Shelter Features and Upgrades
Advanced Minecraft Starter House Survival Shelter Features and Upgrades
Expanding Your Space: Adding Rooms and Functionality
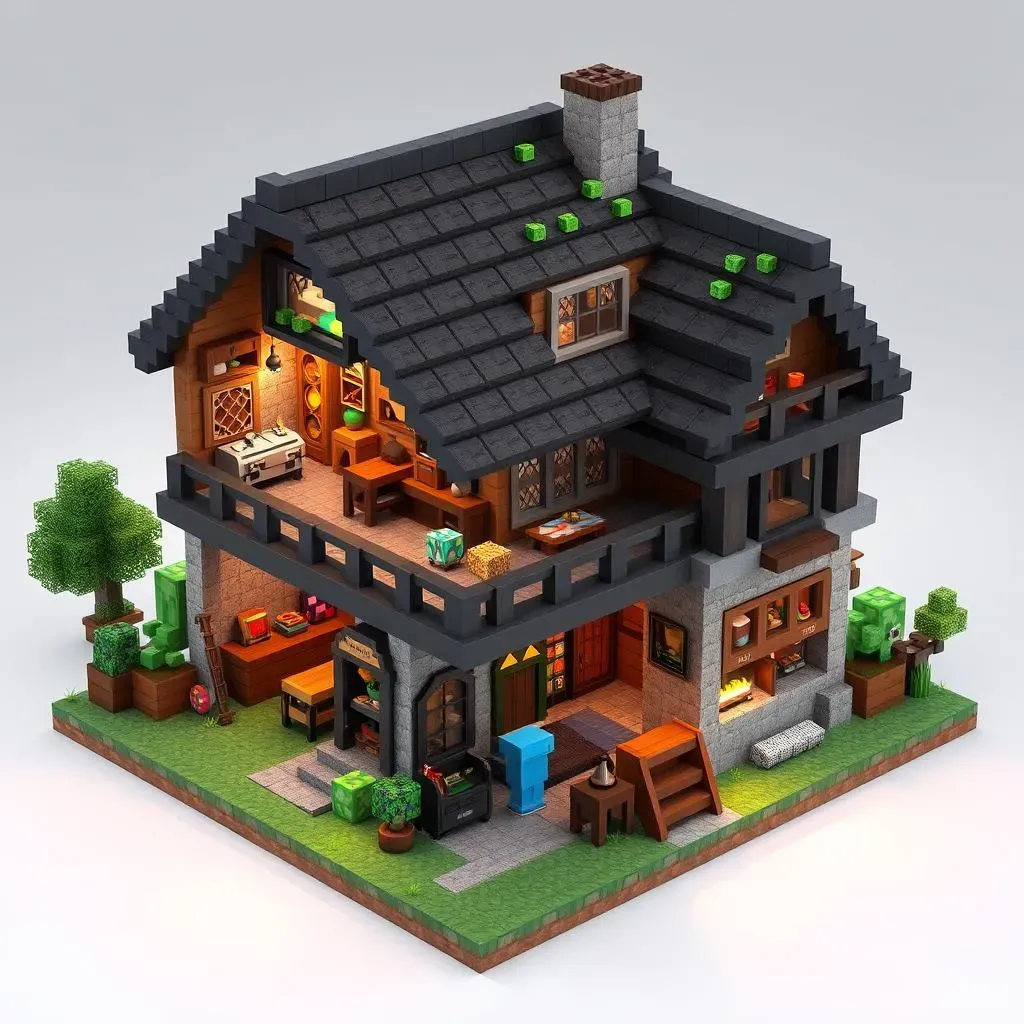
Once your basic shelter is secure, it's time to think bigger! Adding extra rooms dramatically increases your base's functionality. A dedicated crafting area, separate from your sleeping quarters, keeps things organized. A smelting room with multiple furnaces speeds up ore processing. Consider a storage room for excess materials – you'll accumulate a *lot* as you play. Think of it like adding rooms to a real house; each space serves a specific purpose, making your life easier. For inspiration, check out our starter house with farm design; it's a great example of expanding for functionality.
Don't forget about defenses! Adding a second story, even a small one, provides a vantage point for spotting approaching mobs. You can also create arrow slits in the walls for ranged attacks. A simple moat or perimeter fence adds extra protection against unwanted visitors. Want to make your base truly impressive? Check out our ideas for server builds—they're surprisingly adaptable for single-player too.
- Crafting Room: Dedicated space for crafting.
- Smelting Room: Multiple furnaces for efficient ore processing.
- Storage Room: Organized space for materials.
- Second Story: Elevated vantage point and added security.
Enhancing Your Shelter: Decorations, Automation, and More
Upgrading your shelter goes beyond just adding rooms. Think about aesthetics! Using different types of wood, stone, and other materials can dramatically change the look of your base. Adding windows lets in natural light and creates a more inviting atmosphere. Consider using carpets, paintings, and other decorative items to personalize your space. Want to get really creative? Check out our custom texture pack guide for some seriously stylish options.
Automation can significantly improve your Minecraft experience. Simple redstone contraptions, like automatic doors or lighting systems, add a touch of advanced technology to your shelter. As you progress, you can create more complex systems, such as automated farms or even a self-destruct mechanism (just make sure you have a backup!). For a fun challenge, consider adding a secret chest to your upgraded shelter. It's a great way to add a bit of mystery and intrigue to your base!
Upgrade | Materials | Benefits |
|---|---|---|
Windows | Glass panes | Improved lighting, better aesthetics |
Automatic Doors | Redstone, Pistons | Convenience, added security |
Automated Farm | Redstone, Hoppers, Water | Efficient food production |
Tips and Tricks for a Thriving Minecraft Starter House Survival Shelter
Tips and Tricks for a Thriving Minecraft Starter House Survival Shelter
Location, Location, Location!
Choosing the right spot for your minecraft starter house survival shelter is crucial. A flat area near trees and a water source is ideal. This proximity provides easy access to wood, cobblestone, and water—essential resources for early-game survival. Avoid spawning in dangerous biomes like swamps or jungles initially; stick to plains or forests for a gentler introduction to the game. Need help finding the perfect spot? Check out our tips on choosing a village location—the principles apply to any starter base!
Consider the surrounding terrain. A slight elevation can protect you from ground-level mobs, and proximity to a cliff face offers opportunities for unique, defensible designs. Remember, your first shelter is temporary, but a good starting point makes the early game much less stressful. Want a truly unique location? A hidden location can add a fun challenge to your early-game!
- Prioritize flat areas near resources.
- Consider elevation for mob protection.
- Explore diverse terrain for unique design opportunities.
Defense and Security: Protecting Your Precious Loot
Even a simple minecraft starter house survival shelter needs basic defenses. Surround your base with a fence to deter most mobs. Torches placed around the perimeter prevent nighttime spawns. Consider using natural barriers like cliffs or water to further enhance your defenses. For a more robust defense, a simple moat or a wall of cobblestone can make a significant difference. Need some ideas for bolstering your defenses? Our guide on multiplayer-friendly designs offers great defense tips.
Remember, creepers are a constant threat! Avoid building your shelter directly on the ground if possible. An elevated platform or a treetop haven offers better protection against creeper explosions. Proper lighting is essential in preventing mob spawns, both inside and around your shelter. Don’t skimp on torches, especially during the early game! For extra inspiration, check out our survival tips article for more advanced defense strategies.
Defense Method | Materials | Effectiveness |
|---|---|---|
Fence Perimeter | Wood, Fence Posts | Deters most mobs |
Torches | Wood, Coal | Prevents mob spawning |
Elevated Platform | Wood, Cobblestone | Protection from creepers |
