Table of Contents
So, you've spawned into a brand new Minecraft world, ready for adventure? Fantastic! But before you go exploring every cave and conquering every dragon, you need a safe haven – a place to craft, store loot, and most importantly, sleep safely through the night. That's where our guide on "minecraft starter house survival tips" comes in! This isn't just about throwing up four walls and a roof; we're talking about building a strategically sound, efficient, and even stylish base that'll set you up for success. We'll walk you through essential survival tips for your first night and beyond, covering everything from the perfect location and best building materials to clever layout ideas that maximize space and functionality. We'll even delve into some advanced techniques to upgrade your humble abode as you progress. Get ready to learn how to build a starter home that's not just a shelter, but a launchpad for your epic Minecraft journey! Prepare to transform from a nervous newbie to a confident survival expert. Let's get building!
Essential Minecraft Starter House Survival Tips

Essential Minecraft Starter House Survival Tips
Prioritize Safety First!
Your very first priority in Minecraft survival is to get through that initial night alive. Creepers are *not* your friends. Find a safe, enclosed space – even a small hole in the side of a hill will do! Gather some wood and cobblestone quickly; you'll need these to build a proper shelter. Don’t forget to punch some trees for wood and mine some stone for cobblestone. Remember, your first night is the most dangerous. Once you've survived the night, you can start planning a more permanent structure. A simple, small house is better than no house at all. Check out this easy starter house tutorial for a great starting point!
Once you have a basic shelter, you can focus on gathering food and other resources. Early game, you'll probably be eating apples and cooked meat. Try to find a sheep early on for wool; it's essential for crafting a bed. A bed lets you sleep safely, skipping through the night. That means less exposure to those pesky nighttime mobs!
Resource | Importance | How to Obtain |
|---|---|---|
Wood | Building, Crafting | Punch trees! |
Cobblestone | Building, Tools | Mine stone |
Wool | Bed Crafting | Shear sheep |
Stock Up on Essentials
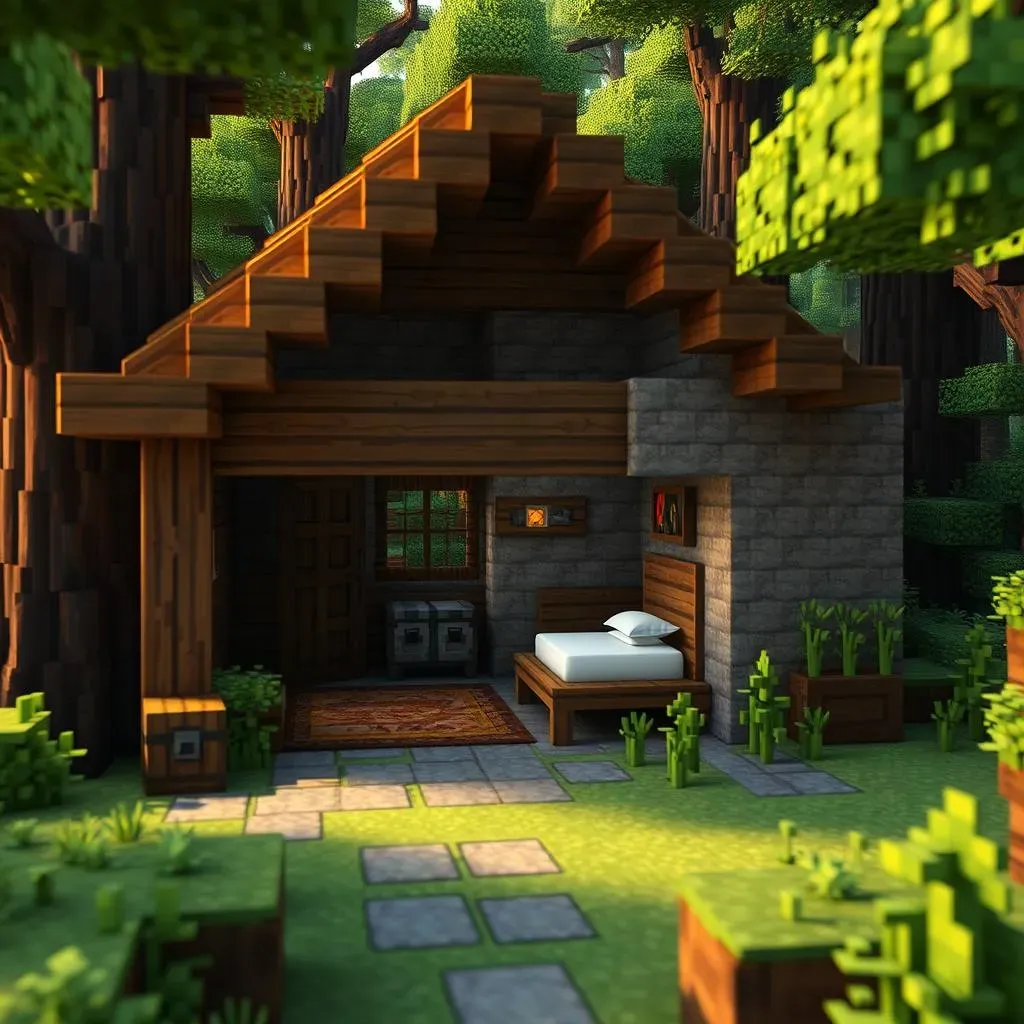
Before you get too fancy with your Minecraft starter house, focus on the essentials. You need a crafting table to make tools and more advanced items. A furnace is vital for smelting ores into ingots. And chests? You'll need plenty to store all your goodies. Don't forget a bed! It's your ticket to skipping the dangerous night. Think of it as your personal fast-forward button for surviving the night.
Remember, a small, well-organized house is much better than a sprawling, disorganized mess. You want easy access to everything you need, especially in the early game. A good plan is essential for your Minecraft success. Consider your storage needs carefully. Will you need more space for tools, food, or materials? Don't forget to check out our guide on building a simple starter house for inspiration!
- Crafting Table
- Furnace
- Chests (at least 2-3)
- Bed
Designing Your Ideal Minecraft Starter House: Location, Materials, and Layout

Designing Your Ideal Minecraft Starter House: Location, Materials, and Layout
Choosing the Perfect Location
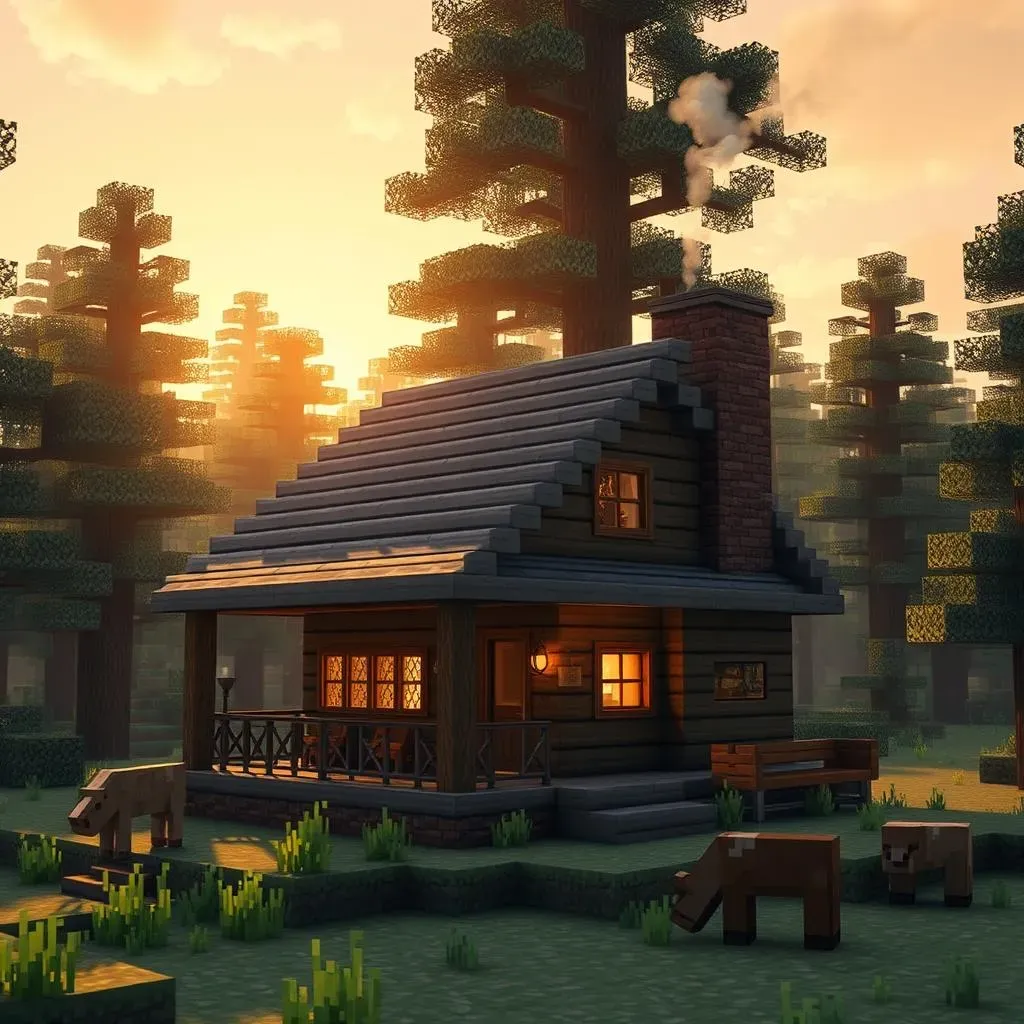
Before you even think about laying a single block, scout out the perfect spot for your Minecraft starter house. Safety is key! Avoid open areas where monsters can easily spawn. A forest offers good wood resources and some natural cover. Hillsides provide extra protection and can be easily dug into for a quick shelter. Near a village is great for easy trading, but be aware that mobs might spawn near the village too. Ultimately, the best location balances easy access to resources with good protection from nighttime dangers. Remember, you can always expand later once you're more established. For more ideas on location and layout, check out this simple house tutorial!
Consider proximity to resources. Being near a forest means easy access to wood. A plains biome offers flat land, perfect for farming later on. However, if you find yourself near a river or lake, you'll be able to easily access water, which is essential for many crafting recipes.
- Forests: Abundant wood
- Plains: Flat land, good farming
- Hillsides: Natural shelter
- Near Villages: Easy trading
Selecting the Right Building Materials
For your first Minecraft starter house, don't go overboard with fancy materials. Stick to what's readily available and easy to obtain. Wood is your best friend in the early game; it's abundant and easy to harvest. Cobblestone is durable and provides a more solid structure. Dirt is a last resort, but it'll do in a pinch. Avoid using precious materials like stone bricks or nether brick until you're more established. Remember, you're building a temporary base, not a palace! Plus, you might want to change your house's design completely once you explore more of the world. Need more inspiration? Check out this easy Minecraft house tutorial for ideas!
Think about aesthetics, too! Even a simple starter house can look good. Consider using different types of wood to add some visual interest. A little bit of creativity goes a long way. Don't be afraid to experiment with simple designs. The most important thing is that your house is functional, safe and easy to build.
Material | Pros | Cons |
|---|---|---|
Wood | Abundant, easy to obtain | Less durable |
Cobblestone | Durable, strong | Takes longer to gather |
Dirt | Readily available | Very weak |
Designing a Functional Layout
Your Minecraft starter house doesn't need to be huge, but it does need to be functional. Prioritize a safe sleeping area – a bed is essential! Keep your crafting table and furnace close by for easy access. Designate areas for storage chests – you’ll need them! You’ll need plenty of space to store your resources, tools and other important items. Think about the flow of your workspace. You don't want to be running all over the place when you're trying to craft or smelt. A well-thought-out layout will save you time and frustration. A small, efficient design is better than a large, disorganized one. Need some help with the layout? Check out this simple house tutorial that showcases a great layout!
Remember, you can always expand your starter house later. This is just your initial base, a stepping stone to bigger and better things. Start small, stay safe, and have fun building!
- Designated sleeping area (bed)
- Crafting area (crafting table, furnace)
- Storage (chests)
- Consider adding a small farming area nearby
Advanced Minecraft Starter House Survival Tips & Upgrades

Advanced Minecraft Starter House Survival Tips & Upgrades
Expanding Your Base
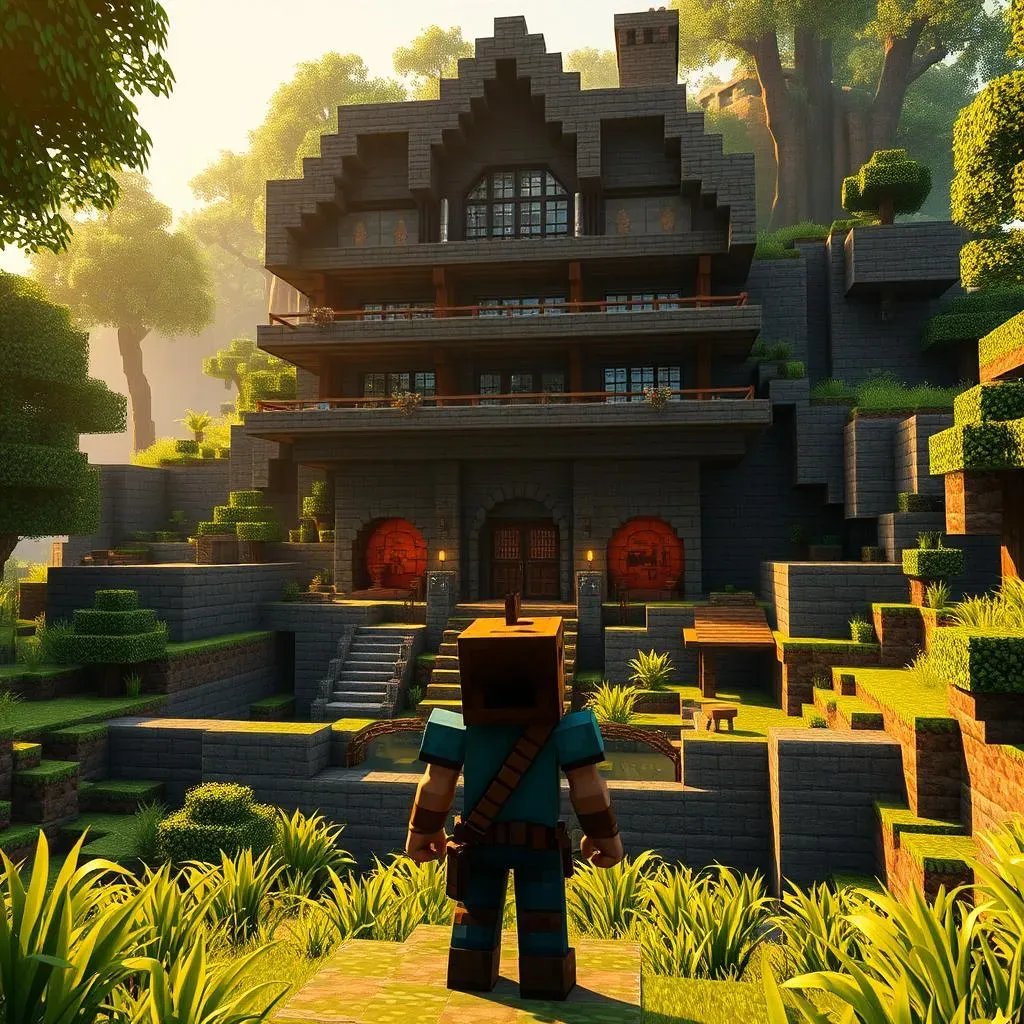
Okay, you've survived your first few nights. Your basic starter house is functional, but it's time to think bigger! Expanding your base is key to progressing in Minecraft. You'll want more space for storage, a dedicated crafting area, maybe even a farm. Think vertically! Adding a second story is a great way to expand without taking up too much horizontal space. Consider adding a dedicated enchanting room once you've got some experience. Enchantment tables are amazing! Remember, a well-organized base makes life much easier. Need inspiration for a bigger build? Check out this easy Minecraft house tutorial for some ideas!
Don't forget about defense! Adding walls or a moat around your base will protect you from nighttime mobs. You might even consider building a small tower for extra protection and a better view of your surroundings. Early warning systems are essential for a successful long-term survival strategy. A well-defended base means you can focus on gathering resources and exploring. As you grow more experienced, you'll want to expand your base to include more advanced features, such as a brewing stand and a farm. For extra tips and tricks, check out this simple starter house guide!
- Add a second story
- Build walls or a moat
- Construct a tower
- Consider a dedicated farm
