Table of Contents
Tired of creeper ambushes and the endless night? Dreaming of a safe, secure, and surprisingly stylish home in your Minecraft world? Then get ready to dig deep! This comprehensive guide will walk you through everything you need to know about building the ultimate minecraft starter house underground bunker. We'll cover the essential planning stages, from choosing the perfect location to gathering the right resources. Then, we'll dive into a step-by-step construction process, ensuring even novice builders can create a secure and functional underground haven. Finally, we'll explore exciting ways to expand and customize your bunker, transforming it from a simple survival shelter into a fully-fledged underground base. Prepare to unleash your inner architect and build the most epic minecraft starter house underground bunker the Overworld has ever seen! Get ready to transform your Minecraft survival experience from terrifying to triumphant, one block at a time. Let's get started!
Planning Your Minecraft Starter House Underground Bunker

Planning Your Minecraft Starter House Underground Bunker
Location, Location, Location!
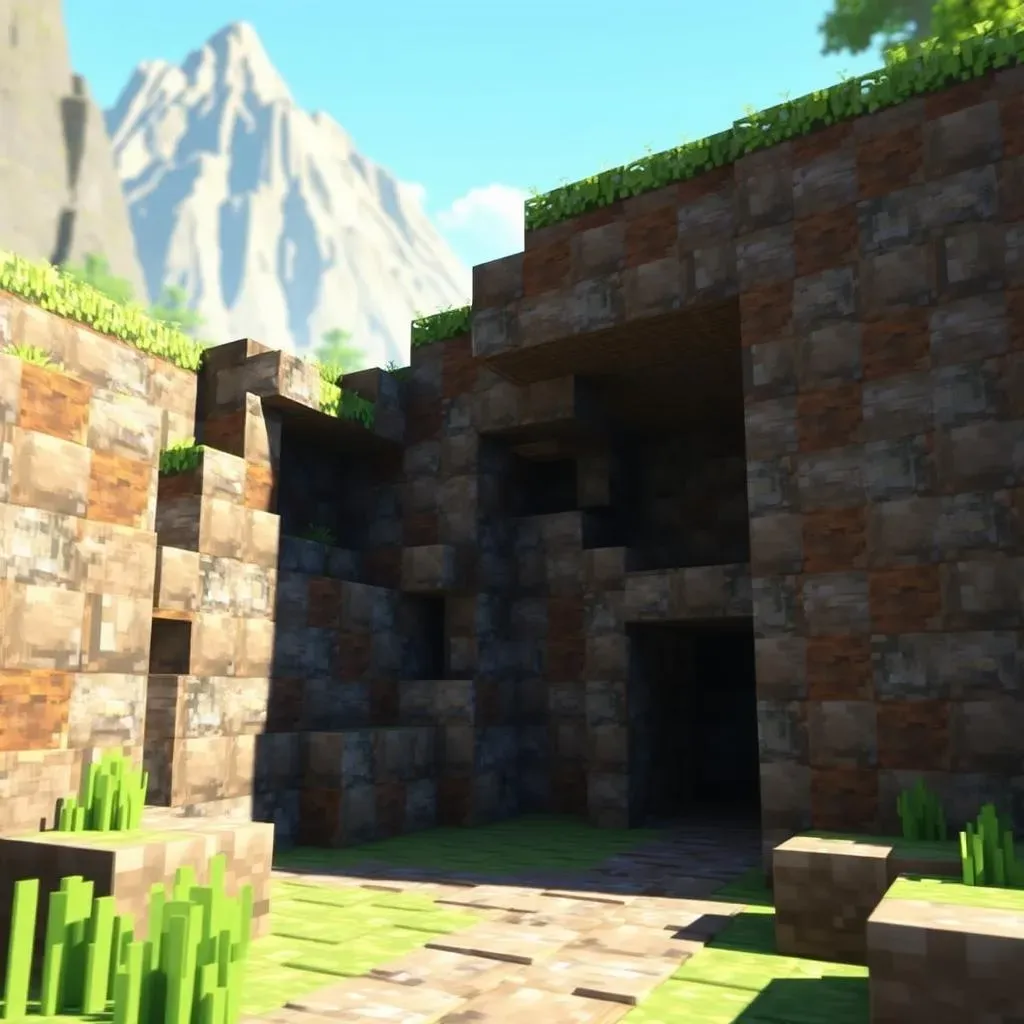
First things first: where will your awesome underground bunker be? A mountain base offers natural camouflage and protection, a mountain base but requires more initial digging. A forest setting can be equally effective, blending your bunker into the surroundings. Consider proximity to resources like trees for wood and water sources for easy access. A hidden location near a village is a great idea if you want to keep your resources safe from mobs and other players. Check out our guide on finding a hidden location for some extra tips!
Think about your playstyle. If you're a survival expert, you might not need to be as close to resources. If you're new to the game, being closer to resources will make things easier. Do you prefer a compact design or something more sprawling? A simple blueprint can save you time and effort later on. Learn more about simple blueprints to get started.
Location Type | Pros | Cons |
|---|---|---|
Mountain | Natural camouflage, good protection | More digging required |
Forest | Easy to blend in, access to wood | May need more clearing |
Near Village | Easy access to villagers and resources | May attract unwanted attention |
Essential Resources and Tools
Before you even touch a pickaxe, gather your essential resources. You'll need plenty of stone, cobblestone, dirt, and torches for lighting (super important underground!). Obsidian is a great choice for extra security, but it requires a nether portal to obtain efficiently. Consider what kind of design you're going for. A custom texture pack can really elevate your bunker's aesthetic. Check out our guide on custom texture packs to learn more!
Don't forget tools! A good iron pickaxe is a must for efficient mining. Having extra tools will save you time. Consider using a speed build tutorial to accelerate the construction of your starter house. A speed build tutorial is a great way to learn some time-saving techniques!
- Stone/Cobblestone
- Dirt
- Torches
- Obsidian (optional)
- Iron Pickaxe
- Other tools (shovel, axe)
Building Your Minecraft Starter House Underground Bunker: A StepbyStep Guide

Building Your Minecraft Starter House Underground Bunker: A StepbyStep Guide
Digging the Initial Chamber
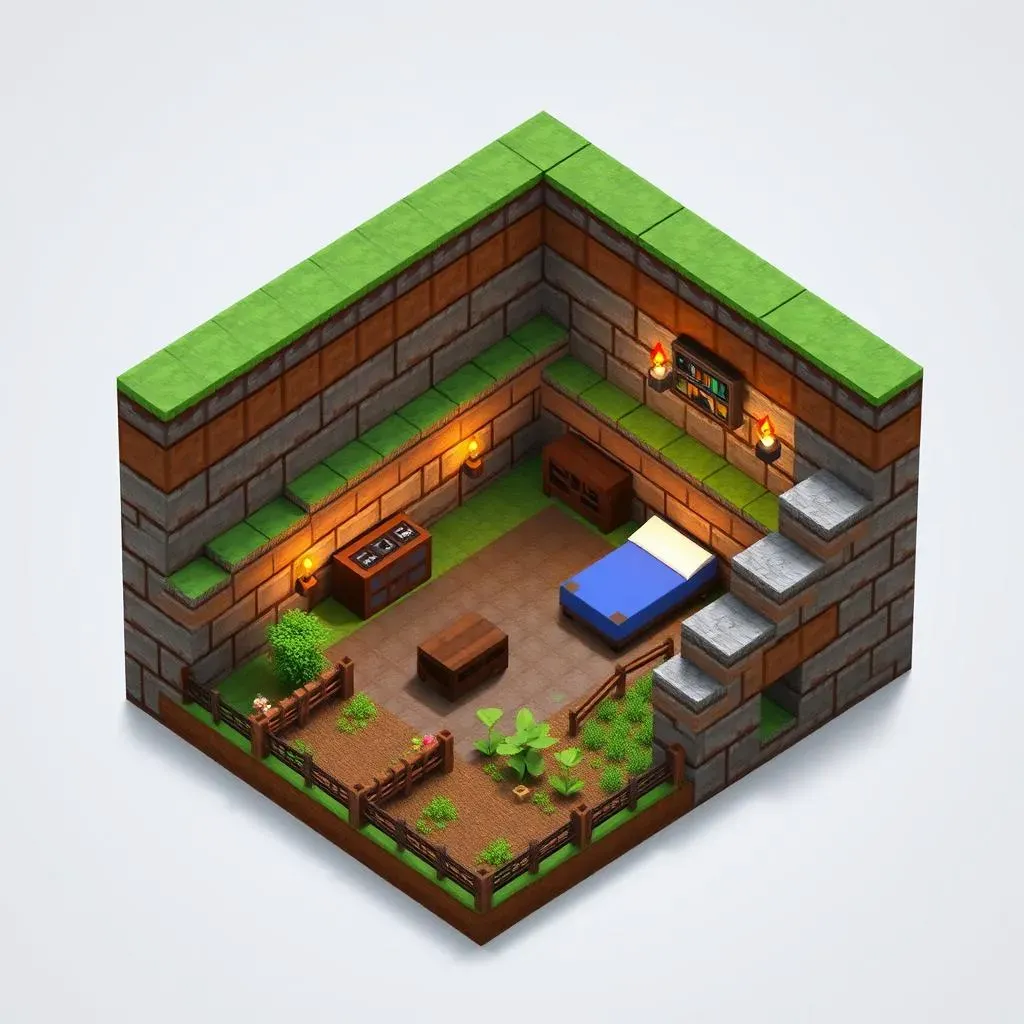
Start by digging a spacious chamber at your chosen location. Aim for a size that comfortably fits your initial needs – a 7x7x4 block space is a good starting point. Remember to place torches frequently to avoid those pesky nighttime mobs! Keeping good lighting is super important for a safe and comfortable underground living space. Don't forget to check out our tips on survival tips for more guidance!
Once your chamber is dug, reinforce the walls with a layer of cobblestone or stone. This adds structural integrity and makes your bunker more resistant to cave-ins. Consider adding a second layer of obsidian for ultimate protection against explosions and unwanted visitors, but remember, obsidian requires a trip to the Nether, so be prepared for that adventure! If you want a quicker build, take a look at our guide on building a quick starter house.
- Dig a 7x7x4 block chamber.
- Place torches for lighting.
- Reinforce walls with cobblestone/stone.
- Add obsidian for extra security (optional).
Adding Essential Features
Now it's time to add the essential features that will make your underground bunker a comfortable and functional home. Start with a crafting table and a furnace, both essential for basic resource processing. A chest is needed to store your growing inventory, and a bed is crucial for setting your spawn point and avoiding those pesky respawns in inconvenient locations. Check out our ideas on affordable starter house ideas if you are on a budget!
Next, consider adding a basic farm. A small, enclosed area for crops and animals will provide a sustainable food source. This is especially important if you plan on spending significant time underground. For beginner players, a starter house for beginners is a good place to start. You can easily expand later as your needs grow. Remember that a simple farm is better than no farm at all!
Feature | Purpose | Materials |
|---|---|---|
Crafting Table | Crafting items | Wood planks |
Furnace | Smelting ores | Cobblestone |
Chest | Storage | Wood planks |
Bed | Set spawn point | Wool, wood planks |
Farm | Food source | Dirt, seeds, fences |
Expanding and Enhancing Your Minecraft Starter House Underground Bunker

Expanding and Enhancing Your Minecraft Starter House Underground Bunker
Adding More Rooms and Functionality
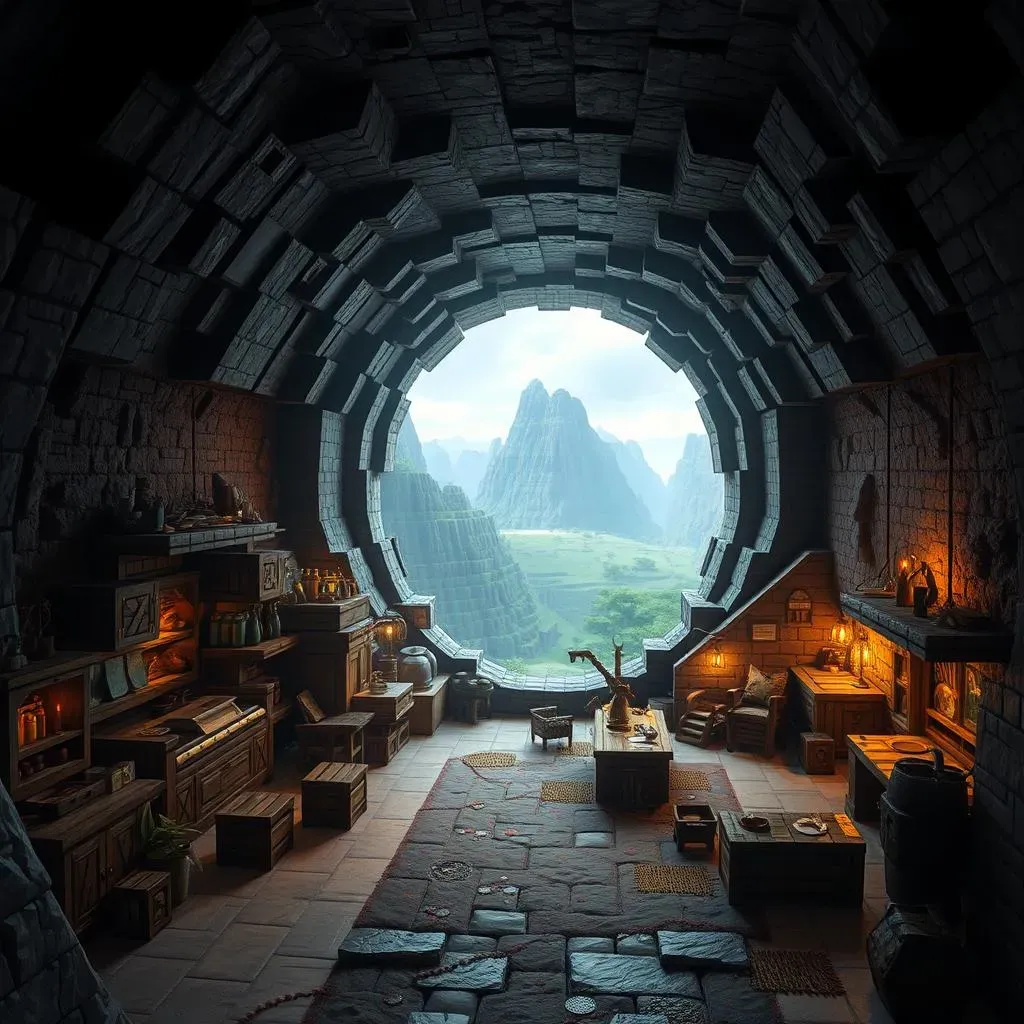
Your basic bunker is up and running, but the fun doesn't stop there! Now it's time to expand and add more rooms to suit your needs. Think about what you'd like to include. A dedicated enchanting room is essential for improving your gear. A brewing room, stocked with cauldrons and ingredients, will allow you to create powerful potions. And don't forget a spacious storage area—those shulker boxes are lifesavers! If you're feeling ambitious, a secret chest adds an extra layer of security and mystery. Check out our ideas on adding a secret chest to your bunker for some inspiration!
Consider adding a dedicated area for animal farming. Chickens for eggs, cows for milk and leather, sheep for wool – the possibilities are endless! A fully automated system can significantly reduce the workload, freeing up more time for adventures above ground. For multiplayer fun, check out our tips on creating a multiplayer-friendly starter house.
- Enchanting Room
- Brewing Room
- Expanded Storage
- Animal Farm
- Secret Chest
Advanced Features and Decorations
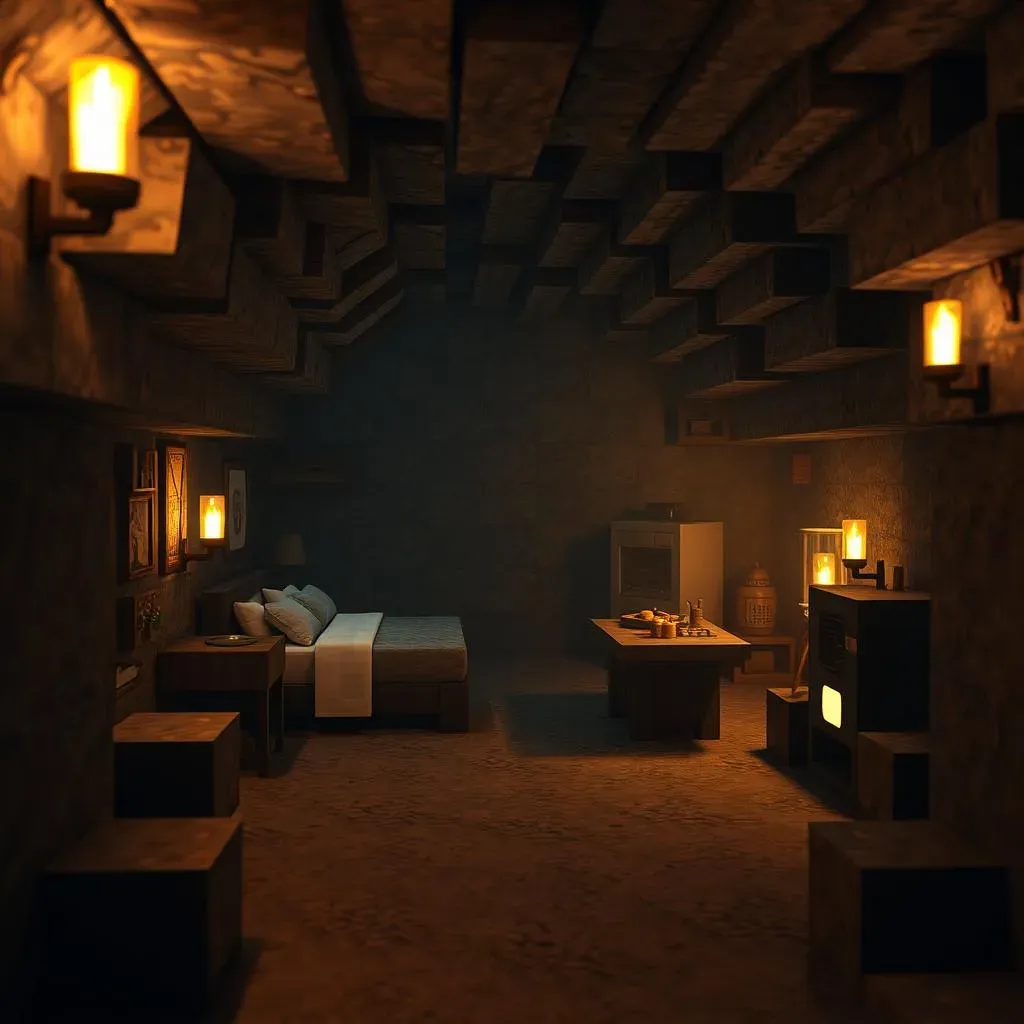
Once you have the basics covered, it's time to get creative! Add some decorative elements to personalize your bunker. Lanterns, paintings, and carpets can transform a simple space into a cozy and inviting home. Using different types of blocks can add visual interest and a unique style. And don't forget about lighting! Well-placed torches or glowstone will not only prevent mob spawning but also create a welcoming ambiance. For some advanced design inspiration, explore our ideas on interior design.
Think about incorporating advanced features like redstone contraptions. Automated systems for farming, lighting, and even security can significantly enhance your bunker's functionality. A hidden entrance, activated by a cleverly placed pressure plate, adds an extra layer of security. If you're a fan of roleplaying, consider creating a themed bunker. A medieval stronghold, a futuristic tech base, or even a cozy hobbit hole – the choices are endless! See our ideas on roleplay ideas to make your bunker truly unique!
Feature | Description | Benefits |
|---|---|---|
Redstone Contraptions | Automated systems | Increased efficiency, convenience |
Hidden Entrance | Pressure plate, secret passage | Enhanced security |
Themed Design | Medieval, futuristic, etc. | Personalized aesthetic |
