Table of Contents
Starting a new world in Minecraft can feel overwhelming. Where do you even begin? One smart move is to find the perfect spot for your very first base: near a village! This guide will walk you through everything you need to know about finding the ideal "minecraft starter house village location." We'll explore why choosing a village as your starting point is so beneficial, discussing the advantages of easy access to resources and villagers. Then, we'll dive into the best biomes to hunt for your perfect village, helping you consider factors like safety, resource availability, and aesthetic appeal. Next, you'll learn practical building tips to make the most of your village proximity, from simple designs to more advanced strategies. Finally, we’ll unveil some expert-level techniques for securing a truly prime location, maximizing your early-game success and setting the stage for an epic Minecraft adventure. Get ready to build the ultimate starter house in the best possible spot!
Why Choose a Village Location for Your Minecraft Starter House?
Why Choose a Village Location for Your Minecraft Starter House?
Ready-Made Resources
Starting near a village gives you a massive head start! Villages are packed with useful resources. You'll find chests brimming with tools, seeds, and other goodies. This means less time spent gathering basic supplies and more time focusing on building your awesome starter house. Imagine starting with a few extra iron ingots or a stack of wood—it's a game-changer, especially if you're new to Minecraft. Check out some cheap starter house designs to get inspired!
Think of it like this: you're not just starting with a blank slate; you're starting with a well-stocked pantry and a toolbox already assembled. This frees you up to concentrate on more creative aspects of your game, like designing your dream home or exploring the world beyond your immediate surroundings. You can even use the village as a jumping-off point for more ambitious projects, like building a massive farm or a sprawling castle. Plus, who doesn't love a bit of a shortcut when you're starting a new world?
Resource | Benefit |
|---|---|
Wood | Building materials, fuel |
Iron | Tools, weapons, armor |
Seeds | Food production |
Safety and Security in Numbers
Villages aren't just about resources; they offer a crucial element of early-game safety. The presence of villagers and iron golems acts as a natural deterrent to hostile mobs. Having these friendly faces nearby means you have a buffer zone against the dangers of the night. This allows you to focus on building your minecraft starter house without constantly worrying about creeper explosions or zombie ambushes. A good defense, combined with a well-placed starter house, is essential for survival.
Imagine spending your first night snug in your new starter house, knowing that those iron golems have your back. That peace of mind is invaluable, especially when you're still learning the ropes. It lets you explore, experiment, and expand without the constant fear of losing everything you've worked for. Plus, the villagers can trade with you, providing essential items like emeralds and bread, which can be used to develop your base, even further. This makes the location even more valuable.
- Iron Golems provide defense
- Villagers offer trading opportunities
- Reduced risk of nighttime attacks
Best Biomes for Minecraft Starter House Village Locations
Best Biomes for Minecraft Starter House Village Locations
Plains Biomes: A Beginner's Paradise
For new Minecraft players, plains biomes are a fantastic starting point. They offer relatively flat terrain, making building your starter house a breeze. Plus, plains are usually packed with various resources like wheat, sheep, and cows, providing you with food and materials to get started. The open space also allows for easy expansion as you progress. Want to build a massive farm? Go for it! Need more space for your amazing starter house interior? No problem! This biome offers a great balance of ease of building and resource gathering, perfect for beginners.
Think of it like this: plains are the Minecraft equivalent of a well-organized, beginner-friendly tutorial level. They provide everything you need to get comfortable with the game’s mechanics without throwing too many challenges at you. You can get settled, build up a supply of resources, and then venture out to explore more dangerous – and rewarding – biomes. This makes for a relaxed introduction to the world, allowing you to focus on building a solid base before tackling more complex challenges. Don't forget to check out some simple starter house blueprints for inspiration!
- Flat terrain for easy building
- Abundant resources (wheat, sheep, cows)
- Plenty of space for expansion
Forest Biomes: A Balanced Approach
Forest biomes offer a nice balance between the open space of plains and the resources of more dense environments. You'll find plenty of trees for wood, which is vital for constructing your starter house. These biomes also often feature villages, making them an ideal location for a quick and easy start. While the denser tree cover might make building slightly more challenging than on a plain, the plentiful wood supply more than makes up for it. Plus, the trees themselves can add extra character to your starter house, providing natural shade and a more rustic feel.
Consider the forest biome as a stepping stone between the beginner-friendly plains and the more advanced biomes. It offers a good challenge for those looking to improve their building skills while still providing access to essential resources. The trees also provide a natural defense against some mobs, offering a little extra security in the early game. The added challenge can be rewarding for players who want to test their skills. Remember, a well-placed starter house can make all the difference, so plan your build carefully. And don't forget about the importance of a good starter house tutorial to guide your construction!
Biome | Pros | Cons |
|---|---|---|
Forest | Abundant wood, often contains villages | Denser terrain, can be slightly more challenging to build in |
Tips for Building Your Minecraft Starter House Near a Village
Tips for Building Your Minecraft Starter House Near a Village
Prioritize Functionality Over Fancy
Your first Minecraft house doesn't need to be a mansion! Focus on creating a functional space that meets your immediate needs. A small, well-designed structure is far better than a sprawling, half-finished project. Think about what you'll need most in the early game: a bed for safe sleeping, a crafting table for toolmaking, a furnace for smelting, and chests for storage. Prioritize these essentials, and you'll have a solid base to expand upon later. For some amazing inspiration, check out these cheap starter house designs.
Remember, your initial build is temporary. It's a stepping stone to bigger and better things. Don't get bogged down in perfecting every detail. Get something functional built quickly, then focus on resource gathering and exploration. You can always upgrade your starter house later! And don't forget to consult a simple tutorial for help.
- Bed
- Crafting Table
- Furnace
- Chests
Strategic Placement is Key
Where you place your starter house is just as important as the house itself. Aim for a location that's close enough to the village to benefit from its protection, but far enough away to avoid unwanted attention. Consider the surrounding terrain – do you want a flat area for easy farming, or a slightly elevated spot for better visibility? Also, think about the direction the sun rises and sets; you might want to position your house to maximize sunlight during the day. This will increase the efficiency of your crops and make your house feel more welcoming.
A good location provides both safety and convenience. You should be able to easily access the village for trading and resources, yet still have enough space to build your farm and expand your base. Consider using the village as a natural extension of your home – perhaps you could build a connecting bridge or pathway. A little forethought in your house placement will pay off greatly in the long run. For more tips on staying safe, see our guide on Minecraft starter house survival tips.
Factor | Considerations |
|---|---|
Proximity to Village | Close enough for safety, far enough for privacy |
Terrain | Flat for farming, elevated for visibility |
Sunlight | Maximize sunlight for farming efficiency |
Advanced Minecraft Starter House Village Location Strategies
Advanced Minecraft Starter House Village Location Strategies
Utilizing Village Structures
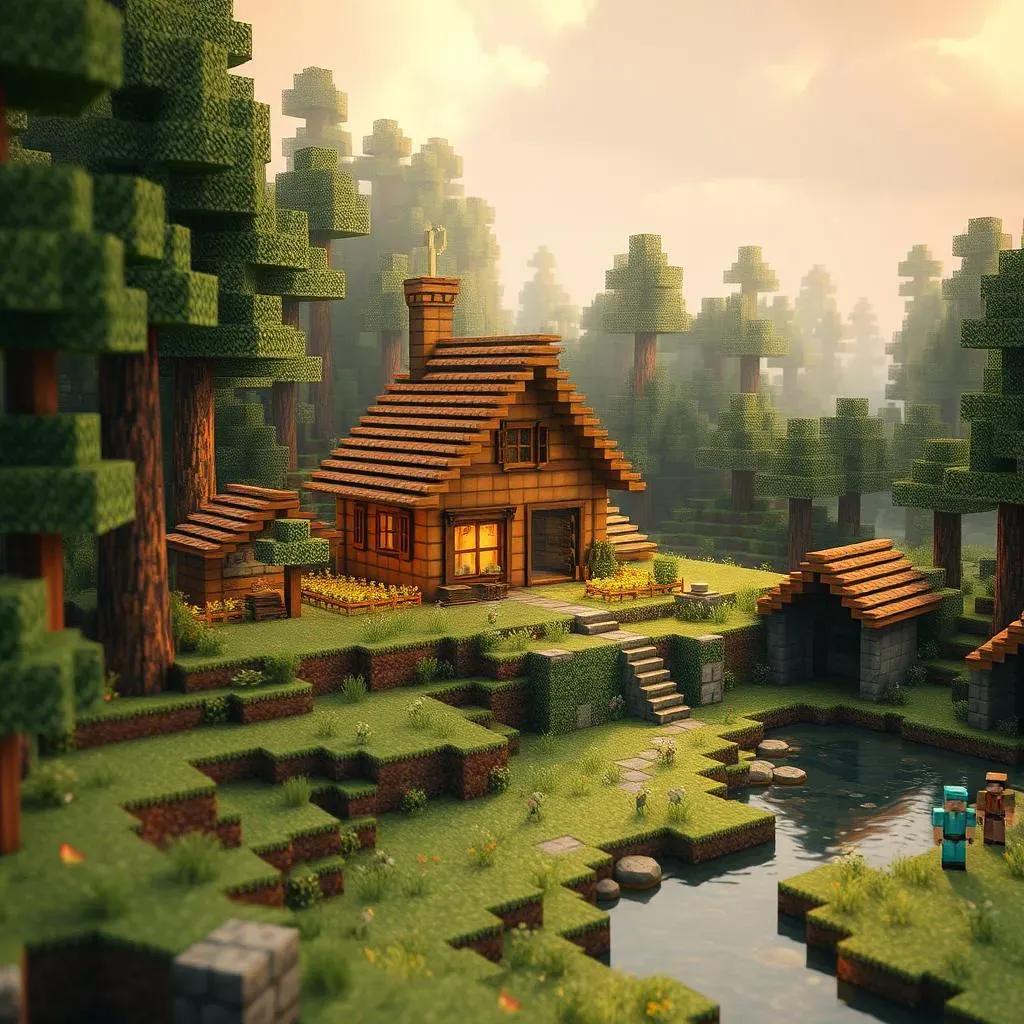
Don't just see the village as a source of resources; see it as a building block for your own base! Clever players can integrate existing village structures into their starter house designs. Imagine building an extension onto a pre-existing house, using it as a foundation for your own expansion. This not only saves time and resources but also creates a unique and cohesive aesthetic. It’s like getting a head start on your architectural masterpiece! Think about adding a second story to a villager's house, or even connecting several structures to create a larger compound. This approach saves you significant building time and materials, allowing you to focus on other aspects of your game, like farming or exploring. For more ideas on how to get your interior just right, check out our guide on Minecraft starter house interior design.
Consider the long-term implications of this strategy. By integrating existing structures, you're not just building a starter house; you're laying the foundation for a thriving village hub. As you progress, you can upgrade the existing structures, adding your own unique flourishes and creating a personalized village feel that reflects your own style. This strategic use of existing buildings offers a unique blend of functionality and creativity. Remember, a well-planned starter house is more than just a place to sleep; it's a launchpad for your Minecraft ambitions. For more advanced techniques, check out our guide on Minecraft starter house mods.
- Integrate existing village structures into your design.
- Expand upon existing buildings rather than building from scratch.
- Consider the long-term implications of your design.
Securing a Prime Village Location
Not all villages are created equal. Some offer better resources, terrain, and defense positions than others. Before settling down, explore several villages in your world. Look for villages near desirable biomes like forests (for wood) or plains (for flat land). Consider proximity to rivers or other water sources for easy access to water and convenient transportation. Look for a village that's naturally defensible, such as one situated on a hill or surrounded by water. This will give you a significant advantage in the early game, reducing the risk of nighttime attacks and making it easier to defend your base.
Think strategically about your village's location relative to other structures and biomes. Is it close to a desert for easy access to cacti? Near a swamp for reeds? A jungle for wood? Planning for future expansion is just as important as establishing your immediate needs. A good village location is a springboard for further exploration and resource gathering. This long-term planning will pay off as you develop your base and venture further into the Minecraft world. For simple blueprints to help you get started, see our guide on simple Minecraft starter house blueprints.
Factor | Ideal Characteristics |
|---|---|
Biome Proximity | Forests (wood), plains (flat land), deserts (cacti) |
Water Access | Rivers, lakes, oceans for transportation and resources |
Natural Defenses | Hills, cliffs, water features |
Advanced Building Techniques
Once you've found your ideal village, take your starter house building to the next level. Experiment with different building materials to create a unique look and feel. Don't be afraid to incorporate unusual materials or designs to personalize your base. You can use different types of wood, stone, or even rarer blocks to create a stunning visual effect. You can also use advanced building techniques like layering blocks or creating intricate patterns to add depth and complexity to your design. This will make your base stand out from the ordinary.
Consider adding features beyond the basic essentials. A small farm next to your house can provide a constant supply of food. A hidden storage area can keep your valuable items safe from unwanted visitors. A simple lighting system can illuminate your home and deter hostile mobs. These advanced techniques aren't just about aesthetics; they're about improving the functionality and security of your base. A well-equipped starter house will give you a much better chance of long-term survival. If you're struggling to find the right design for your needs, you may want to check out our tutorial on easy Minecraft starter house tutorials.
- Experiment with different building materials
- Incorporate advanced building techniques
- Add features like farms, storage, and lighting
