Table of Contents
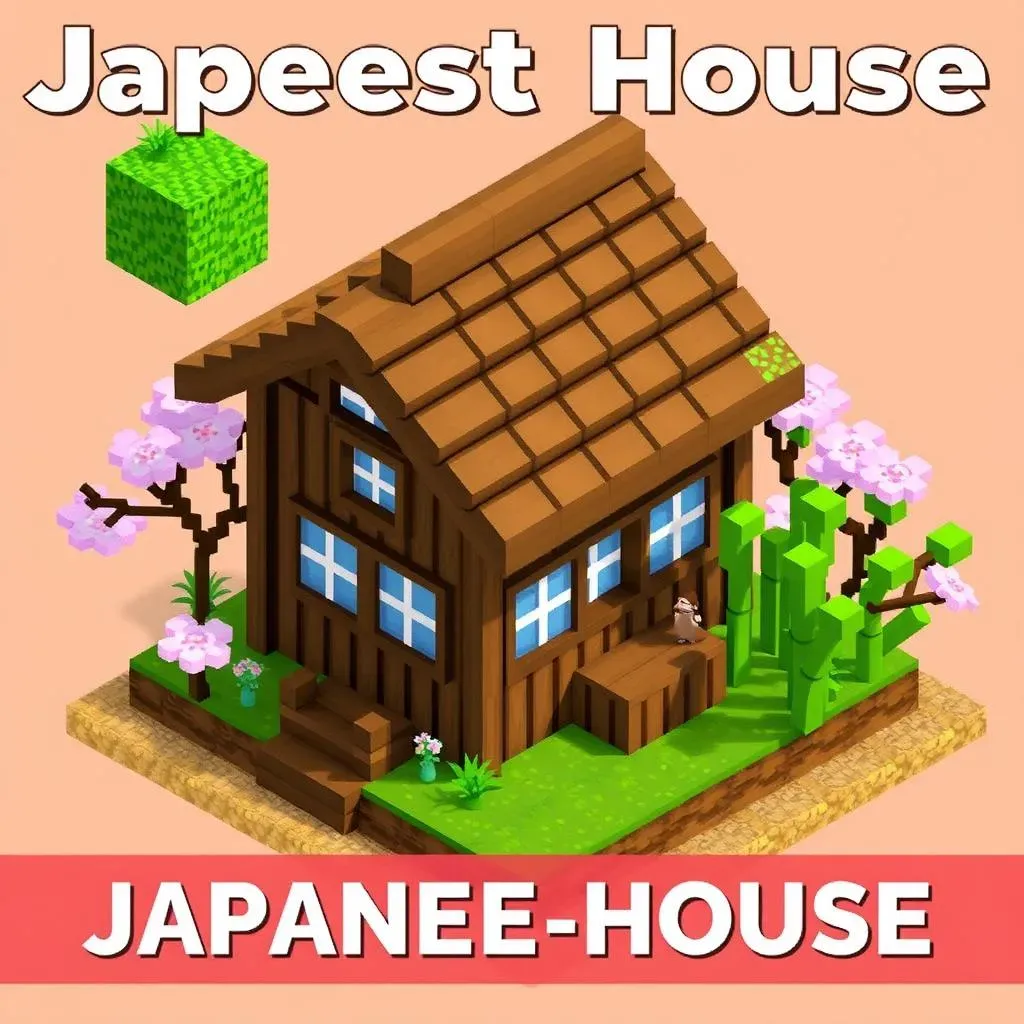
Ever dreamt of having your own peaceful Japanese retreat in Minecraft? You know, something that's not just a box with a door? Well, you're in the right place! This isn't about intricate, time-consuming builds. We're talking a simple Minecraft Japanese house tutorial that even a newbie can nail. Forget those complex blueprints; we’re going for charming and achievable. This guide is going to walk you through everything, step by step. We will start with gathering your materials, then move onto laying the foundation, constructing the walls and roof, and finally adding those special touches that make it feel like home. We'll focus on easy-to-follow instructions, so you can spend more time enjoying your new build and less time scratching your head. Ready to transform your blocky world into a serene Japanese-inspired haven? Let’s get building your simple Minecraft Japanese house!
Gathering Your Simple Minecraft Japanese House Materials
Gathering Your Simple Minecraft Japanese House Materials
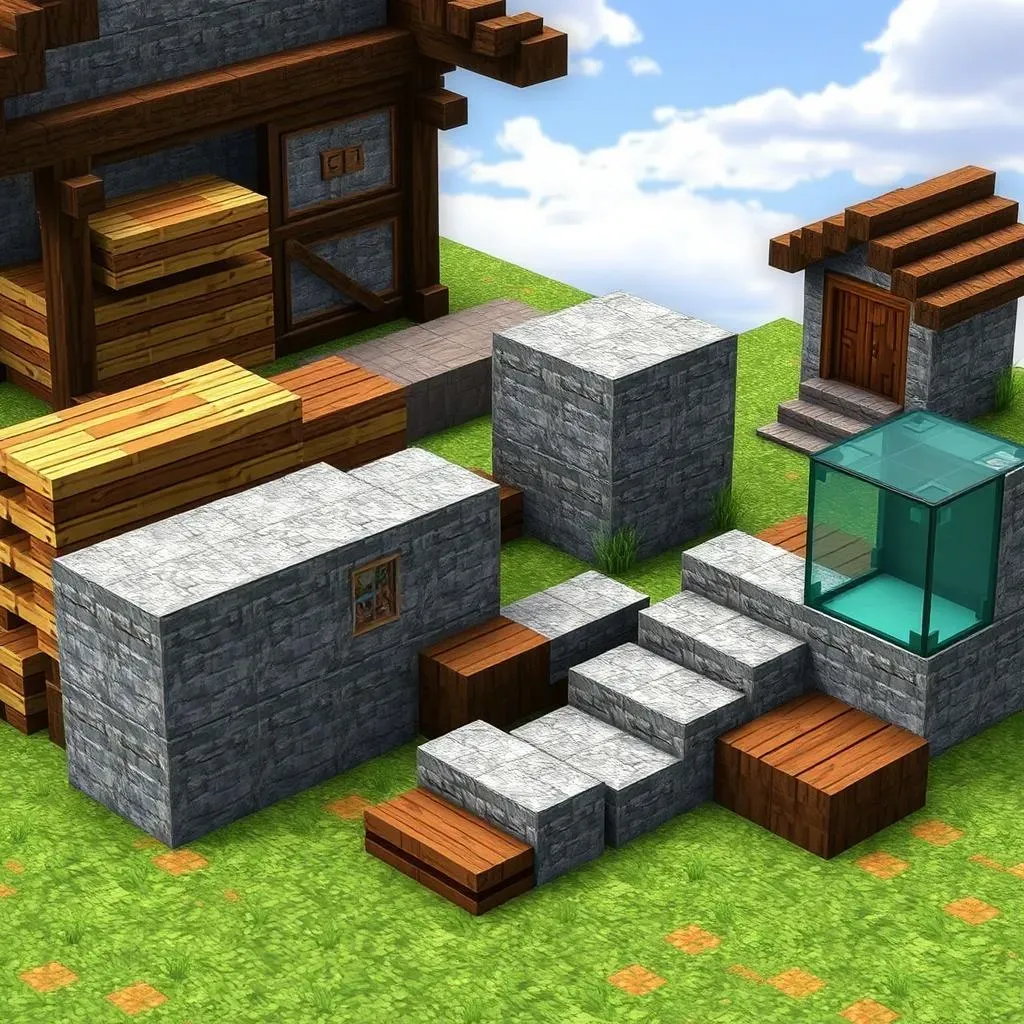
Alright, so you're hyped to build your own little slice of Japan in Minecraft? Sweet! First things first, we need to raid our digital inventory for the right stuff. Think of it like prepping for a cooking show, but instead of spices and veggies, it's wood, stone, and maybe a little bamboo if you're feeling fancy. For a simple build, we're not going overboard, but picking the right blocks is key to getting that Japanese vibe. I always start with some kind of wood for the frame; oak or spruce work great because they're easy to find and look pretty natural. Don't forget some stone or concrete for the base, this adds a nice contrast and gives your house a solid feeling. And for the roof? Well, that's where things get interesting; we'll need some slabs or stairs of a different color to mimic those classic Japanese roofs. I usually go with dark oak or even a dark terracotta. So, let’s get those materials ready, because a good build starts with a good stash!
Material | Purpose | Quantity (Approximate) |
|---|---|---|
Oak or Spruce Planks | Frame and Walls | 2-3 stacks |
Stone or Concrete Blocks | Foundation | 1-2 stacks |
Dark Oak or Terracotta Slabs/Stairs | Roof | 1-2 stacks |
Glass Panes | Windows | 1 stack |
Any Wood for Door | Door | 1 |
Laying the Foundation for Your Simple Minecraft Japanese House
Laying the Foundation for Your Simple Minecraft Japanese House
Start with a Solid Base
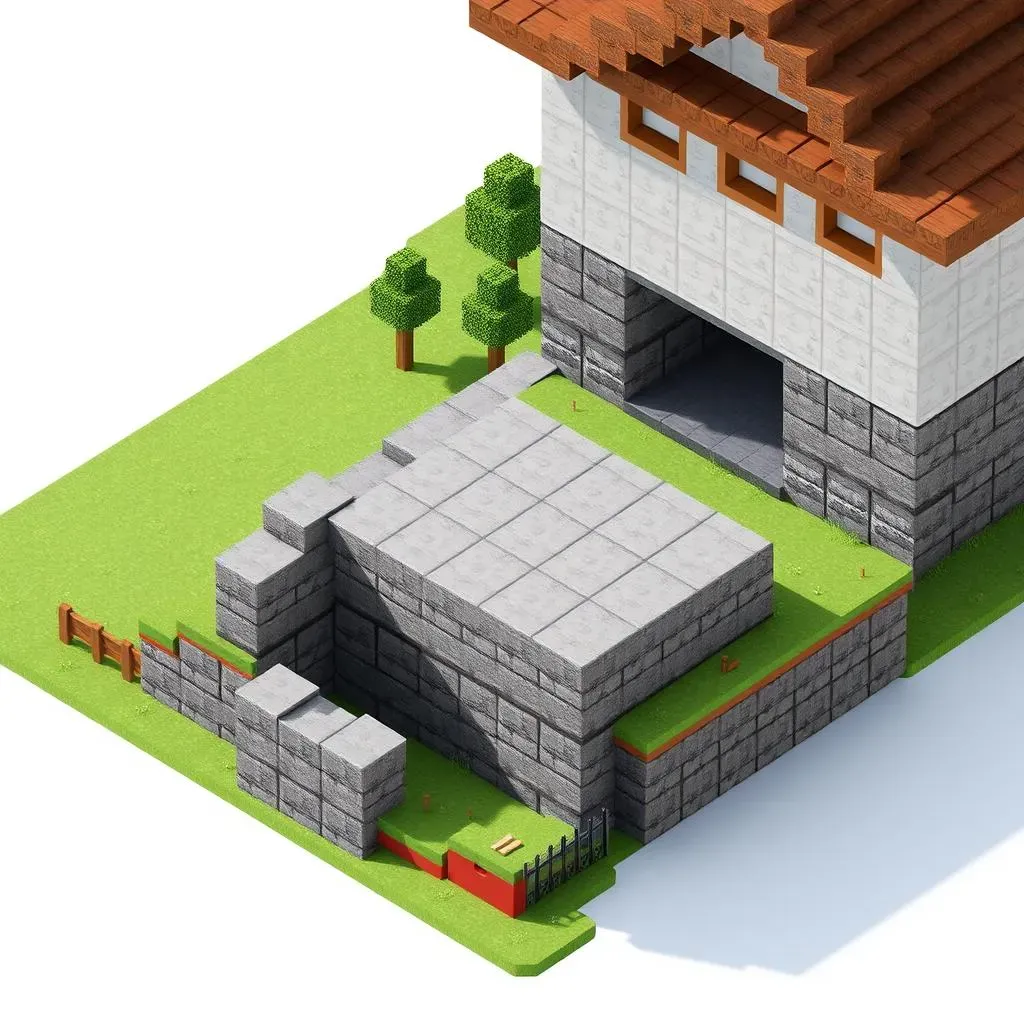
Okay, so we've got our materials, now it's time to get down to business and lay the foundation. This isn't just about plopping down some blocks; it's about creating a stable base for our beautiful Japanese house. I like to think of it as the backbone of our build. First, find a nice, flat spot. It could be a grassy field, a sandy patch, or even a cleared area in the woods. Once you've picked your spot, start by outlining the area you want your house to occupy using your stone or concrete blocks. I usually make it a rectangle, but you can get creative if you want. Just make sure it's not too big, we're going for simple and cozy here, remember?
After you've got the outline, it's time to fill it in. Make sure the foundation is nice and even, and not all bumpy, nobody wants a wonky house, right? This is where you want to spend a little time and make sure everything is just right. Trust me, a good foundation makes the rest of the build so much easier. I usually add an extra layer of blocks for a bit of height, it helps give the house a more defined look and keeps it off the ground a bit. It's like giving your house a pair of shoes, it just looks more put together.
Elevate the Base
Once your base is all set, it's time to add a little something extra. I like to add a one-block-high layer of a different block type on top of the foundation. This gives the house a little platform that makes it look more refined. For example, if your base is made of stone, you can use smooth quartz for this layer. It's like giving your house a little architectural detail without making things too complicated. Think of it like adding a fancy trim to a picture frame. It's a small touch, but it makes a big difference.
This also helps to distinguish the walls from the base. It creates a clear separation between the foundation and the beginning of your walls, making the structure look more intentional and less like a haphazard pile of blocks. This simple step can make your build look much more polished and professional. You can also use different colors to make it more unique, but I like to keep it simple for this tutorial. Remember, the goal is to create a simple yet beautiful Japanese house, not a castle, or anything like that.
Step | Action | Why |
|---|---|---|
1 | Find a flat area | Ensures a stable base |
2 | Outline the house area | Defines the house dimensions |
3 | Fill in the foundation | Creates a solid base |
4 | Add a one-block layer | Adds detail and separation |
Building the Walls and Roof of Your Japanese Minecraft House
Building the Walls and Roof of Your Japanese Minecraft House
Raising the Walls
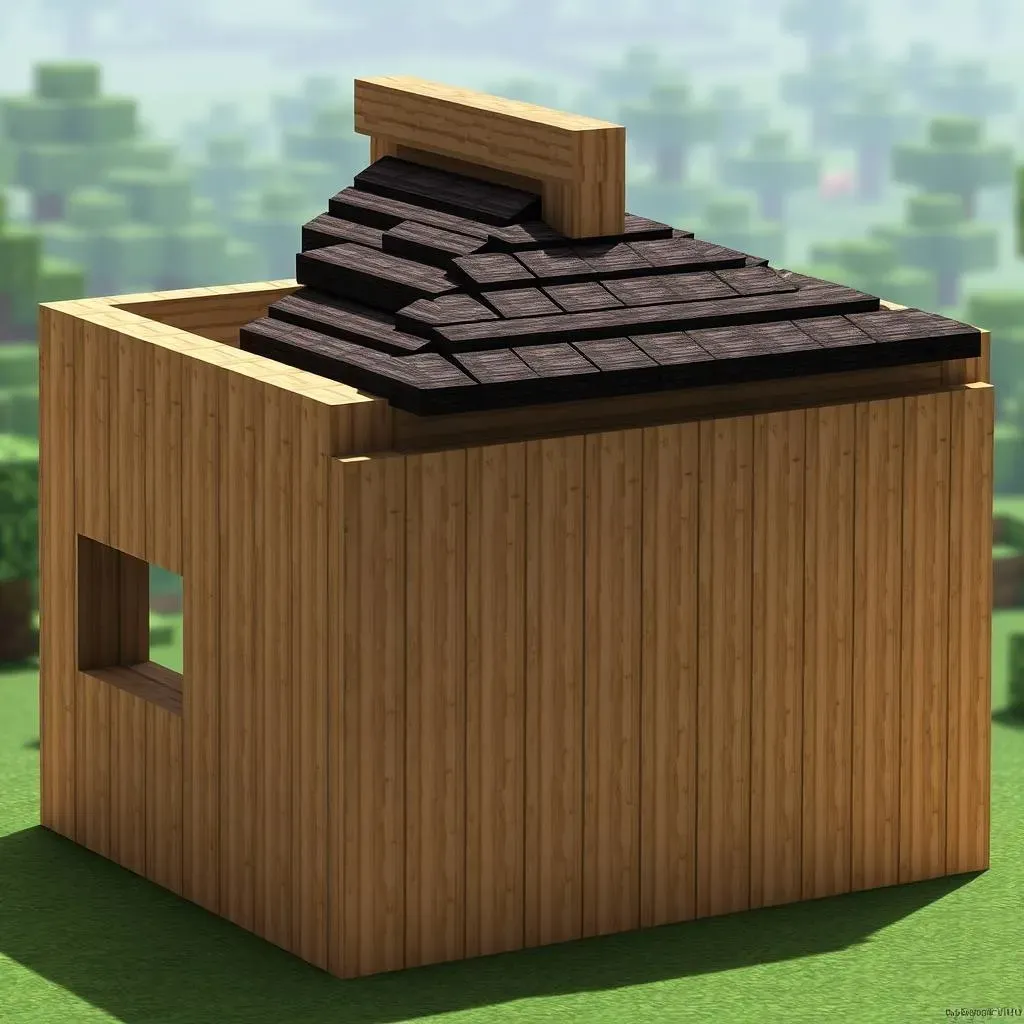
Alright, with our foundation set, it's time to build up, literally! This is where your house starts to look like, well, a house. Using your chosen wood planks – remember, oak or spruce are great – begin building the walls on top of the foundation, I usually go with a simple box shape, keeping it four blocks high for a nice, cozy feel. Don't worry about making it perfect, we're going for a rustic look here, not a modern mansion. Just make sure the corners line up nicely, and you're good to go. I always love this part of the build because you can see your creation taking shape. It's like watching a sketch turn into a painting, or a lump of clay into a cool sculpture. And remember, we are making a simple Japanese house, so no need to over complicate it. Keep it clean, keep it simple, and it'll look great.
As you’re building, think about where you want your windows. I usually add one or two on each side, just to give the house some light and to make it look less like a solid block. You can use glass panes or even leave some gaps for a more open feel. It’s your house, your rules. I like to keep them symmetrical, but you can totally go wild if you want. This is where your own personal style starts to shine through. Just imagine looking out of those windows at the Minecraft sunrise, or at your chickens wandering around outside. It’s the little things, you know?
Step | Action | Tip |
|---|---|---|
1 | Build walls with wood | Keep it simple, four blocks high |
2 | Add windows | Use glass panes or gaps |
3 | Ensure corners align | For a neat look |
Crafting the Roof
Now, let’s talk about the roof – the hat of our house. This is where the Japanese style really comes to life. Forget flat roofs; we're going for that classic, slightly curved look. Grab your slabs or stairs, and start building the roof by placing them around the top edge of the walls, creating an overhang, this helps to give it that classic feel. I usually use dark oak or terracotta for this, as they look really authentic. Don't worry about making it too complicated, just follow the shape of your house and make sure the edges line up. You can use slabs to fill the space or use stairs to make the roof a little more detailed. It’s like giving your house a cool hat, and it makes all the difference in the world.
Once the basic shape is done, you can add some extra details to the roof, like a little ridge on top, or maybe even some decorative blocks. I like to keep it simple, but you can totally experiment and see what looks best to you. I think the key is to make it look balanced and not too heavy. And remember, this is a simple build, so don't get bogged down in the details. Just have fun with it and see what you come up with. I usually step back and look at the house from different angles to make sure the roof looks just right, like an artist admiring their work. Now your house is really starting to take shape.
- Use slabs or stairs for the roof.
- Create an overhang.
- Add a ridge for detail.
- Step back and admire your work.
Adding Finishing Touches to Your Simple Minecraft Japanese House
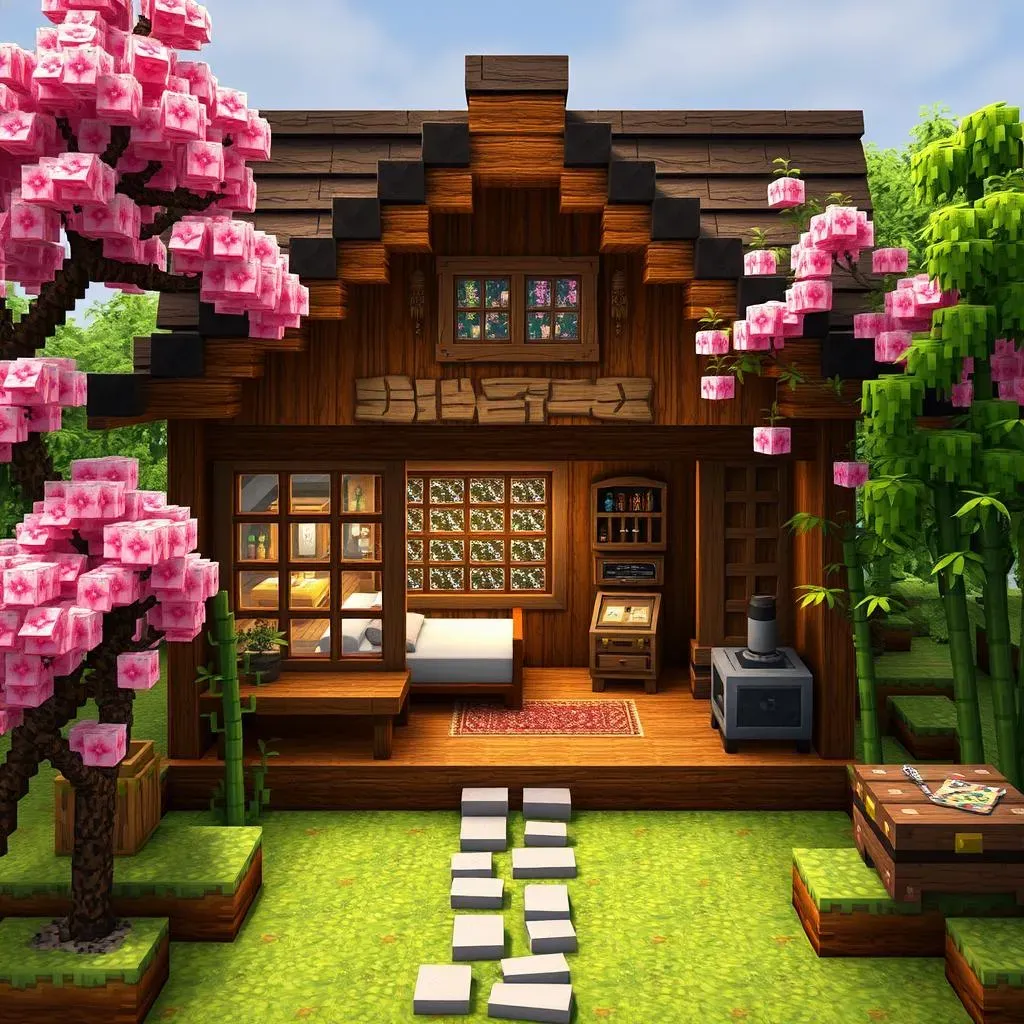
Adding Finishing Touches to Your Simple Minecraft Japanese House
Adding the Door and Windows
Okay, so we've got the basic structure of our Japanese house done, but it's still missing a few key things, like a way to get in and some windows to see the beautiful Minecraft world outside. First, let’s add a door. Pick a wood that complements your walls – I usually stick with oak or spruce, but you can get creative here. Place it in the front of your house, making sure it's facing outward so you can easily enter and exit. Now, for the windows. We already made space for them when we built the walls, so now it's time to fill them with glass panes. I like to use regular glass, but tinted glass can add a cool effect, too. This step might seem small, but it's amazing how much of a difference a door and some windows make to the overall look of your build.
Once you've added your door and windows, your house will start to feel more like a home and less like a shell. You can now imagine yourself inside, looking out at your Minecraft world, or inviting your friends over for a visit. And remember, this is a simple build, so we’re not going overboard with details, but these small touches are what really bring it to life. It's like adding the finishing touches to a painting, or putting the cherry on top of a sundae. They make all the difference, and you can finally say that you've built your own little Japanese haven in Minecraft.
Element | Material | Placement |
|---|---|---|
Door | Any Wood | Front of the house, facing outward |
Windows | Glass Panes | In the gaps left in the walls |
Adding Interior Details
Now, let's move inside! While we're keeping things simple, adding a few interior details can make your Japanese house feel more inviting and lived-in. Start with the floor – I usually keep it the same as the base, but you can use wood or even carpets for a different feel. Then, think about the basics: a bed, a crafting table, and a furnace. Place these in a way that makes sense for you. I like to keep my bed near the back wall, with the crafting table and furnace close by for easy access. You can also add some chests for storage, and maybe a few paintings on the walls for a touch of personality. It’s like setting up your own little apartment, but in Minecraft.
Don't feel like you have to overdo it with the interior. The goal is to create a simple, functional space that feels cozy and comfortable. You can add a few small decorative touches, like some flower pots or a lantern, to give it a personal touch. I like to add a simple rug in front of my bed, and maybe a small table with a flower pot on it. These little details make your house feel more like a home. Think of it like decorating your real-life room – you don't need a ton of stuff, just a few things that make you feel happy and comfortable. And remember, it’s your house, so decorate it however you want.
- Add a bed, crafting table, and furnace.
- Place chests for storage.
- Add paintings or decorations to the walls.
- Keep it simple and functional.
Landscaping and Final Touches
Finally, let's step outside and add some final touches to our Japanese house. Landscaping can really transform the area around your house, making it feel more like a part of the environment. I like to add a small path leading up to the door, using stone slabs or gravel. You can also plant some flowers or bamboo around your house to give it a more natural feel. I usually add a few trees nearby, too, to create a little forest around my build. It's like creating a little garden around your house, and it makes it feel so much more peaceful and serene.
These final touches are all about making your house feel like it belongs in the Minecraft world. You can add a small pond or a little rock garden to enhance the Japanese vibe. You can even add some lanterns to light up your path at night. It's the little details that make all the difference. And remember, this is your creation, so have fun with it! I always take a step back and admire my work, thinking about how far I've come. From just a bunch of blocks to a beautiful Japanese house, it's amazing what you can build with a little creativity. And that’s it! You’ve successfully built your simple Minecraft Japanese house!
