Table of Contents
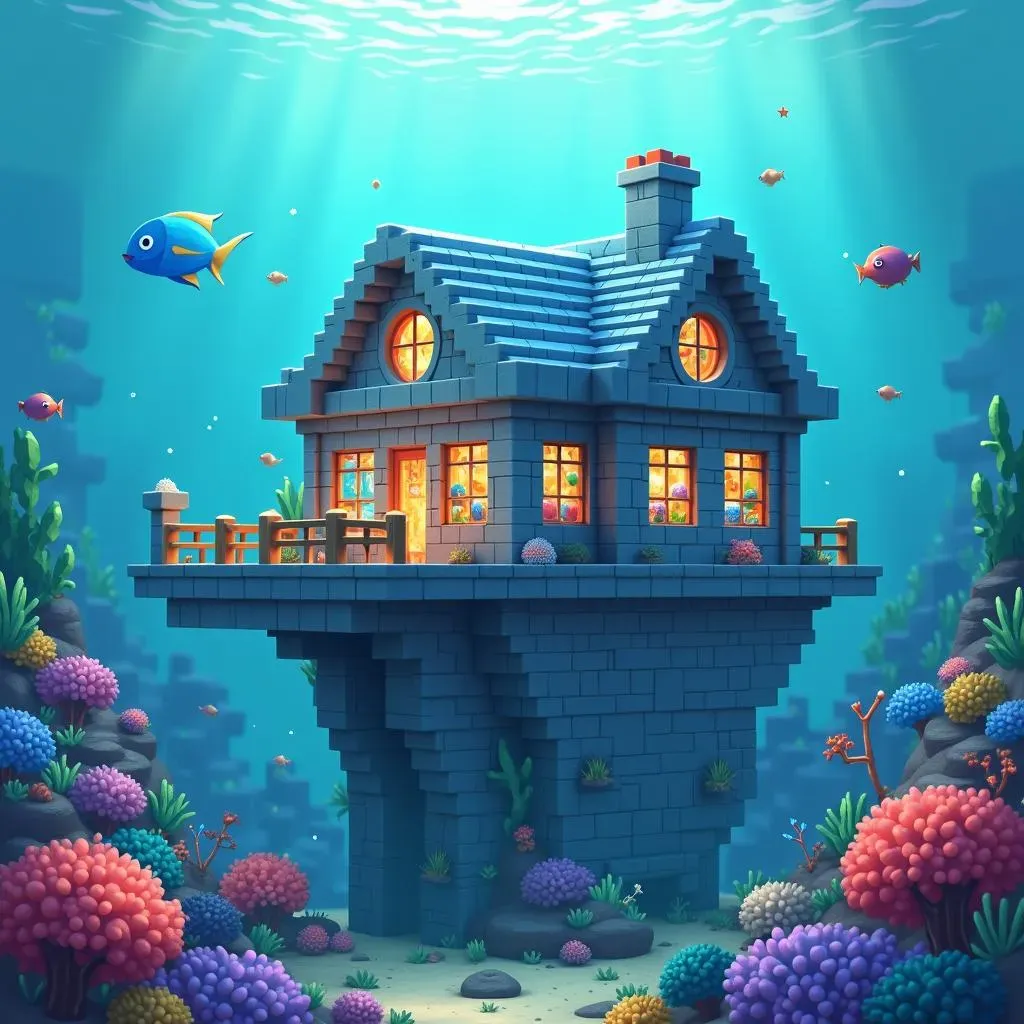
Ever dreamed of having your own underwater base in Minecraft, a secret sanctuary hidden beneath the waves? This simple Minecraft underwater house tutorial will guide you through the process, step-by-step, making it easier than you think! Forget complex designs and confusing instructions; we're focusing on a straightforward approach that's perfect for beginners. We'll start by helping you choose the ideal location for your underwater haven, considering factors like accessibility and resource availability. Then, we'll walk you through building the fundamental structure – walls, floor, and roof – using readily available blocks. A critical part of any underwater build is managing the water, so we'll cover effective methods for creating air pockets and keeping your home dry. Finally, we'll add the finishing touches, transforming your basic structure into a stylish and functional underwater residence, complete with interior design ideas to make it truly your own. So, grab your pickaxe and prepare to dive into this simple Minecraft underwater house tutorial – your aquatic adventure awaits!
Choosing Your Underwater Location
Choosing Your Underwater Location
Proximity to Resources
Picking the perfect spot for your underwater base is key! You want somewhere easy to get to, but also close to resources you’ll need. Think about what you'll be building with – do you need lots of sand? Maybe you want to be near a coral reef for some extra pretty building blocks. A beach is a great starting point, as it provides easy access to both land and water. From there, you can explore the ocean floor and find a spot that suits your needs. Don't forget to check out our guide on ocean base locations for more inspiration!
Resource | Benefit | Location Hint |
|---|---|---|
Sand | Building material | Beaches, deserts |
Coral | Decorative blocks | Coral reefs |
Prismarine | Unique building material | Ocean Monuments ( ) |
Safety and Security
Safety first, adventurers! You don't want your amazing underwater house to become a fishy buffet. Consider the local mob population. Are there any dangerous creatures lurking nearby? Deeper waters might be safer from some mobs, but they also present other challenges, like limited visibility and the need for more advanced breathing gear. A hidden entrance is a must, so check out our hidden entrance ideas for inspiration. Building near a naturally occurring structure, like a shipwreck, can provide a convenient disguise and a ready-made entrance. Just remember to clear out any unwanted guests first!
- Avoid areas with high concentrations of hostile mobs.
- Consider the depth of the water – deeper is often safer but more challenging.
- Plan your entrance carefully to ensure it's well-hidden.
Building the Basic Structure: Walls, Floor, and Roof
Building the Basic Structure: Walls, Floor, and Roof
Laying the Foundation: Choosing Your Blocks
Alright, let's get building! The first step is choosing your building blocks. Glass is a popular choice for underwater houses because it lets in light and looks super cool. But it's also fragile! Consider using cobblestone or stone for a more robust foundation, especially if you're worried about creepers. You can always add glass later for windows. For a more creative approach, check out these affordable designs. Don't be afraid to experiment with different materials and colors to create a unique look! Remember, this is *your* underwater palace.
- Glass: Looks great, but fragile.
- Cobblestone/Stone: Strong and durable.
- Prismarine: Adds a unique underwater touch.
Constructing the Walls and Floor: Simple Shapes are Your Friend
Start with a simple shape for your house. A square or rectangle is easiest for beginners. Build the walls first, making sure they're tall enough to comfortably stand in. Then, add a floor. Remember to leave space for doors and windows! You can use ladders to move between floors, or even build an elevator if you want to get fancy (though that's a project for another day!). For some cool ideas on building techniques, check out our guide on building tips. Don't forget to leave space for your awesome interior design later!
Structure Element | Recommended Blocks | Why? |
|---|---|---|
Walls | Cobblestone, Stone, Prismarine | Durable and water-resistant |
Floor | Stone Bricks, Polished Blackstone | Strong and visually appealing |
Adding the Roof: A Protective Cap for Your Underwater Home
Finally, add a roof. This will help protect your underwater house from unwanted guests and keep the water out. You can use the same blocks as your walls, or choose something different for a contrasting look. Remember to leave a hole for an entrance, unless you're going for a super-secret hidden entrance (which is awesome, by the way!). For more inspiration, take a look at our blueprints for some small, yet effective underwater house designs. Once you’ve got the basics down, the possibilities are endless! You'll be amazed at how quickly your underwater home takes shape.
"The best thing about building is the freedom to create something entirely your own." - Unknown Minecraft Architect
Creating Air Pockets and Dealing with Water

Creating Air Pockets and Dealing with Water
Building Air Pockets: Essential for Survival
Okay, here's the tricky part: keeping the water OUT of your awesome underwater house. You need air pockets! The simplest method is to build small rooms or hallways, sealing them off with solid blocks. Think of it like building little underwater bubbles. Doors, banners, and even fence gates can be used to create these air pockets; they're surprisingly effective! For more creative ideas on how to make air pockets, check out our guide on air pocket ideas. It's all about clever block placement and a bit of trial and error. Don't be afraid to experiment!
- Use doors, banners, and fence gates to create air pockets.
- Experiment with different block combinations to find what works best.
- Plan your air pockets carefully to ensure they're strategically placed.
Removing Water: Sponges Are Your Best Friend
Now, let's get rid of that pesky water! Sponges are your best friends here. They're incredibly efficient at soaking up water, leaving you with a dry and habitable space. You can even build a special water removal system using a series of sponges and water channels. However, sponges do need drying out occasionally, so make sure you have a convenient way to do that (a drying rack above water is super handy). If you're feeling ambitious, you could even incorporate a conduit system for a truly advanced water management setup. For more advanced techniques and inspiration, check out our survival tutorial for more details. Remember, even small details can make a big difference!
Method | Pros | Cons |
|---|---|---|
Sponges | Efficient, readily available | Need to be dried out |
Conduit System | Highly efficient, automated | Requires more advanced setup |
Interior Design and Finishing Touches: Adding that Underwater Charm
Interior Design and Finishing Touches: Adding that Underwater Charm
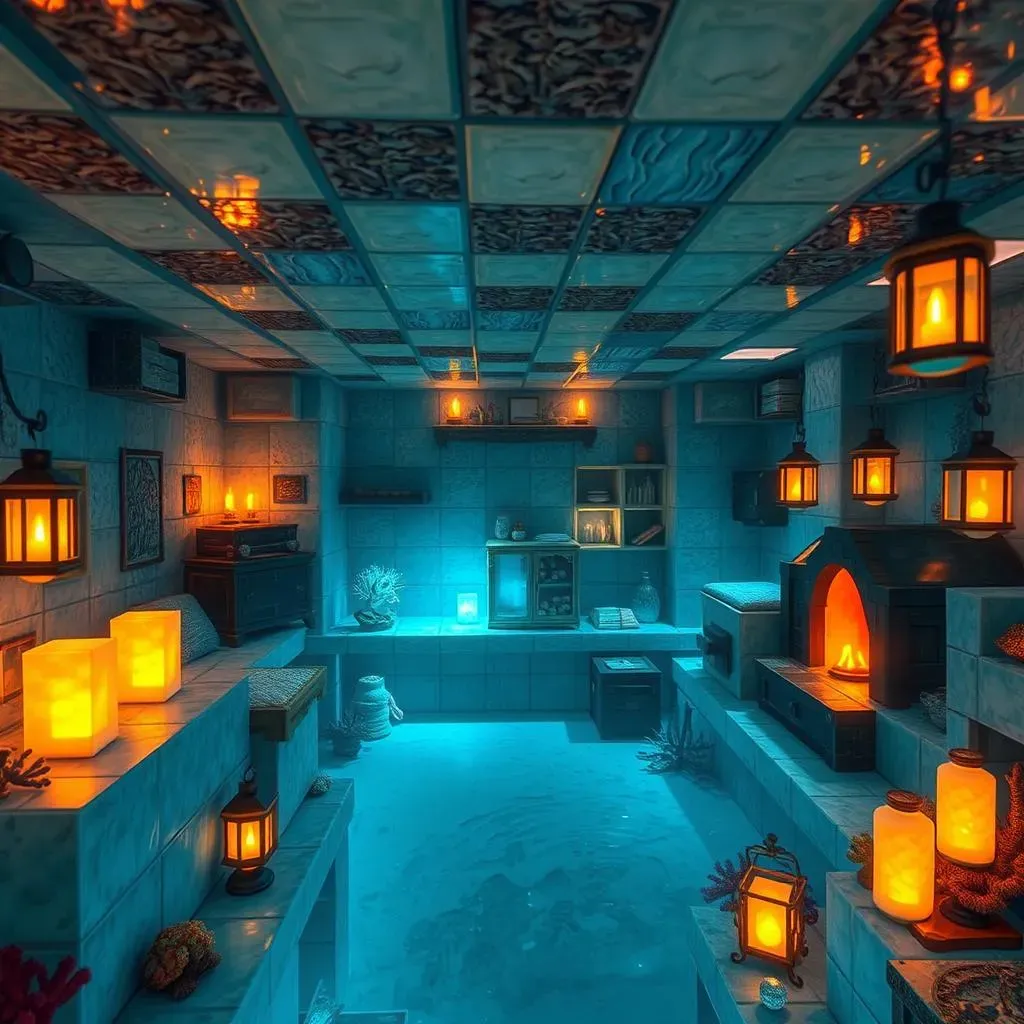
Lighting and Ambiance: Setting the Mood
Now for the fun part – decorating your underwater home! Lighting is key to creating a cozy and inviting atmosphere. Sea lanterns are a fantastic choice; they emit a soft, ethereal glow that perfectly complements the underwater setting. You can also use glowstone, but it's a bit brighter, so use it sparingly. Consider adding some strategically placed torches for a warmer, more rustic feel. For more ideas on interior design, check out our guide on interior design. Don't be afraid to experiment with different lighting options to find what best suits your style.
- Sea Lanterns: Soft, ambient lighting.
- Glowstone: Brighter, use sparingly.
- Torches: Warm, rustic feel.
Furnishing Your Underwater Abode: Crafting Comfort
Next up, furniture! Chests are essential for storage, and beds provide a place to rest after a long day of underwater adventures. Consider adding some crafting tables and furnaces for convenience. Don't forget the decorative touches! Prismarine blocks add a unique underwater aesthetic, and coral can create a vibrant, living reef within your home. For more furniture crafting ideas, take a peek at our furniture crafting guide. Let your creativity shine and make your underwater house a true reflection of your personality. Remember, even small details can make a big difference in the overall feel of a space.
Furniture Item | Function | Placement Suggestion |
|---|---|---|
Chests | Storage | Near entrances or crafting areas |
Beds | Sleeping | Quiet, secluded area |
Crafting Tables | Crafting | Central location |