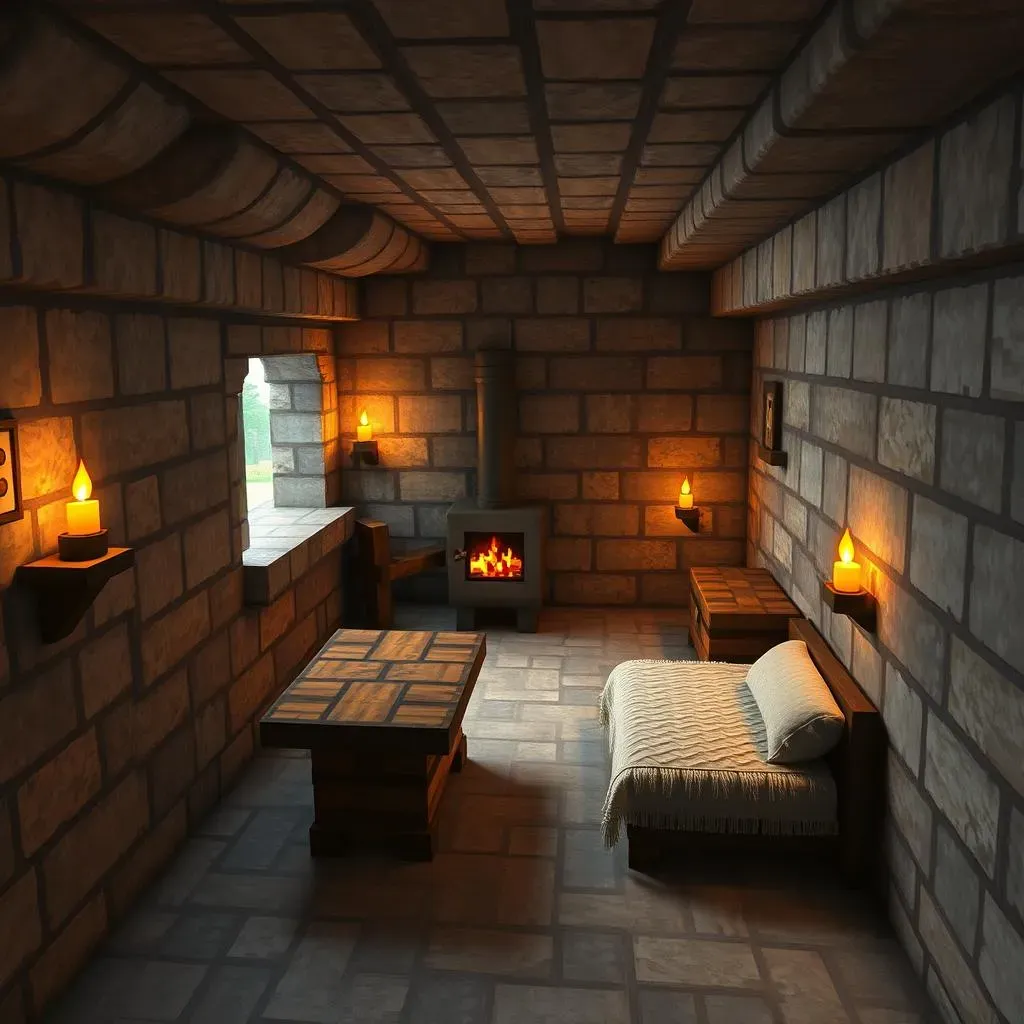
Table of Contents
Introduction
Tired of creepers blowing up your above-ground shacks in Minecraft? Are you constantly running out of wood and cobblestone just to make a basic starter home? Many new players struggle with building their first base in Minecraft, often falling prey to resource scarcity and nighttime monsters. But what if there was a way to create a safe, resource-efficient, and surprisingly cool starter home that's hidden from those pesky surface threats? Enter the **underground Minecraft house for beginners**. This guide will walk you through everything you need to know to dig yourself a cozy and functional home beneath the surface. We'll cover why underground bases are perfect for new players, provide a step-by-step building tutorial, explore creative design ideas to make your bunker unique, list essential materials, and share pro tips to ensure your underground abode is a success. Get ready to ditch those flimsy surface huts and build an awesome underground Minecraft house for beginners that will keep you safe and stylish in your blocky world!
Why Build an Underground Minecraft House for Beginners?
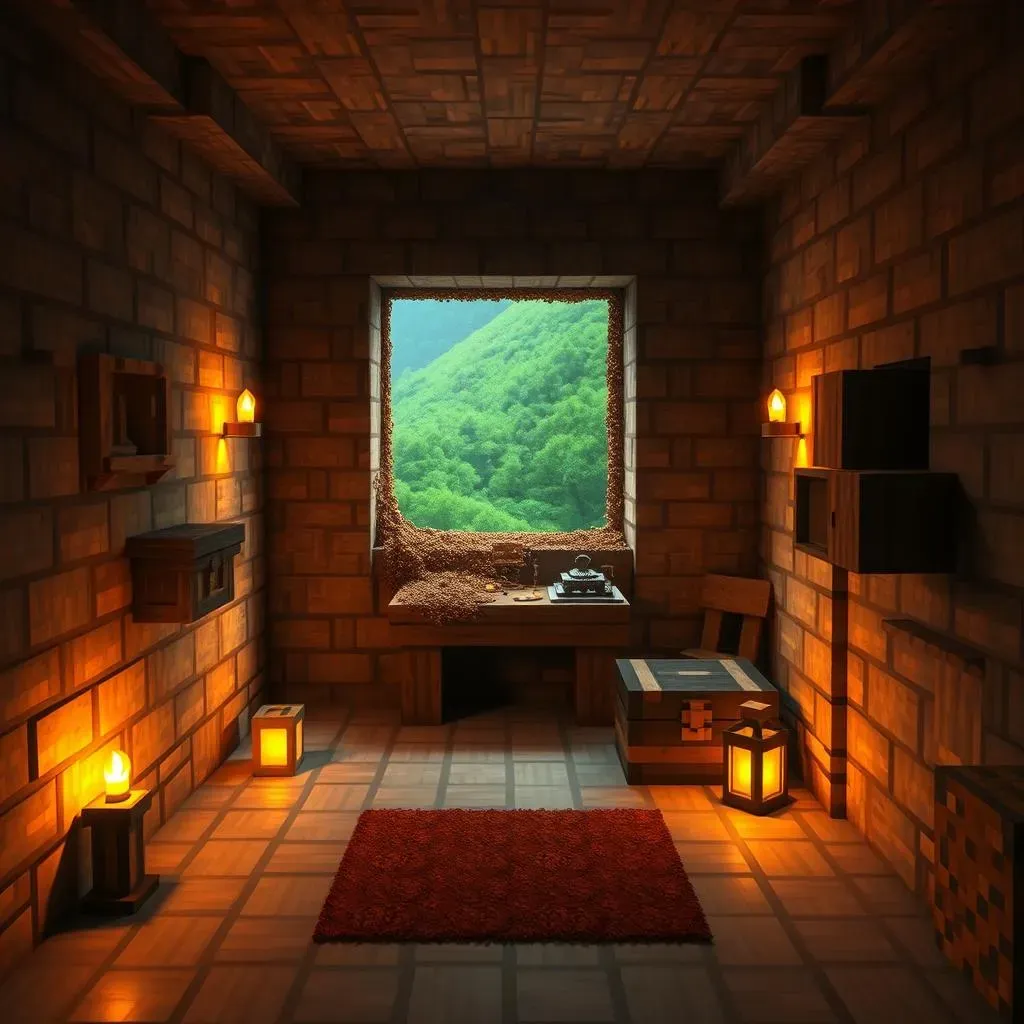
Why Build an Underground Minecraft House for Beginners?
Safety First: Monster-Proof Living
Let's be real, night one in Minecraft can be terrifying for new players.
Creepers, zombies, skeletons – they all want to crash your party, and by "party," I mean your face.
Building above ground, especially when you're just starting, often feels like putting up a "monster buffet" sign.
But guess what? Underground, those mobs have a much harder time reaching you.
It's like living in a natural bunker.
Suddenly, nighttime becomes less about panic and more about peacefully crafting or mining.
Think of it as your monster-free sanctuary where you can catch your breath and plan your next adventure without constant interruptions from the undead.
Resourcefulness is Key: Dig What You Need
Wood, cobblestone, even coal – these early game resources can feel scarce when you're frantically trying to build walls before sunset.
Building underground flips the script.
You're literally living in the resources.
Need stone? Just dig out your walls a bit more.
Often, you'll stumble upon coal, iron, and even copper as you expand your humble abode.
It's resource efficiency at its finest.
Plus, digging is generally faster than chopping down trees and hauling logs around, especially in those first few crucial game days.
Stealth and Style: Hidden Base, Hidden Potential
safety and resources are practical, but let's talk about the cool factor.
An underground base is inherently stealthy.
From the surface, there might be nothing to suggest the awesome lair hidden beneath.
This adds a layer of intrigue and security, especially if you're playing on a multiplayer server and want to keep your hard-earned loot safe from prying eyes.
Beyond stealth, underground bases can be incredibly stylish.
Imagine a cozy hobbit-hole entrance that opens up into a sprawling, multi-level complex, all hidden beneath a simple grassy hill.
The possibilities are endless, and the hidden nature of your base just adds to its unique charm.
StepbyStep Guide: Building Your First Underground Minecraft House
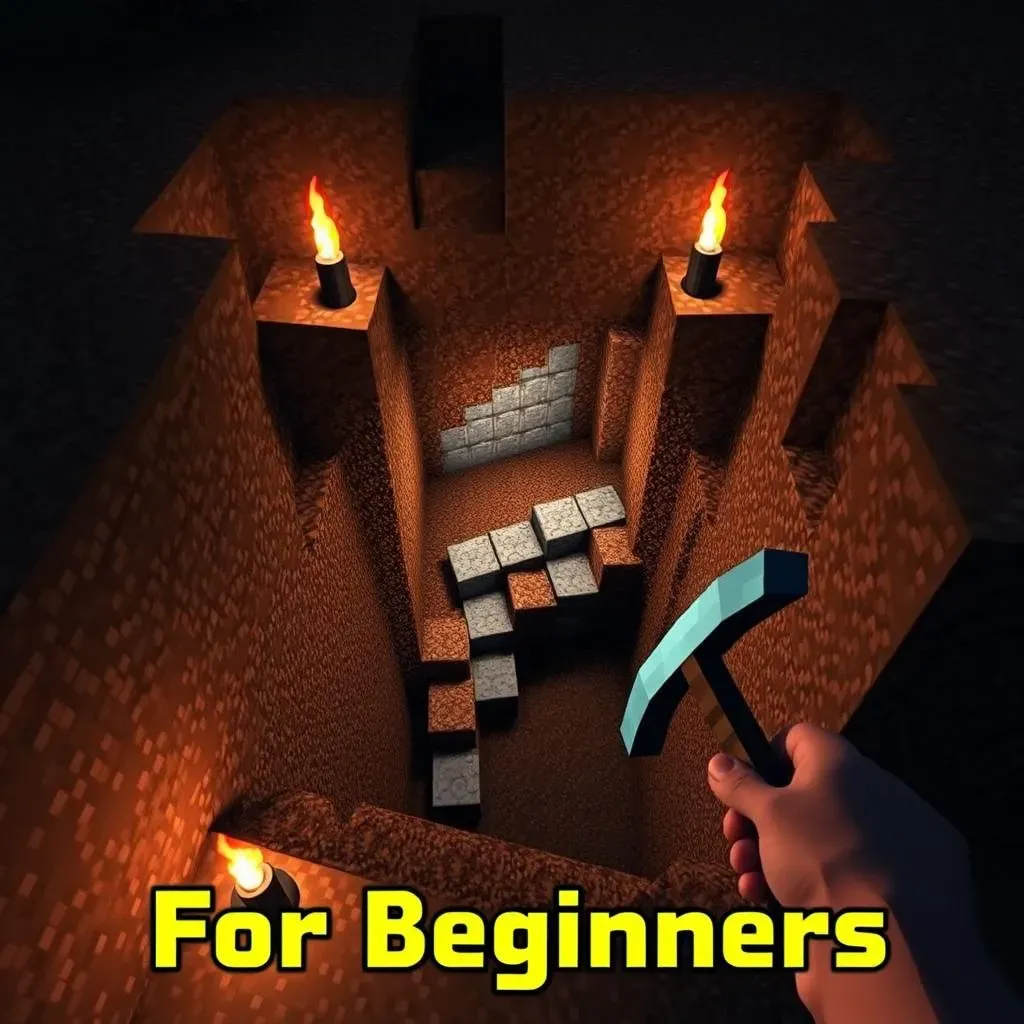
StepbyStep Guide: Building Your First Underground Minecraft House
Alright, so you're sold on the idea of an underground empire, awesome!
Let's get our hands dirty, or rather, blocky, and dive into how to actually build your first **underground Minecraft house for beginners**.
Don't worry, it's way easier than you think, and we'll break it down into simple steps so you won't get lost in the digital dirt.
Think of this as your personal blueprint to subterranean success!
- Find the Perfect Spot: Look for a relatively flat area, maybe near a hill or mountain for easy access, but honestly, anywhere works.
- Dig Down (Safely!): Start digging a staircase down – not straight down unless you want to risk a surprise dirt sandwich. Make it a gentle slope, about 3x3 blocks wide to give yourself room to maneuver.
- Clear Out Your Space: Decide how big you want your first room to be – for a beginner, something like 7x7 or 9x9 blocks is a good starting point. Dig out all the dirt and stone in that area, creating a cube-shaped space.
- Basic Lighting: Monsters can spawn in the dark, even underground! Slap some torches on the walls as you dig to keep things safe and visible.
These initial steps are crucial for laying the foundation of your **underground Minecraft house for beginners**.
Once you've got this basic hole in the ground, the real fun begins – shaping it into a home!
Creative Design Ideas for Your Beginner Underground Minecraft House
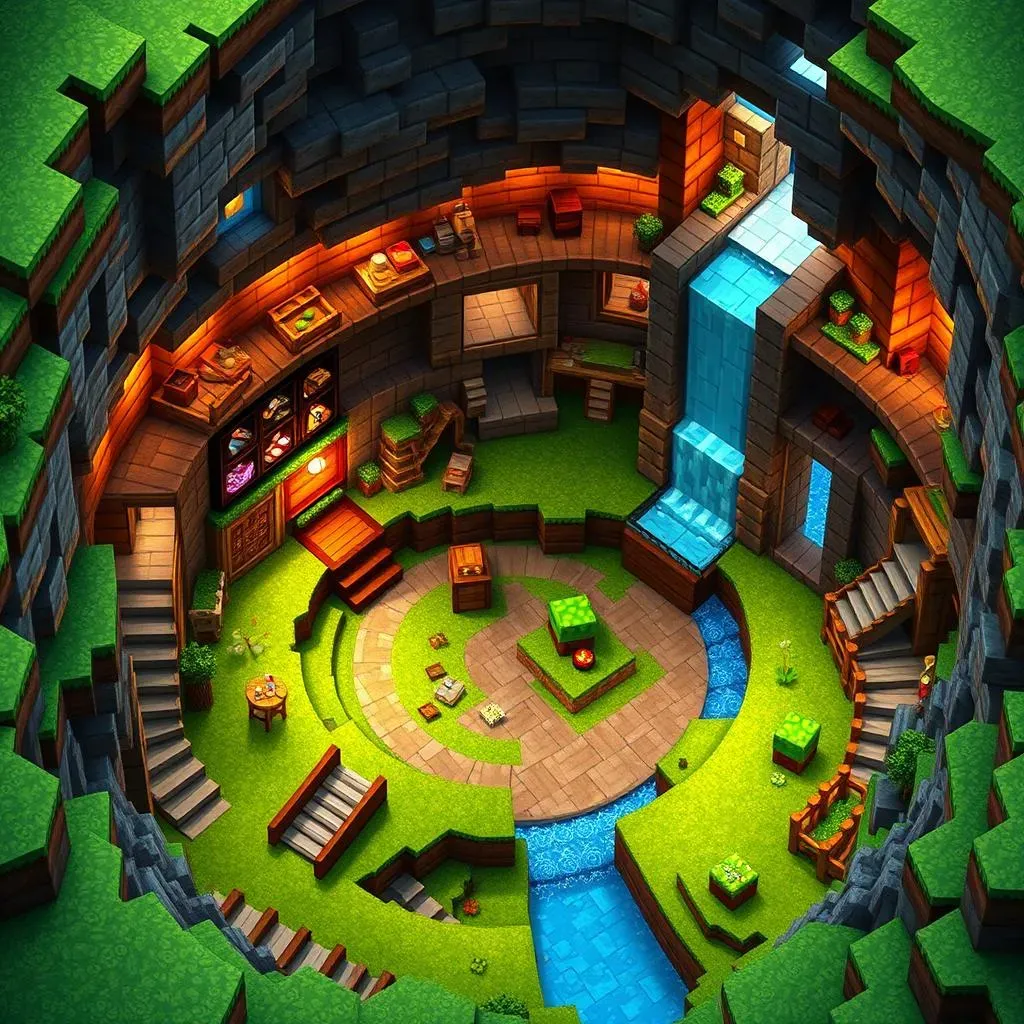
Creative Design Ideas for Your Beginner Underground Minecraft House
Making Your Entrance Not Suck
you've got a hole in the ground, progress! But let's be honest, a simple dirt staircase screaming "HIDDEN BASE HERE!" isn't exactly subtle, is it? First impressions matter, even in Minecraft. Think about how you want to enter your **underground Minecraft house for beginners**. A basic wooden door at the surface works, sure, but where's the fun in that? Consider a hidden trapdoor disguised as part of the landscape. Imagine a patch of grass that suddenly flips open to reveal your secret lair. Or, for a slightly grander entrance, carve a small, unassuming cave entrance into the side of a hill. You can even use a waterfall to conceal the opening – just swim through the cascading water to access your hidden home. It's all about blending in and adding a touch of mystery to your humble abode.
Room with a View (or at least a Shape)
Square rooms are functional, no doubt. Efficient for storage, easy to build. But let's inject some personality into your **underground Minecraft house for beginners**, shall we? Who says every room needs to be a box? Experiment with different shapes! Try a circular main room for a cozy, hobbit-hole vibe. Imagine winding corridors connecting different sections of your base, creating a sense of exploration within your own home. Consider multi-level rooms, digging downwards to create different tiers for storage, crafting, or even a mini farm. Don't be afraid to get creative with the pickaxe and carve out spaces that are more interesting than just right angles. Your underground base can be a reflection of your unique style, not just a series of boxes stacked together.
- Hidden Trapdoor Entrance: Discreet and easy to camouflage.
- Secret Cave Entrance: Natural and blends into hillsides.
- Waterfall Entrance: Stylish and adds a cool water feature.
- Circular Rooms: Cozy and organic feeling.
- Winding Corridors: Adds intrigue and exploration within your base.
- Multi-Level Spaces: Maximizes space and creates distinct zones.
Essential Materials for an Underground Minecraft House in Minecraft
Essential Materials for an Underground Minecraft House in Minecraft
Pickaxes and Shovels: Your Digging Dynamos
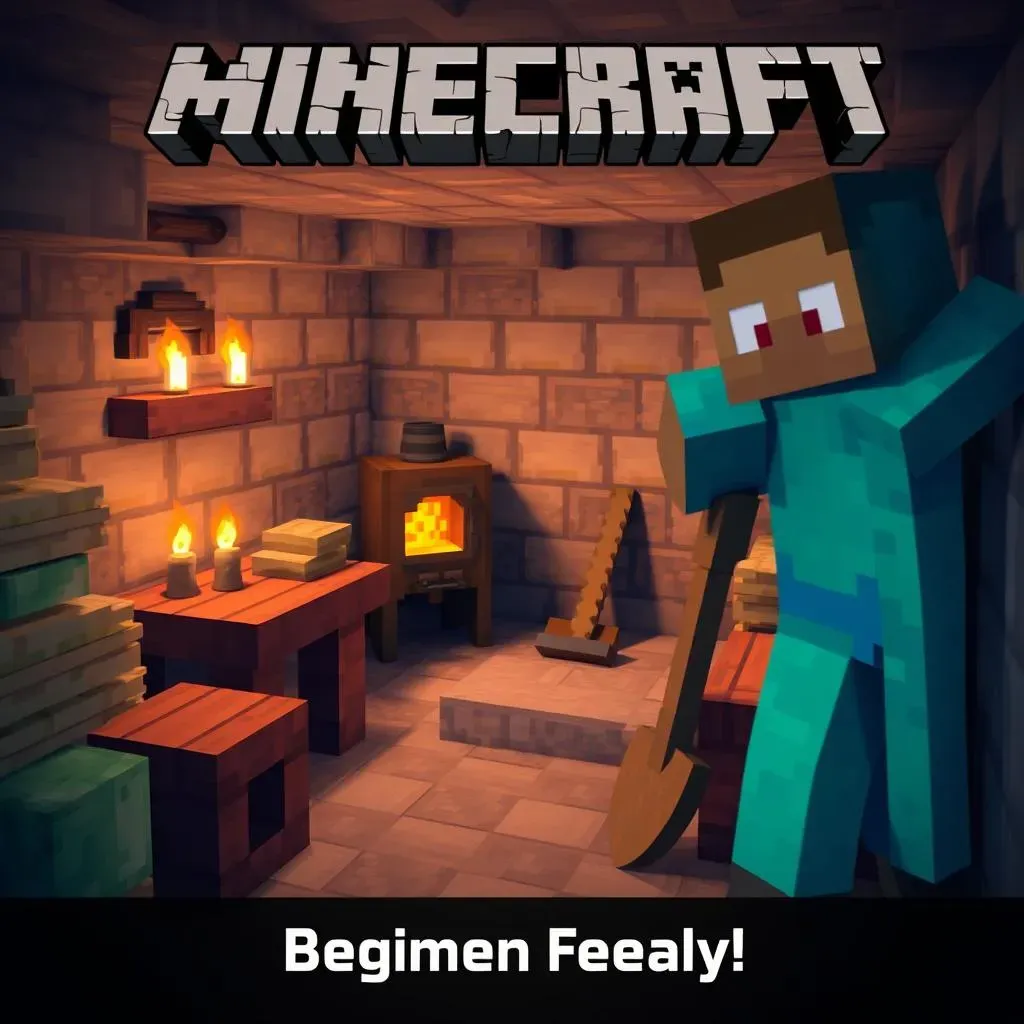
Alright, so you're ready to excavate your dream **underground Minecraft house for beginners**? Awesome! But before you start punching dirt with your bare hands (trust me, it's less effective), you'll need the right tools. First up: pickaxes and shovels. Think of these as your best buddies in this subterranean adventure. A pickaxe is your go-to for breaking stone, cobblestone, and any other rocky blocks you encounter. Early game, a wooden pickaxe is your starting point, but trust me, you'll want to upgrade to stone, iron, or even diamond as soon as you can. Shovels are for dirt and gravel – essential for clearing out large areas quickly. Don't underestimate the power of a good shovel; it'll save you tons of time when you're carving out rooms and tunnels.
Torches or Lanterns: Let There Be Light (Underground!)
Darkness is the enemy in Minecraft, especially underground. Monsters spawn in the dark, and nobody wants a creeper photobombing their cozy new **underground Minecraft house for beginners**. Lighting is non-negotiable. Torches are your cheapest and most readily available light source early on. Just craft them with sticks and coal (which you'll probably find while digging!). Slap torches on walls, ceilings, floors – everywhere! Later in the game, you can level up your lighting game with lanterns. Lanterns look fancier and give off a warmer light, perfect for creating a more inviting atmosphere in your underground abode. Whether it's torches or lanterns, make sure your base is well-lit – safety and style points!
Material Category | Essential Items | Why You Need Them |
|---|---|---|
Digging Tools | Pickaxe (Wood, Stone, Iron, Diamond), Shovel (Wood, Stone, Iron, Diamond) | Efficiently break stone, dirt, and gravel to excavate your base. |
Lighting | Torches, Lanterns | Prevent monster spawns and make your base navigable and visually appealing. |
Basic Building Blocks | Wood Planks, Cobblestone, Dirt | Structural materials for walls, floors, and basic construction. |
Wood and Cobblestone: The Foundations of Your Fortress
While you're literally digging into stone and dirt, you'll still need some basic building materials for your **underground Minecraft house for beginners**. Wood planks and cobblestone are your bread and butter here. Wood is versatile – you can use it for crafting tables, doors, trapdoors, and even decorative elements. Cobblestone, naturally, is abundant when you're digging underground. It's sturdy, fireproof, and looks great for walls, floors, and pathways. Having stacks of both wood and cobblestone on hand will allow you to build essential furniture, reinforce walls, and generally shape your underground space into a proper home. Plus, they're easy to obtain right from the start, making them perfect for a beginner base.
Tips & Tricks for a Perfect Underground Minecraft House for Beginners
Tips & Tricks for a Perfect Underground Minecraft House for Beginners
Branch Out: Expanding Your Underground Domain
So, you've got your starter room, maybe even a couple of creatively shaped spaces. Awesome! But one of the coolest things about an **underground Minecraft house for beginners** is its potential for expansion. Don't limit yourself to just one room. Think of your initial base as the central hub, and start branching out! Dig tunnels to new areas – maybe a dedicated storage room, a crafting workshop, or even an indoor farm. Consider different levels too. Dig downwards to create lower floors for more specialized rooms like a mine entrance or a hidden treasure vault. The beauty of underground building is that you can expand organically as your needs grow. Start small, but always keep in mind the potential to create a sprawling subterranean complex. It's like building your own ant colony, but, you know, way cooler and less ant-y.
Ventilation is Key: Avoiding the Suffocation Blues
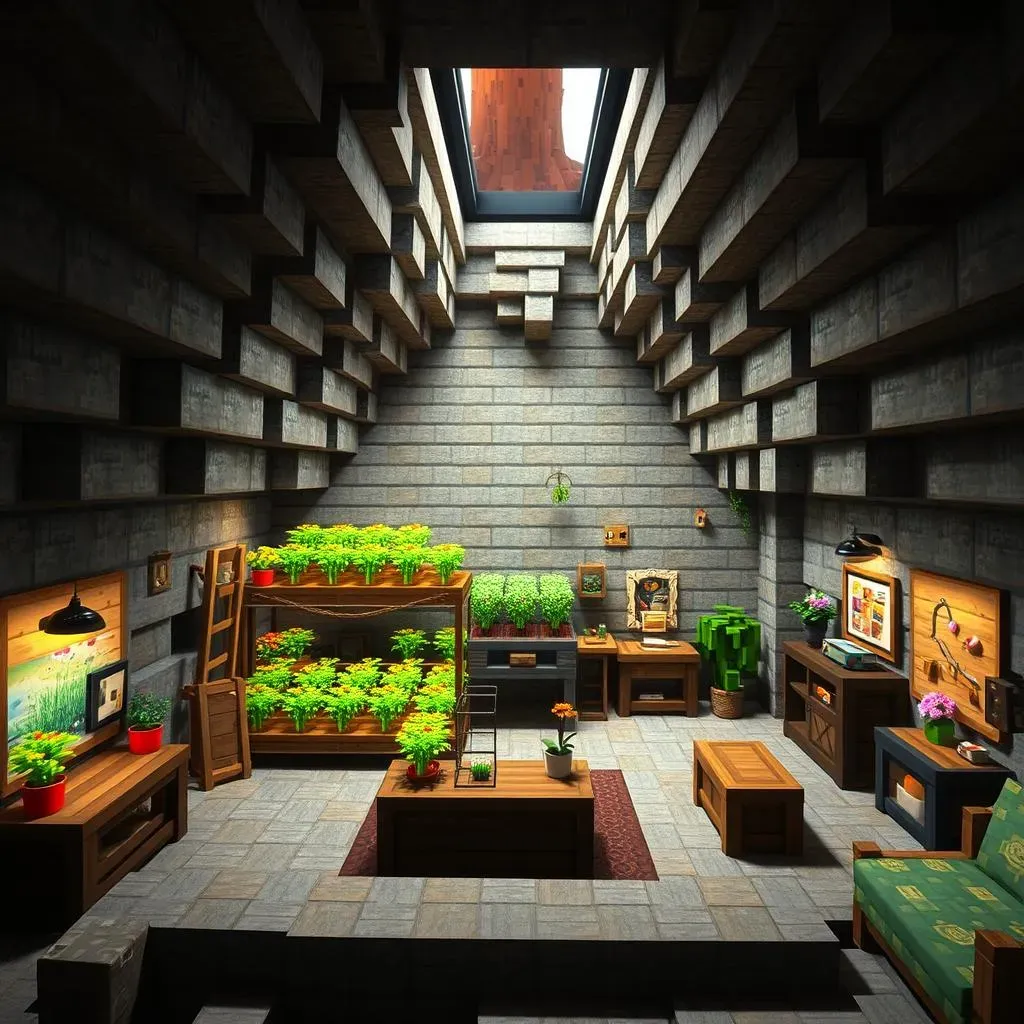
Living underground might sound cozy, but in Minecraft, it can also get a bit… stuffy. No, seriously, you can actually suffocate if you're completely enclosed without proper ventilation! Luckily, "ventilation" in Minecraft is pretty simple: think about adding openings to the surface. Even small shafts leading upwards can make a huge difference. These shafts don't have to be ugly holes in the ground either. Get creative! Build a hidden chimney disguised as a tree stump, or create a skylight using glass blocks to let natural light (and fresh air!) into your **underground Minecraft house for beginners**. Not only does ventilation prevent accidental suffocation (which, trust me, is a bummer), but it also adds a touch of realism and breaks up the monotony of solid stone walls. Plus, sunlight is a great natural light source – free torches!
Tip Category | Specific Tip | Benefit |
|---|---|---|
Expansion | Branch out with tunnels and multiple levels | Creates more space and specialized rooms as needed. |
Ventilation | Add surface shafts and skylights | Prevents suffocation, adds natural light, and realism. |
Decoration | Use diverse blocks, furniture, and personal touches | Makes your base visually appealing and uniquely yours. |
Decorate and Personalize: Make it Homey!
Alright, functionality is important, safety is crucial, but let's not forget about making your **underground Minecraft house for beginners** actually feel like a home! Stone walls and dirt floors are practical, but they're not exactly inviting. Time to unleash your inner interior designer! Start by varying your block palette. Mix in wood planks, bricks, stone bricks, even colorful wool to break up the monotony of grey stone. Add furniture – crafting tables, beds, chests – to make it functional. But don't stop there! Plant flowers in pots, hang paintings on the walls, use item frames to display cool finds, and add personal touches that reflect your style. Maybe a cozy fireplace, a library corner, or even a hidden gaming room (within the game!). The more you personalize your space, the more it will feel like a true home, even if it's hidden deep beneath the virtual earth.
Conclusion: Your Underground Adventure Awaits
So, you've got the knowledge, now grab your pickaxe and get digging! Building an underground Minecraft house for beginners is not just about survival, it's about unleashing your creativity and building a unique haven in your blocky world. From a simple starter bunker to an elaborate subterranean mansion, the possibilities are endless. Embrace the cozy, secure, and resource-friendly world beneath your feet, and transform your Minecraft experience one block at a time. Happy building, and may your underground adventures be filled with fun and devoid of creepers!
