Table of Contents
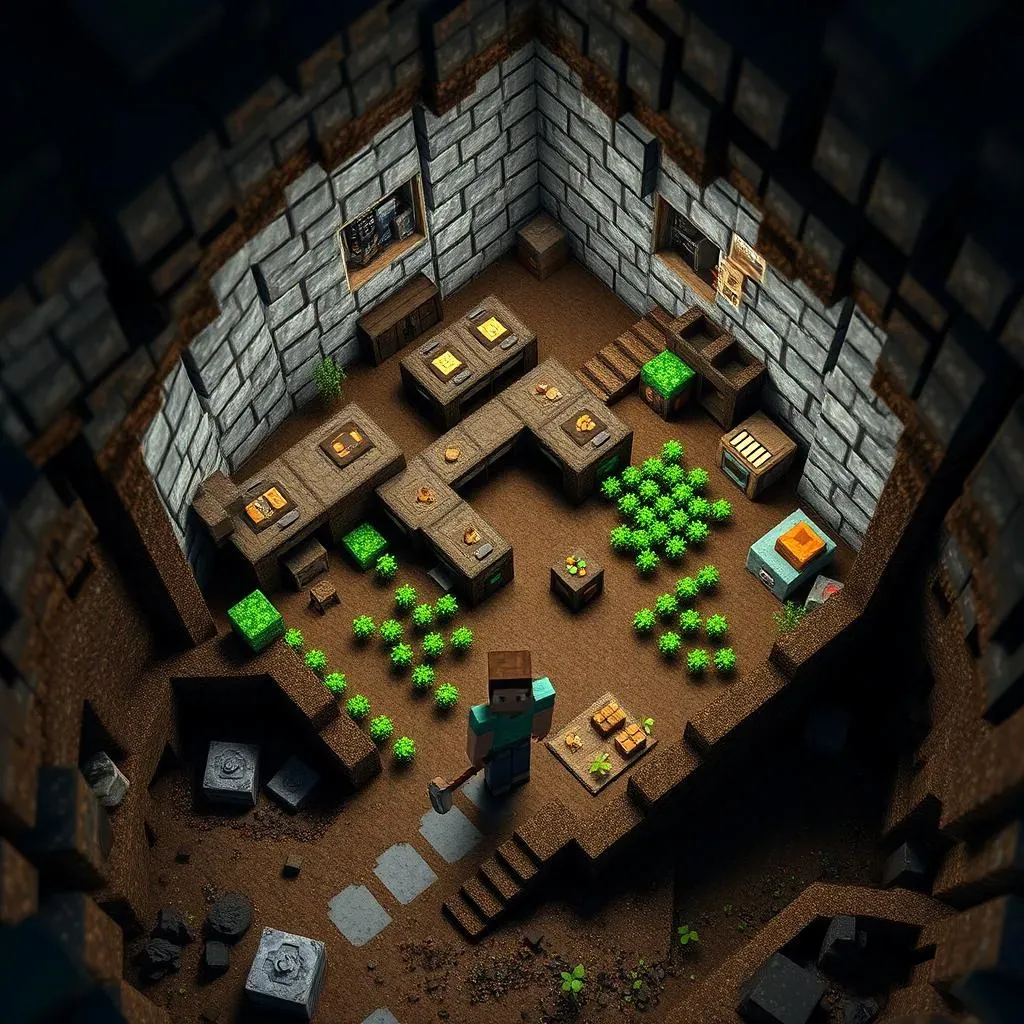
Are you tired of creepers ruining your sunset views in Minecraft? Sick of zombies banging on your door all night long? Maybe it's time to ditch the surface and go subterranean! Building an underground Minecraft house survival shelter is not just a cool way to hide from mobs; it's a strategic move for long-term survival and creative base building. This guide will walk you through everything you need to know to create the ultimate underground haven. From understanding why going underground is a smart choice, to designing essential rooms and mastering advanced building techniques, we've got you covered. We'll even dig into pro tips and tricks to make your underground Minecraft house survival shelter the envy of every player on the server. Ready to trade sunlight for safety and build the ultimate subterranean base? Let's get digging!
Why Build an Underground Minecraft House Survival Shelter?
Why Build an Underground Minecraft House Survival Shelter?
Safety First: Dodging Mobs
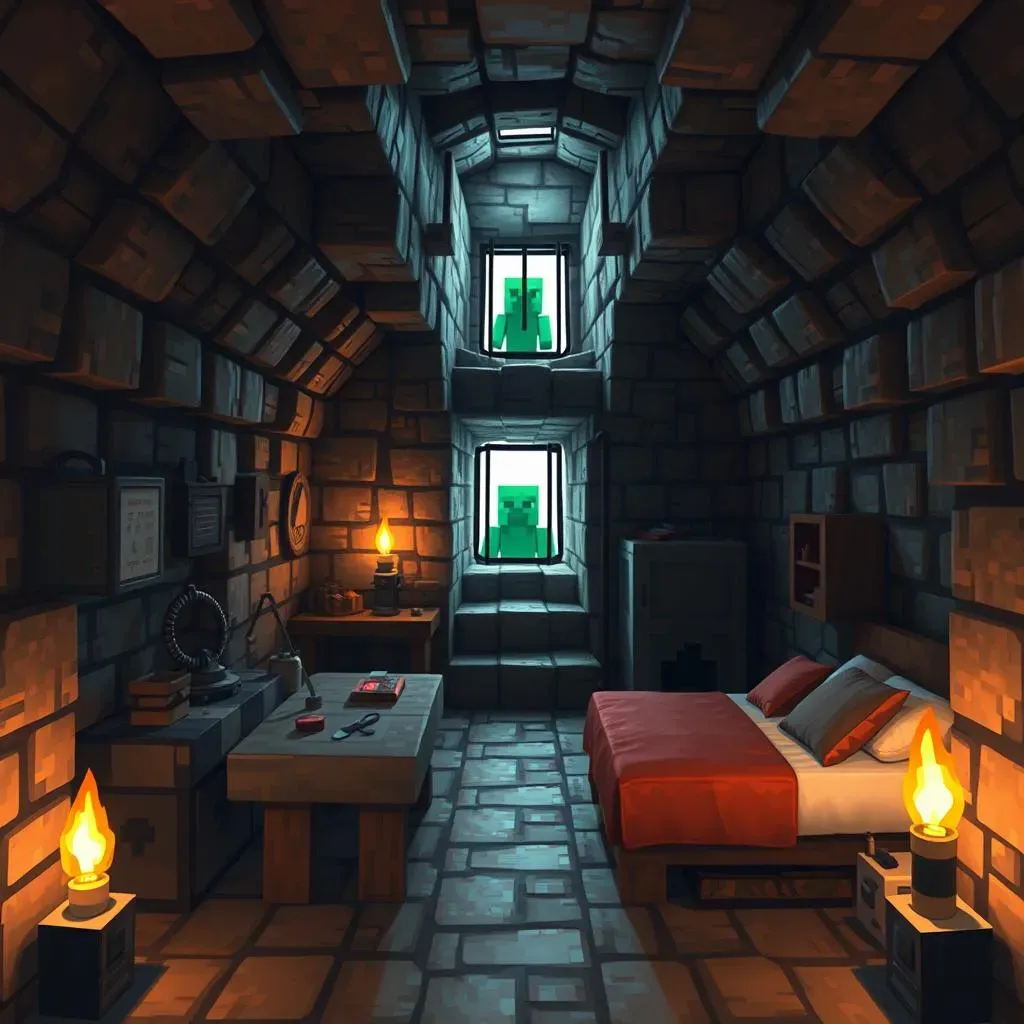
Let's be real, the surface world in Minecraft at night? It's chaos. Creepers sneaking up on you, zombies groaning at your door, skeletons pinging arrows from who-knows-where. Building an underground Minecraft house survival shelter flips the script. Suddenly, those nightly terrors are someone else's problem. You're safe, sound, and snug beneath a layer of dirt and stone, free to craft, cook, or just chill without the constant threat of exploding green guys ruining your evening. Think of it as your personal panic room, but, like, way more spacious and customizable.
Resource Smart and Stealthy
Building big above ground? That eats up resources fast. Wood, stone, whatever you're using – it all takes time and effort to gather. An underground Minecraft house survival shelter is inherently more resource-efficient. You're literally carving out space from the earth itself. Plus, talk about stealth mode! A hidden entrance blends seamlessly into the landscape, making your base practically invisible to both mobs and, if you're on a multiplayer server, other players who might be a bit too curious about your loot. It's like having a secret lair, and who doesn't want a secret lair?
Surface Shelter | Underground Shelter |
|---|---|
Exposed to mobs | Protected from mobs |
Resource-intensive (building materials) | Resource-efficient (digging space) |
Easily visible | Hidden and stealthy |
Vulnerable to environmental damage (lightning, etc.) | Naturally protected from environment |
Unleash Your Inner Architect (Underground Style)
Forget cookie-cutter houses! An underground Minecraft house survival shelter is your blank canvas for creativity. Want a sprawling multi-level bunker? Go for it. Dreaming of a cozy hobbit hole vibe? Easy peasy. Lava-lit corridors? Netherrack accents? The underground world is your oyster. You can carve out rooms in any shape, connect them with winding tunnels, and build hidden chambers galore. It's base-building freedom at its finest, all while being safe and sound from the pixelated dangers lurking above.
Essential Rooms for Your Underground Minecraft Survival Shelter
Essential Rooms for Your Underground Minecraft Survival Shelter
The Core Four: Crafting, Sleeping, Storing, Smelting
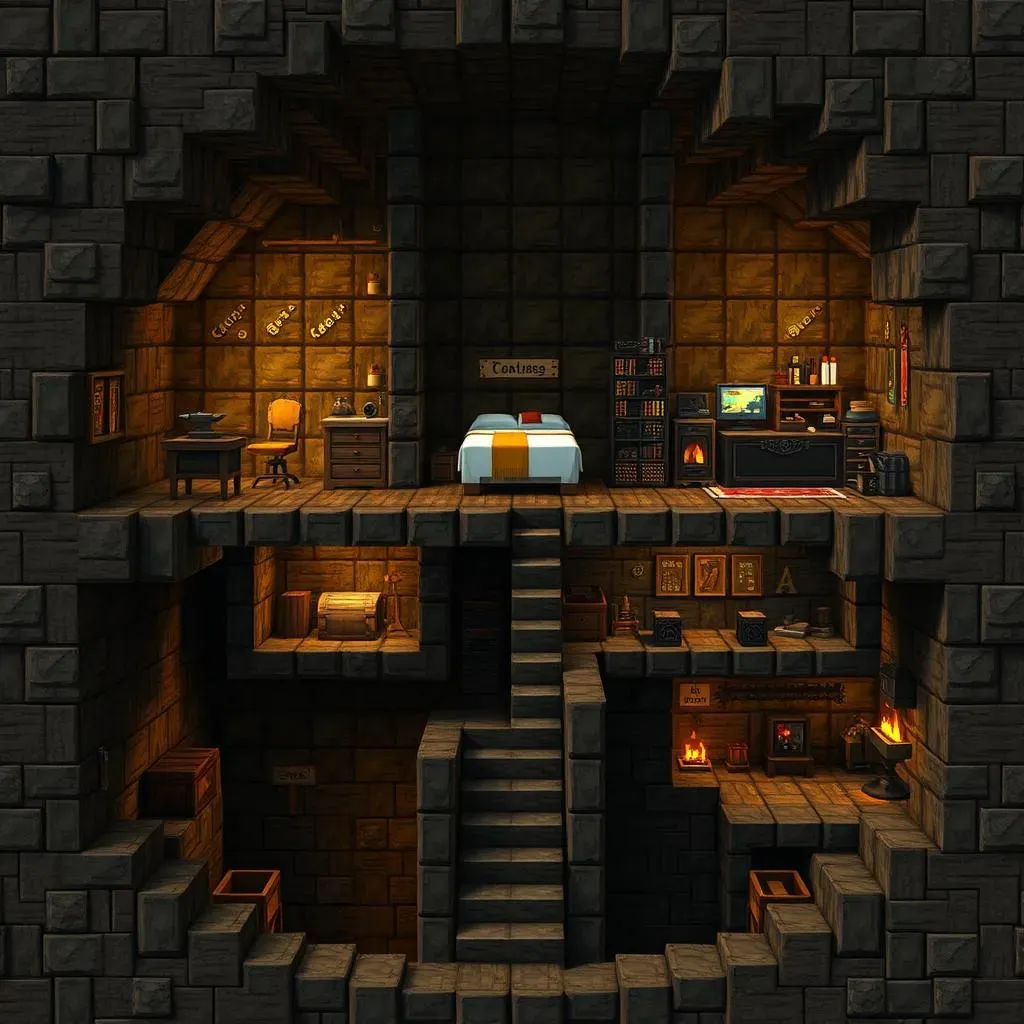
Alright, so you're going underground, smart move! But just digging a hole and calling it home? Nah, we can do better. Think about what you actually *need* to survive and thrive. First up, you gotta have a crafting zone. This is your workshop, your command center, the place where raw materials become awesome gear. A crafting table is obviously the star, but throw in a chest for your crafting components, maybe an anvil for repairs later on. Keep it compact, functional, and maybe a little bit stylish – stone brick walls always look good, just saying.
Next, sleep! No one wants to be caught out at night, even underground. A bed is non-negotiable. Make yourself a cozy bedroom. It doesn't have to be huge, just enough space for a bed and maybe a nightstand (a chest works great!). Bonus points for making it feel a little less like a cave and a bit more like, you know, a bedroom. Torches or lanterns are your friends here. And while we're talking essentials, storage is KEY. Chests, chests, and more chests. Organize your resources early, trust me on this. Label them if you're feeling fancy. Future you will thank present you for not having a chaotic mess of cobblestone and carrots.
- Crafting Area: Crafting Table, Chest, Anvil (optional)
- Bedroom: Bed, Chest (nightstand), Lighting
- Storage Room: Lots of Chests (or Barrels!), Signs for labeling
- Smelting Station: Furnaces (lots!), Fuel storage (Coal, Wood)
Fueling Up and Digging Deeper: Smelting and Mining Access
core rooms are in place. Now let's get practical. Smelting is life in Minecraft. Iron, gold, even just turning cobblestone into smooth stone – you'll be doing a lot of it. Set up a dedicated smelting station. Multiple furnaces are a must. Surround them with non-flammable blocks for safety (nobody wants a wooden base going up in flames, even if it's underground!). Keep your fuel source handy – coal, charcoal, wood – whatever you're using, make sure it's easily accessible.
And finally, mining access! You're underground, so mining is kind of the point, right? Don't just rely on surface caves. Dig your own staircase or шахта (that's 'mine' in Russian, sounds cool, right?) straight down from your base. This gives you quick, safe access to the lower levels where the good stuff is – diamonds, redstone, all that jazz. Make it wide enough to move around in, maybe even add some lighting as you go. A well-planned mine entrance is a game-changer for resource gathering.
"Going underground in Minecraft isn't just about hiding; it's about strategically setting yourself up for long-term success. Well-planned rooms are the foundation of any great base."
Building Your First Underground Minecraft House Survival Shelter: A StepbyStep Guide
Building Your First Underground Minecraft House Survival Shelter: A StepbyStep Guide
Step 1: Location, Location, Location (Underground Edition)
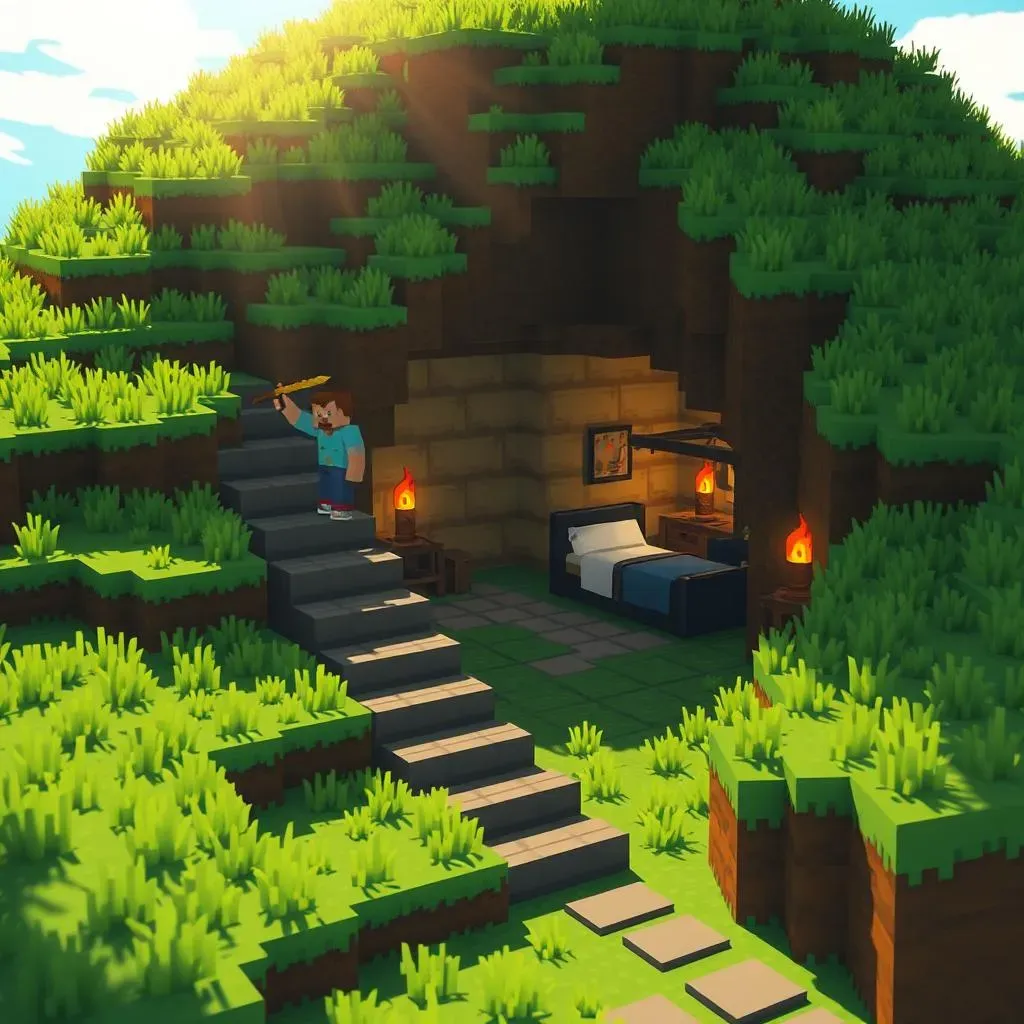
so you're ready to go subterranean. Awesome choice! First things first: where are you gonna dig? Don't just pick any random patch of dirt. Think smart. Forest biomes are great for wood, obviously, but plains offer flatter terrain, making digging a bit easier. Hillsides can be your best friend – you can dig into the side of a hill and have a ready-made entrance without too much fuss. Bonus points if you find a spot near water for easy access to, well, water. And keep an eye out for caves nearby. Natural caves can be incorporated into your base design later on, or at least give you a head start on mining.
Once you've got a biome in mind, wander around a bit. Look for a relatively flat area to start your main base. If you're going hillside, find a decent slope. Avoid areas that are super swampy or right next to huge bodies of lava (unless you're *really* feeling adventurous). The goal is to find a spot that's convenient to dig in, has access to some surface resources initially, and maybe even offers a bit of natural camouflage.
Step 2: Digging Your Starter Hole and Basic Layout
Alright, you've picked your spot. Time to get your hands dirty (virtually, of course). Start by digging a simple staircase down. Don't just jump straight down unless you want a splat landing. A 2x2 staircase is comfy to move around in. Dig down a good 10-15 blocks at least – you want to be deep enough that surface mobs aren't an immediate threat. Once you're down at your desired depth, start carving out your main room. Don't go crazy with size at first. A smallish chamber, maybe 5x5 or 7x7, is plenty for your initial underground Minecraft house survival shelter. Just enough space for your crafting table, bed, and a couple of chests.
Now, think about layout. Even a basic shelter needs some organization. Imagine your core rooms from the previous section. Where will your crafting area be? Sleeping quarters? Smelting station? Start carving out rough spaces for these. Don't worry about making it pretty yet; function over fashion at this stage. Just get the basic room shapes established and connected by simple tunnels. Think of it like sketching out the floor plan of your underground mansion.
- Initial Digging Checklist:
- Choose a suitable biome (Forest, Plains, Hillside)
- Find a relatively flat area or hillside
- Dig a 2x2 staircase down 10-15 blocks
- Carve out a starter room (5x5 to 7x7)
- Roughly plan locations for core rooms (crafting, sleeping, smelting, storage)
- Connect rooms with simple tunnels
Step 3: Walls, Lighting, and Basic Defenses
Your basic underground Minecraft house survival shelter is taking shape! Now it's time to make it feel a bit more like, well, a shelter and less like a random hole in the ground. Start by smoothing out the walls. No one likes a jagged, uneven cave wall in their bedroom. Replace dirt walls with something a bit sturdier and nicer looking – cobblestone is a classic, stone bricks are a step up, wood planks are cozy if you're feeling rustic. Frame out your rooms and tunnels.
Lighting is crucial. Torches are your best friend early on. Stick them liberally throughout your shelter – in every room, along every tunnel. Mobs can't spawn in lit areas, so light equals safety. Plus, it makes it easier to see where you're going! Finally, think about basic defenses. A door at the top of your entrance staircase is a must to keep out surface mobs. Consider a simple trapdoor or even a wooden door for now. As you progress, you can upgrade to iron doors and more elaborate defenses, but for your first night, a basic door is a lifesaver.
Advanced Underground Minecraft House Survival Shelter Designs and Expansions
Advanced Underground Minecraft House Survival Shelter Designs and Expansions
Beyond the Box: Expanding Your Underground Domain
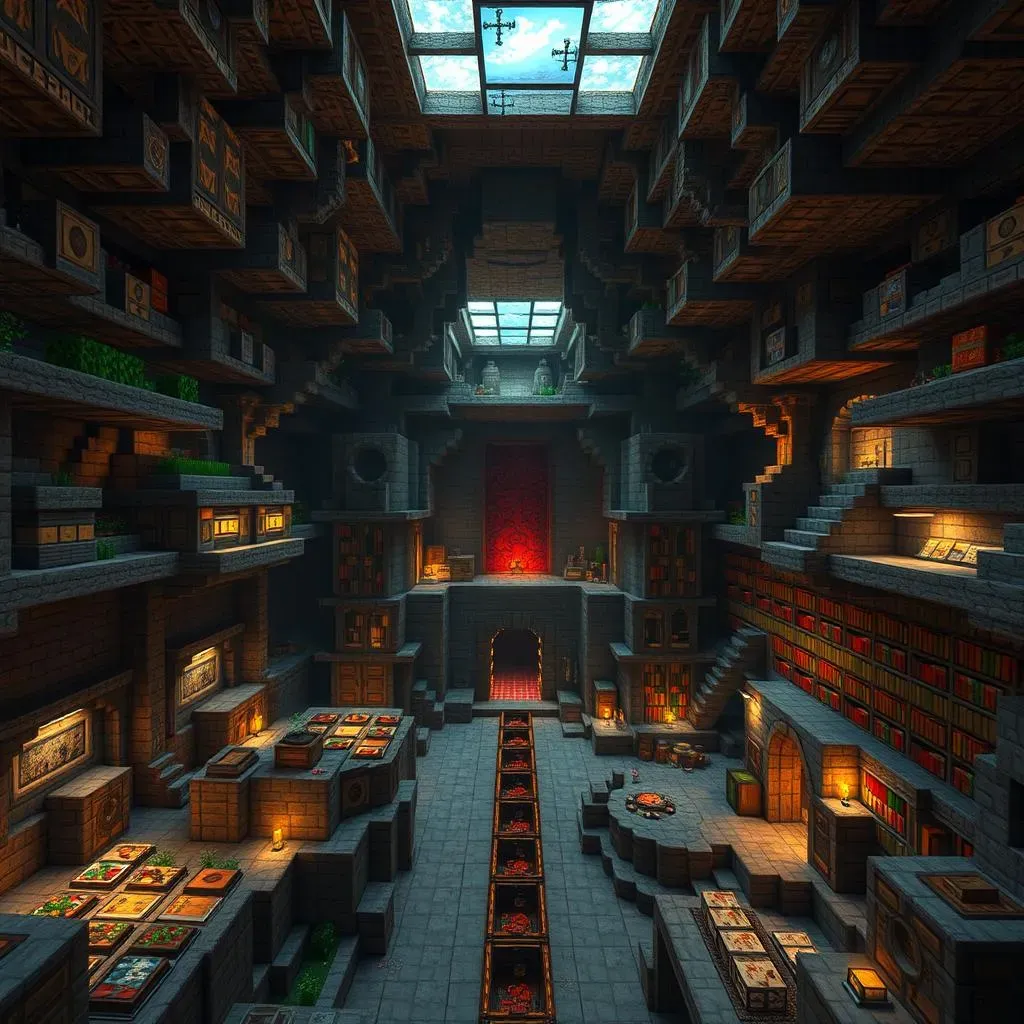
So, you've got the basics down, a cozy little starter bunker. Awesome! But let's be honest, in Minecraft, "cozy" can quickly become "cramped." Time to think bigger, bolder, and way more elaborate. Advanced underground Minecraft house survival shelter designs are all about expansion and customization. Think beyond just rooms and hallways. We're talking multi-level complexes, hidden passages, themed zones, and maybe even a secret volcano lair if you're feeling extra villainous. The beauty of underground building is you can literally keep digging and expanding as far as your resources and imagination allow.
One of the coolest expansions is creating distinct zones within your underground Minecraft house survival shelter. Imagine a dedicated farming level with automated crop farms and animal pens, all lit by hidden skylights. Or a sprawling storage vault, organized with item sorters and categorized chests for every resource imaginable. How about an enchanting room, decked out with bookshelves and ambient lighting, leading to a hidden portal room for quick Nether trips? The possibilities are endless. Think about your gameplay style. Are you a builder? A farmer? An explorer? Design zones that cater to your specific needs and desires. That's when your underground base truly becomes *yours*.
Advanced Expansion Ideas | Description |
|---|---|
Automated Farms Level | Dedicated space for crop and animal farms, potentially automated with redstone. |
Organized Storage Vault | Large, systemized storage area with item sorting and labeling for efficient resource management. |
Enchanting and Portal Hub | Aesthetically designed room for enchanting, connected to a hidden portal room for Nether access. |
Redstone Workshop | Dedicated area for redstone contraptions, experiments, and storage. |
Secret Passages and Hidden Chambers: The Art of Subterranean Stealth
Ready to add some serious James Bond vibes to your underground Minecraft house survival shelter? Secret passages and hidden chambers are where it's at! These aren't just for show; they add a layer of security and intrigue to your base. Think hidden entrances disguised as bookshelves, trapdoor floors leading to secret vaults, or winding tunnels concealed behind waterfalls. Redstone is your best friend here. Simple piston doors can create seamless hidden entrances, while cleverly placed levers and buttons can control complex secret passages. Imagine a hidden staircase that appears when you flip a seemingly innocuous light switch. That's the kind of detail that takes an underground base from functional to unforgettable.
Hidden chambers can serve all sorts of purposes. A secret vault for your most valuable treasures, a hidden escape route in case of a mob invasion, or even just a cozy, secluded chill-out zone away from the hustle and bustle of your main base. Get creative with your concealment. Use item frames to disguise levers, blend entrances into natural cave walls, or create illusions with cleverly placed blocks and lighting. The more unexpected and well-hidden your secret passages and chambers are, the more impressive and secure your underground Minecraft house survival shelter will become. It's all about adding those layers of depth and surprise!
"The best underground bases aren't just functional; they're full of secrets and surprises. Hidden passages and chambers add a whole new dimension to your subterranean survival."
Tips and Tricks for the Ultimate Underground Minecraft Survival Shelter
Tips and Tricks for the Ultimate Underground Minecraft Survival Shelter
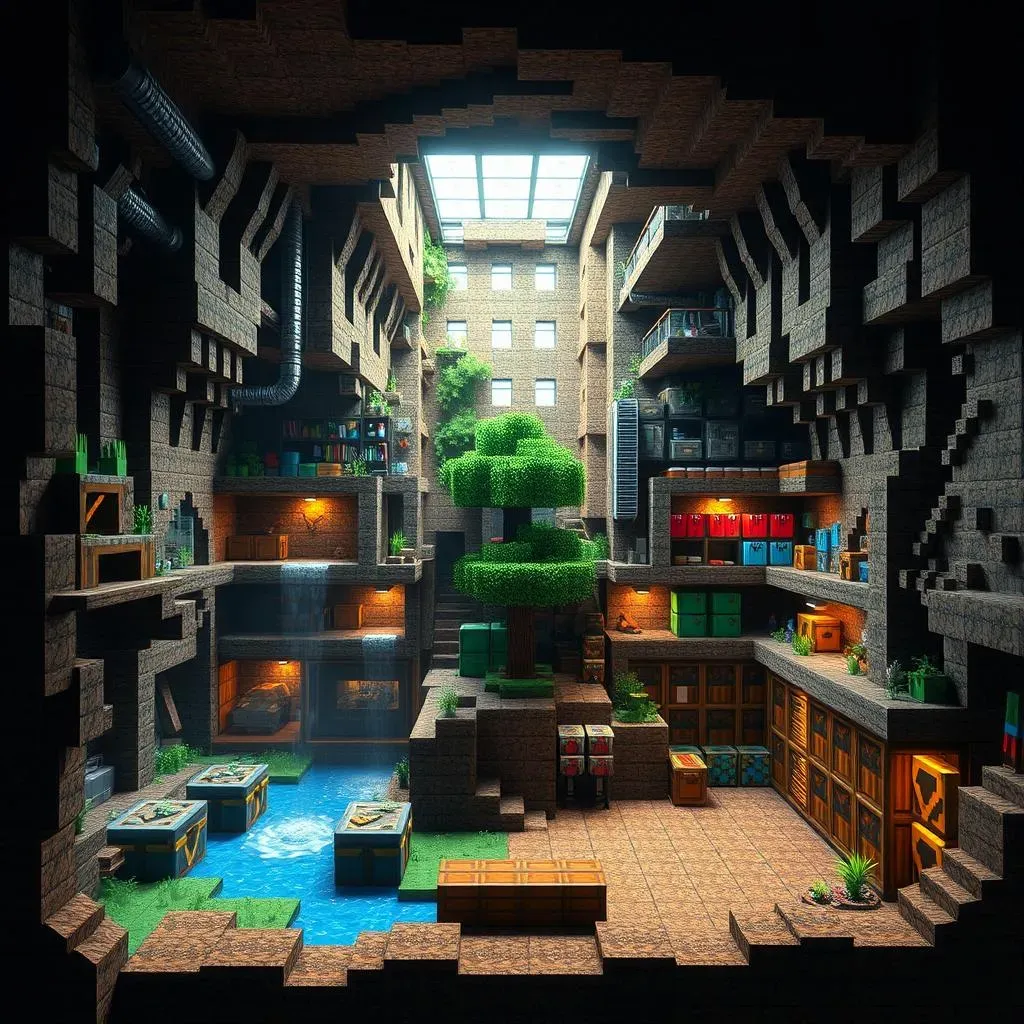
Alright, let's talk pro tips for your underground Minecraft house survival shelter. First off, ventilation! Caves can get stuffy, even in Minecraft. Don't forget to add some surface access points, even if they're disguised. Skylights hidden in gardens, false wells leading down – these not only let in natural light (which is a mood booster, trust me) but also give you emergency escape routes and convenient access for surface farming or mob grinding. Think about incorporating natural elements into your design too. An indoor tree, a hidden waterfall, even just patches of grass and flowers can make your bunker feel way less like a tomb and way more like a home. And speaking of homes, organization is key. Color-code your storage rooms, use item frames to label chests, and for the love of all that is blocky, build an automatic item sorter. Future you will send you diamonds in gratitude, I promise.
Your Underground Minecraft House Survival Shelter Awaits!
Building an underground Minecraft house survival shelter is more than just digging a hole; it's about creating a safe, efficient, and personalized space where you can thrive in your survival world. From the first night's humble dugout to sprawling multi-level complexes, the possibilities are as boundless as your imagination. So grab your pickaxe, embrace the darkness, and start crafting the ultimate subterranean sanctuary. Your perfect underground Minecraft house survival shelter is just a few blocks away!
