Table of Contents
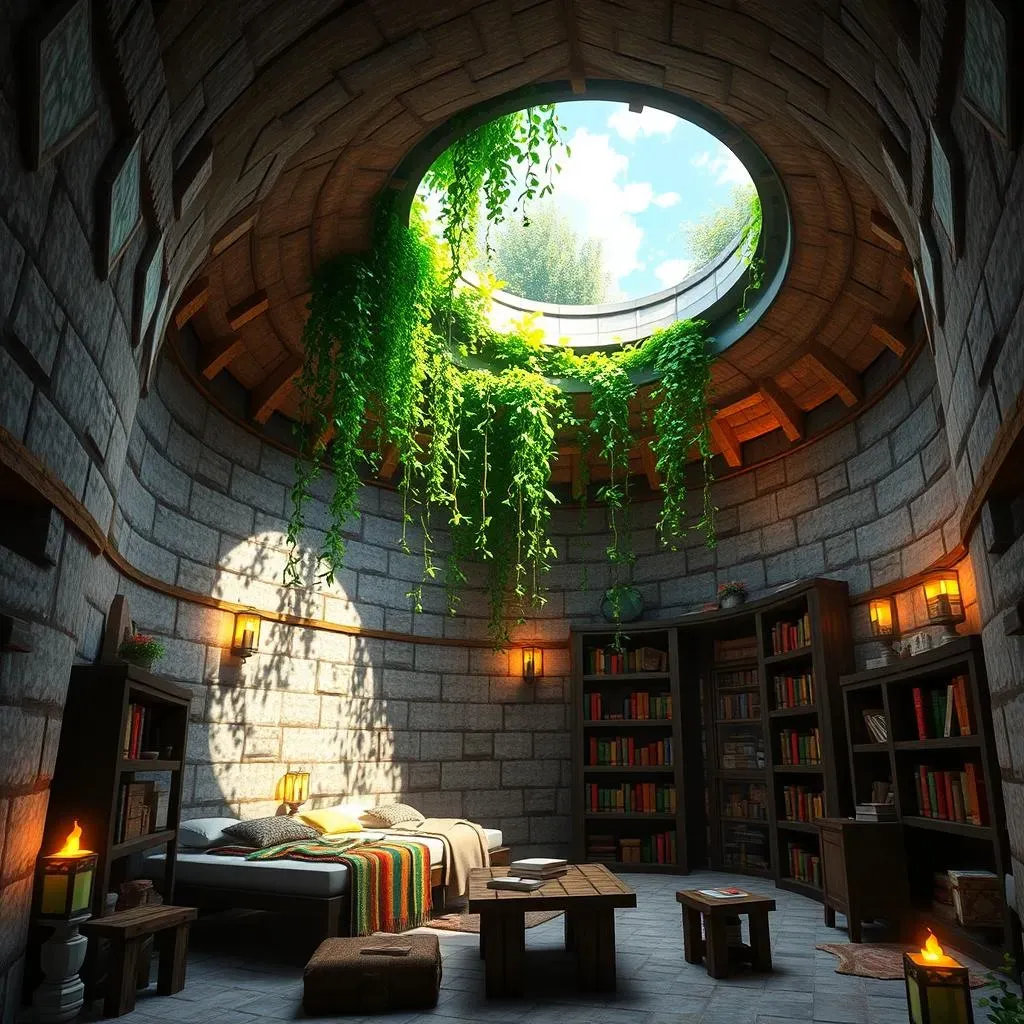
Tired of the same old Minecraft house builds? Are you craving something unique, something hidden, something…underground? You're not alone. Many players are digging deep, literally, and discovering the awesome potential of subterranean living in Minecraft. But let's be real, living underground can feel a bit…dim. That's where the genius idea of a skylight comes in. Imagine a cozy, secret base bathed in natural sunlight filtering down from the surface. An underground Minecraft house with a skylight isn't just practical, it's seriously cool. This guide will walk you through everything you need to know to create your own stunning underground haven. We'll explore why going subterranean is such a great choice, how to seamlessly integrate skylights for light and style, dive into design secrets to make your bunker beautiful, and even give you a step-by-step blueprint to get your own dream underground Minecraft house with skylight built. Ready to go below and build something amazing?
Why Go Underground in Minecraft? The Allure of Subterranean Builds
Why Go Underground in Minecraft? The Allure of Subterranean Builds
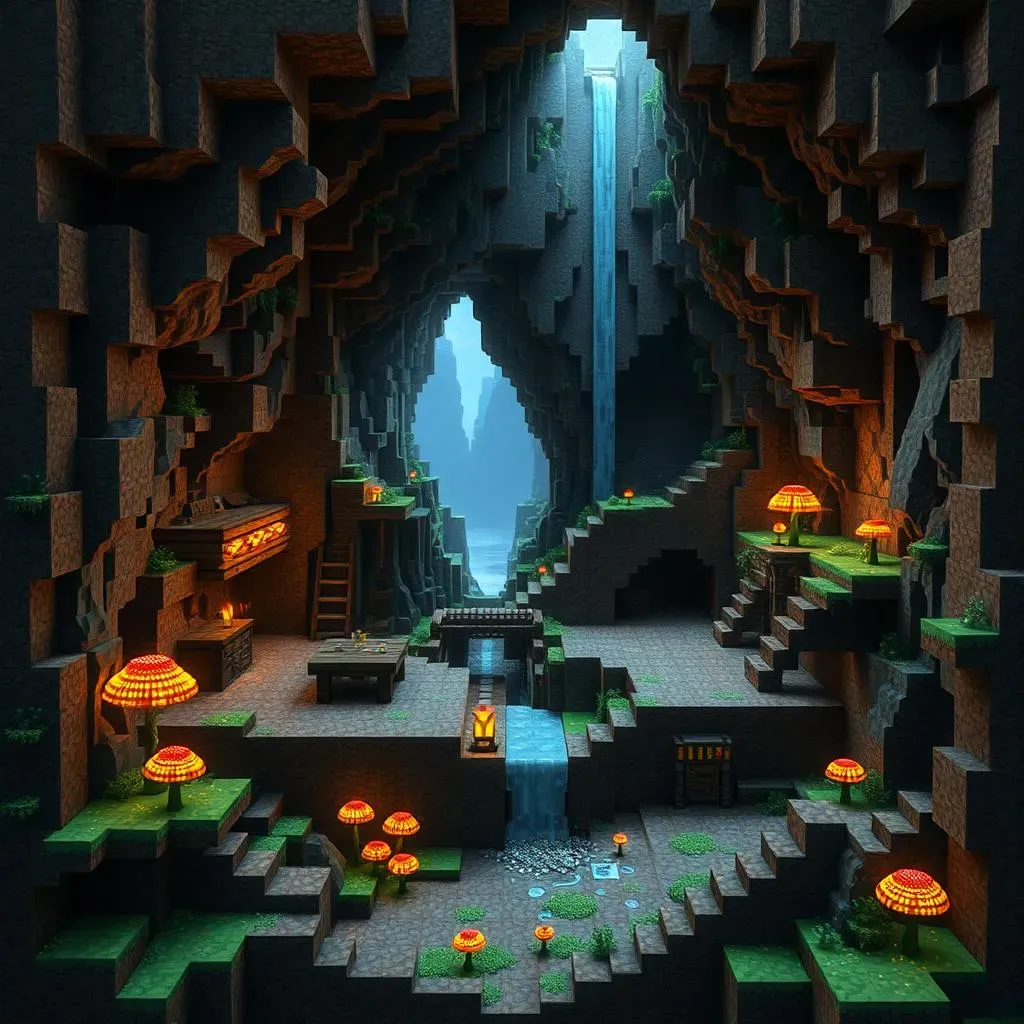
Let's be honest, building on the surface in Minecraft is classic, but it can get a little…predictable. Everyone's seen the wooden plank houses, the cobblestone castles, the glass mansions. But digging down? That’s where things get interesting. There's a unique thrill to carving out your own secret world beneath the surface. It's like having a hidden base, a secret lair only you know about. Plus, think about it: instant natural defense against mobs. Those creepers and zombies can’t just wander into your living room if your living room is buried under layers of stone and dirt. Beyond the practical stuff, there's a real creative freedom in underground builds. You're not limited by the landscape; you *create* your own landscape. It's like being an architect and a spelunker all at once.
- Mob Proofing: Natural barrier against surface threats.
- Resource Rich: Build right where the good stuff is - stone, ores, caves!
- Creative Freedom: Shape your own space, unbound by surface terrain.
- Seclusion and Privacy: Your own secret world, away from it all.
- Unique Aesthetic: Stand out from the typical surface builds.
Brightening Your Bunker: Integrating Skylights into Your Underground Minecraft House
Brightening Your Bunker: Integrating Skylights into Your Underground Minecraft House
Sunlight from Above: Why Skylights are a Game Changer
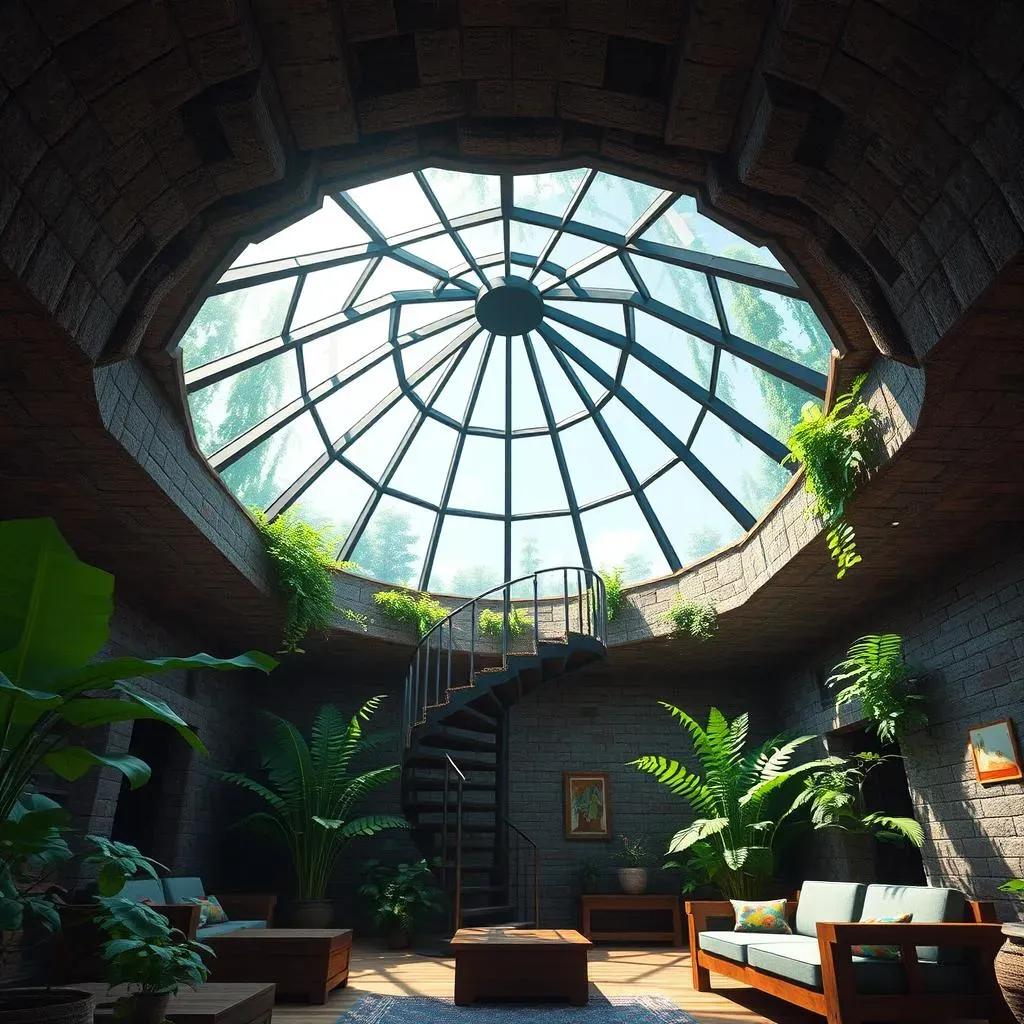
so you're sold on the underground life, awesome! But let's face it, no one wants to live in a dark, dingy cave, right? That's where skylights swoop in to save the day. Seriously, adding a skylight to your underground Minecraft house is like flipping a light switch on your mood and your build. Suddenly, that subterranean bunker transforms into a bright, airy, and inviting space. Natural light just changes everything. It makes your builds look better, plants grow if you're into that, and it just feels way less…claustrophobic down there. Plus, it's just plain cool to have a shaft of sunlight beaming down into your secret hideout. It adds a touch of the outside world to your underground domain, making it feel connected instead of isolated.
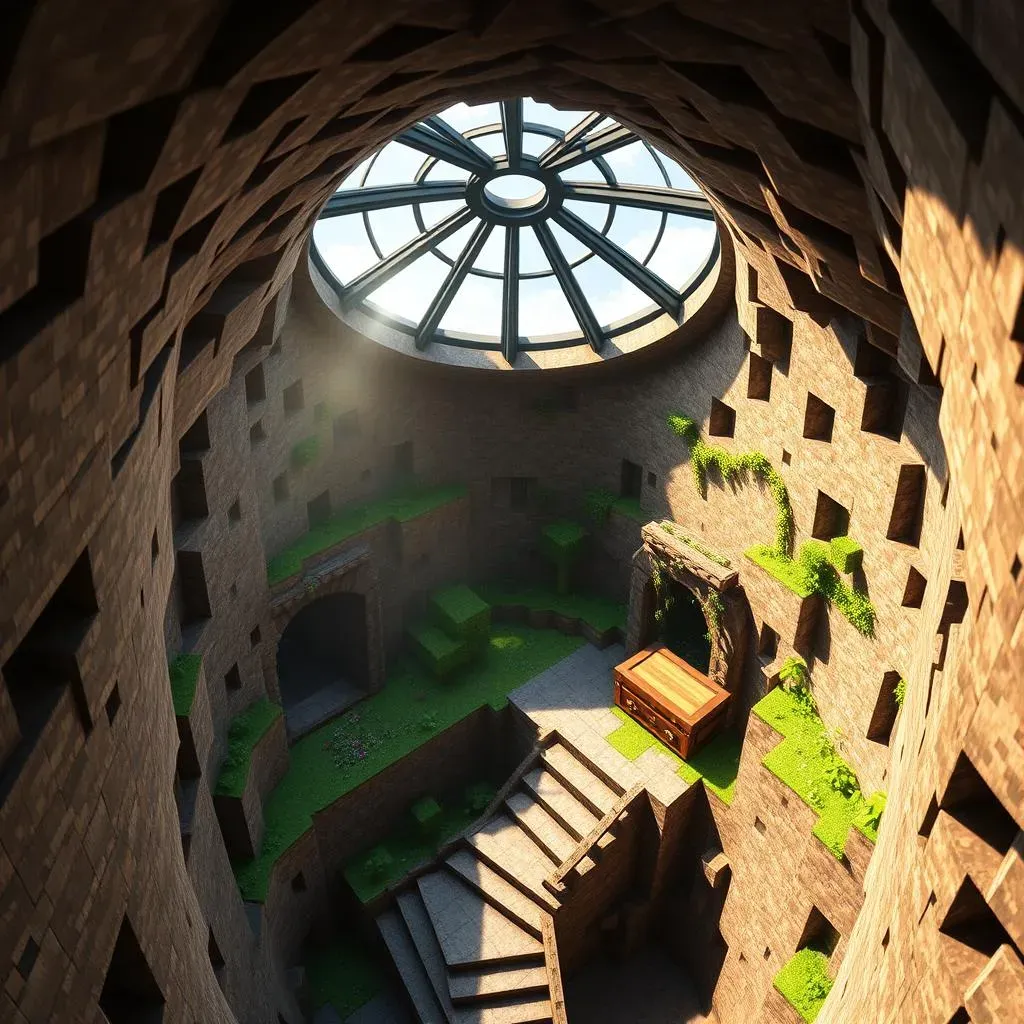
Think about the practical side too. Torches are great, but they're limited. Skylights offer a huge area of natural illumination, cutting down on the need for tons of light sources. This not only looks cleaner and more modern, but it also saves you resources – less coal for torches, more for diamonds! And let's not forget the aesthetic boost. A well-placed skylight can become a focal point, a design feature that elevates your entire underground space. Imagine a spiral staircase leading up to a glass-domed skylight, or a long, elegant skylight running the length of your main hall. The possibilities are endless, and the impact is huge.
Skylight Benefit | Description |
|---|---|
Natural Light | Brightens your underground space, improving visibility and mood. |
Aesthetics | Adds a unique and stylish design element to your build. |
Resource Saving | Reduces reliance on torches, conserving coal and other resources. |
Plant Growth | Allows for indoor gardens and farms within your underground house. |
Design Secrets for Stunning Underground Minecraft Houses with Skylights
Design Secrets for Stunning Underground Minecraft Houses with Skylights
so skylights are in, underground is the way to go – but how do you make it actually look amazing? This is where the real fun begins: the design. Building an underground Minecraft house with skylight that's just functional is one thing, but crafting one that’s jaw-dropping? That’s the goal, right? Forget drab bunkers, we're aiming for subterranean palaces bathed in sunlight. Think less fallout shelter, more hobbit-hole chic meets modern minimalist. It's all about playing with light, materials, and space to create something truly unique and impressive. Ready to unlock some design secrets?
First up: materials matter. Stone and dirt are the obvious choices when you're digging in, but don't stop there. Contrast is your friend! Imagine smooth quartz or polished andesite walls meeting rough-hewn stone brick accents. Or warm wood floors against cool stone. Think about textures too. Mix smooth glass skylights with rugged stone or deepslate surroundings. Using different block types not only adds visual interest but also helps define different areas within your underground space. Want to make a grand entrance? Use a more ornate block like prismarine or dark oak for the entryway. Need a cozy reading nook? Warm spruce and bookshelves will do the trick. It's like interior design, but with blocks!
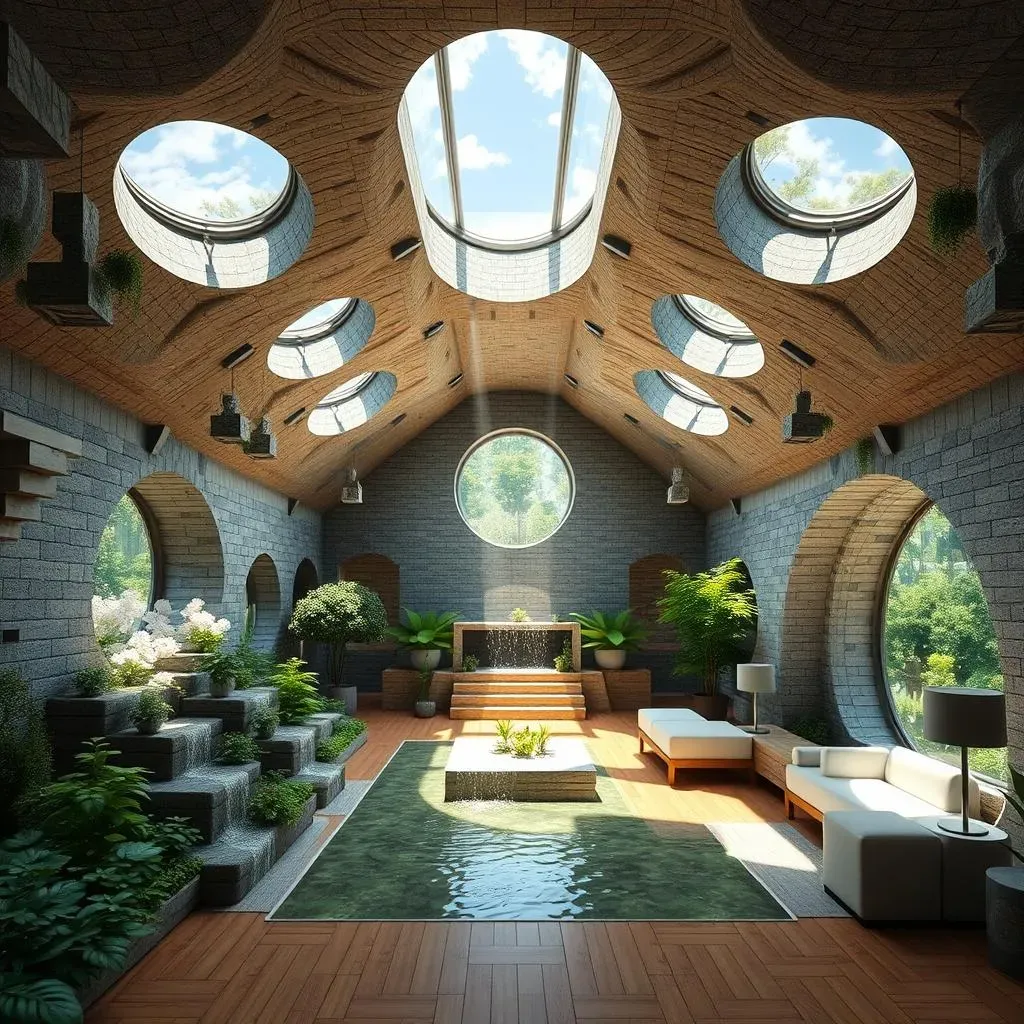
Then there's skylight placement. Don't just slap a glass block on the ceiling and call it a day. Think strategically. Want to highlight a specific area, like a crafting table or a dining area? Position a skylight directly above it to draw the eye and create a focal point. Consider the shape and size of your skylights too. Long, narrow skylights can create dramatic shafts of light, while larger, square skylights can flood a whole room with brightness. Experiment with different shapes – circles, triangles, even hexagons – to add a touch of architectural flair. And don't forget about verticality! Skylights don't have to be just in the ceiling. Think about side skylights in walls, or even tiered skylights for multi-level underground spaces. Get creative and let the sunlight guide your design.
Let's talk interiors. Just because you're underground doesn't mean you have to ditch the greenery. Skylights are perfect for bringing the outdoors in, literally. Create indoor gardens, grow crops under natural light, or add potted plants to brighten up corners. Water features also work wonders in underground spaces, adding a sense of tranquility and reflecting light around the room. Think indoor waterfalls cascading down stone walls, or serene ponds beneath skylights. And don't forget about furniture and decorations! Use lighter wood types and brighter colors for furniture to keep things airy and avoid a heavy, dungeon-like feel. Incorporate paintings, item frames, and banners to personalize your space and make it feel like home, even if it's several blocks below the surface.
Design Secret | Description |
|---|---|
Material Contrast | Mix different block textures and colors for visual depth. |
Strategic Skylight Placement | Position skylights to highlight focal points and create dramatic lighting. |
Varied Skylight Shapes | Experiment with different skylight shapes for architectural interest. |
Indoor Greenery & Water | Incorporate plants and water features to bring life and light reflection underground. |
Light & Bright Interiors | Use light-colored furniture and decorations to maintain an airy feel. |
StepbyStep Guide: Building Your Dream Underground Minecraft House Skylight
StepbyStep Guide: Building Your Dream Underground Minecraft House Skylight
Phase 1: Planning and Prep - Digging In
Alright, ready to get your hands dirty (virtually, of course)? Building an underground Minecraft house with skylight starts with a solid plan and some digging! First things first, location, location, location! Scout out a spot that's relatively flat on the surface, this will make building your skylight later way easier. Think about what's above ground too. A forest biome? Imagine dappled sunlight filtering through the leaves into your underground pad. A plains biome? Wide open sky views! Once you've picked your prime real estate, gather your tools. A trusty pickaxe (iron or better, trust me), a shovel for efficiency, and maybe some torches to light your way as you delve into the depths. And don't forget a crafting table and a chest to stash your loot – you'll be surprised how quickly your inventory fills up with stone!
Now for the fun part – excavation! Start digging a staircase down. Make it spacious, you don't want to feel cramped even before you build the house. Think 3x3 or even 4x4 blocks wide. As you descend, start clearing out the area for your main living space. How big do you want your underground mansion? Mark it out with torches or blocks. Remember to leave room for walls and pathways. Don’t just dig a hole; carve out rooms, hallways, and potential skylight locations as you go. Pro-tip: keep an eye out for caves while you dig! Sometimes incorporating existing caves into your underground base can add awesome natural features and save you some serious digging time. Just make sure to seal them off properly to keep unwanted guests (mobs!) out.
- Choose Your Location Wisely: Flat surface, consider biome aesthetics.
- Gather Essential Tools: Pickaxe, shovel, torches, crafting table, chest.
- Plan Your Layout: Visualize rooms, hallways, skylight spots.
- Excavate Strategically: Dig a spacious staircase, carve out rooms as you go.
- Watch for Caves: Incorporate or seal off existing caves.
Phase 2: Skylight Construction - Let There Be Light!
Time to bring the sunshine in! With your underground space carved out, let's focus on the skylight itself. First, decide on the type of skylight you want. Simple flat glass on the surface? A cool glass dome? A pyramid skylight for a more grand feel? For a basic skylight, once you've decided where you want it, dig straight up to the surface from that spot. Make sure the shaft is wide enough for the skylight itself – at least 2x2 or 3x3 blocks is a good starting point. Now, for the skylight material. Glass is the obvious choice, but get fancy! Use glass panes for a thinner, more modern look, or glass blocks for a chunkier, more robust feel. Tinted glass can also add a cool colored light effect to your underground space. Experiment and see what looks best with your design.
Placement is key for skylights. Think about where you want the light to fall. Over your crafting area? Above your indoor garden? Consider multiple smaller skylights to distribute light more evenly, or one large central skylight to create a dramatic centerpiece. Once you've placed your glass, don't just leave it open to the elements (and mobs!). Surround the skylight opening on the surface with a border of blocks. Stone bricks, wood logs, even decorative blocks like quartz or prismarine can work. This not only looks nicer but also prevents accidental falls and mob intrusions. For extra security and style, consider adding glass walls around the surface opening, creating a mini glasshouse effect around your skylight. This keeps out rain and mobs while maximizing light flow – win-win!
Your Underground Minecraft House with Skylight Awaits
So, are you ready to trade the predictable plains for a personalized, peaceful underground paradise? Building an underground Minecraft house with a skylight is more than just a build; it's a statement. It's about creativity, resourcefulness, and making a truly unique mark on your Minecraft world. With a bit of planning and a dash of imagination, you can craft a subterranean sanctuary that’s both functional and breathtaking. Go ahead, dig deep, let the light in, and build the underground Minecraft house of your dreams!
